If your house walls or any room’s walls have gone outdated and need new paint, you can do it yourself. Painting a wall is one of the most affordable DIY ways of updating any room. You don’t need to get a professional to get a pleasant paint job. So, the big question arises; How to paint the walls?
You are going to look at those walls for a long while to come. So, let’s go through a complete guide so that you learn a few tips on how to paint a wall like a pro.
Table of Contents
12 Steps to Follow for Preparing the Walls for Painting
If you are a beginner at painting, you don’t have to worry even one bit. The DIY painting project is a fun way to have a good time remodeling your house. This is your guide on how to paint a wall yourself. You just need to follow some simple steps carefully, such as:
1. Take a Room Measurement and Determine the Amount of Paint You Need
If you have been going through living room paint ideas, and wondering whether you could do the transformation yourself and how much it costs to paint a room’s walls, the first thing to consider is paint quantity.
You need to work out roughly how much paint you will need for the walls. As a guide, you can keep in mind that most paints will cover about 10-12 square per liter. So, it’s recommended that you measure or estimate the length of the room and its walls.
Most rooms have a standard 2.5 m high ceiling. If you simply multiply the perimeter, you will get the total in meters squared. If you have large windows or many doors or built-in cabinets, you can deduct this from the total. You can avoid buying too much paint this way.
2. Choose the Paint Color and Get the Right Finish
It’s always a good idea to pick up some color samples before painting the walls. Whether you are looking for neutral, bold, or organic colors, you can make a statement living room color scheme. Picking up the colors will give you an idea of how the hue reacts to light in the room.
And don’t forget the paint finish. If you want to get a perfect paint finish, think about different surfaces and specific results.
For example, mid-sheen and gloss finishes reflect light. On the other hand, kitchens and bathrooms require moisture and stain-resistant qualities.
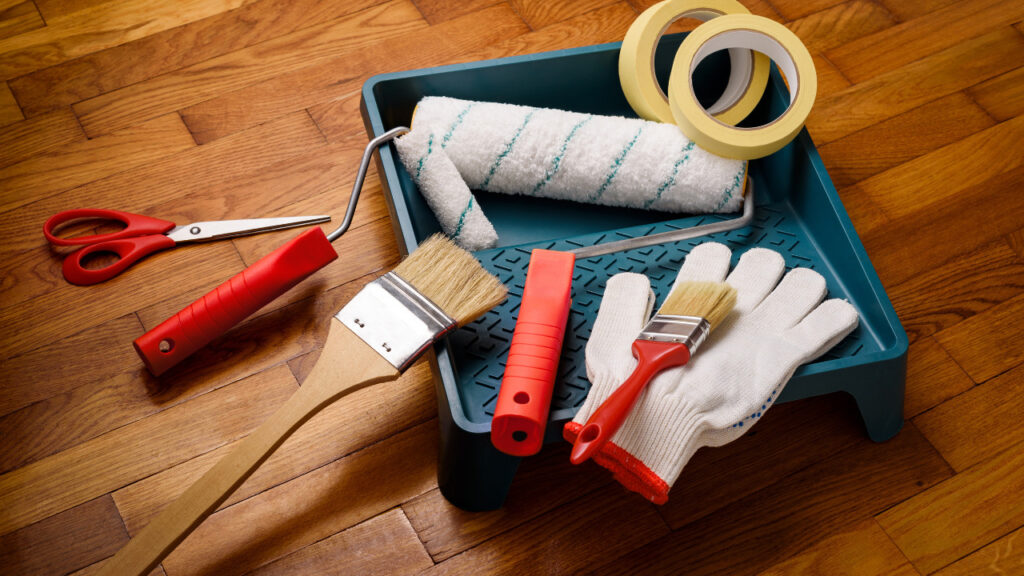
3. Get the Right Painting Tools
You will need:
- A pot of paint
- Paintbrushes
- Paint rollers
- Primer
- Soap and water (for cleaning)
- A painting tray
- A dust sheet
- Painter’s masking tape
- A roller extension pole (if the room ceiling is high)
When it comes to a must-have tool, a firm favorite among DIY paint project lovers is a roller for painting walls and a 2-in-1 brush for cutting in around the edges. To get a smooth finish, a microfiber roller sleeve is best.
4. Paint in Natural Light
To get the best paint job, try to paint in natural light, and avoid artificial or low light.
When the sun goes down or it’s dark and stormy outside, you should better wait for bright, natural light to paint the walls.
Trying to paint in dim, harsh artificial lightning can easily result in patches and imperfections that will eventually show up in glaring, natural light.
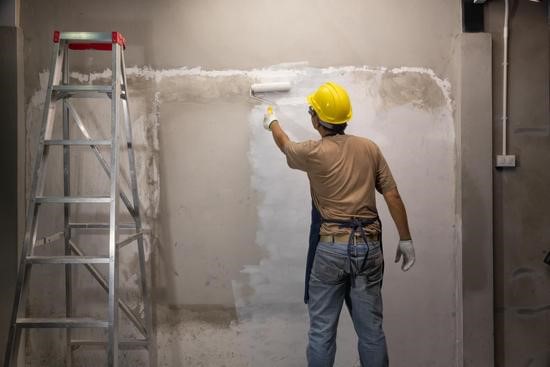
5. Prepare the Walls for Painting
Once you have gathered the tools and cleaned the painting area, you can start preparing the walls for painting.
This is a key factor in having a smooth finish. You should have a clean surface to paint on. Dust, cobwebs, peeling paint, or grime can hinder the new paint from adhering and having the perfect finish. You can choose to wash the walls with a soft sponge and warm water.
However, if you are painting the kitchen walls, you will need something to help cut through the grease before rinsing the walls with warm water.
6. Apply the Painter’s Tape
Once the walls get dry, use painter’s tape to cover any sockets, switches, and skirting boards on the walls. You can even use good, old-fashioned masking tape as well.
You will need a roll of two of painter’s tape to protect any moldings or switches from any drips. It will ensure a neat and clean finish. Apply the tape carefully to get a good seal. It can help you avoid getting the paint underneath and running.
7. It’s time for Prime
Priming the surface to be painted is an optional step, but using it will give you a more professional finish and get you the most from your paint job.
Use a roller to apply a smooth and even base coating of the primer. Use the tip of the paintbrush to work on the small crevices. Leave the surface to dry completely before starting to paint.
If you are painting over a darker color, avoid the temptation to skip the priming. It will help you get that vivid and consistent finish.
8. Stir and Decant the Paint
When you open the paint can, make sure to stir the paint thoroughly for an even finish. Do this before pouring the paint into the painting tray.
Paint colors can vary from can to can. So, if you decant it into a smaller container or tray, this step will help you understand your paint color.
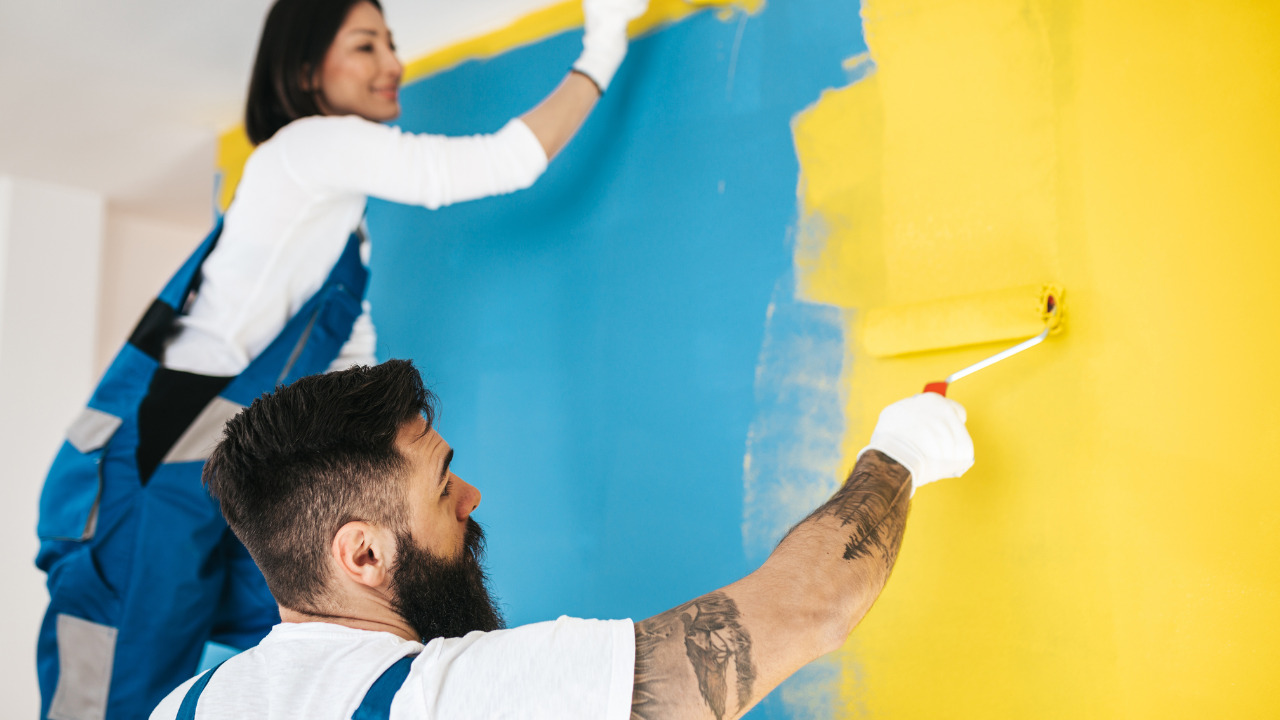
9. Paint the wall from Top to Bottom
If you want to get the best results, work from the top of your room down. Start with the ceiling and the architrave. Then, paint the walls from the top down with the painting roller. Finish the paint job with woodwork and skirting.
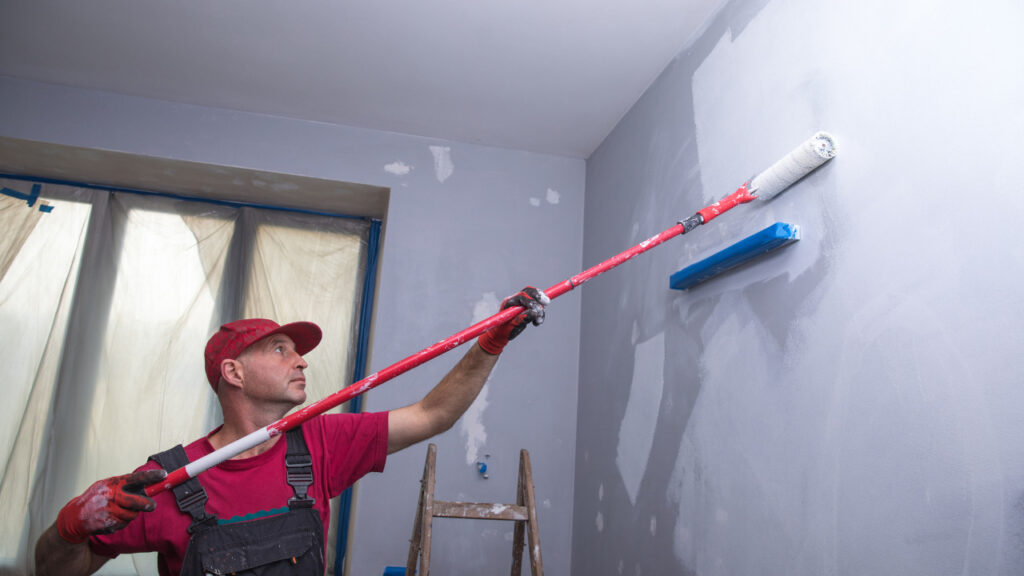
10. Use Some Expert Techniques to Paint the Walls
You may not get the best paint coverage if you are just flinging your roller around. Instead, apply the paint in a W shape on the wall. Go over the W in an M shape to fill the gaps.
Reload the roller with paint and move to the next wall section in the same way.
This is a good, applicable technique to paint a wall, as it helps you get an even paint distribution.
11. Apply Another Coat of Paint
Make sure to let the first paint coat dry for an hour before you apply another one. Most walls don’t require more than two coats of paint. Keep in mind to remove the painter’s tape from the wall whilst the second coat is still drying.
12. Don’t Forget to Ventilate
Open the windows and let fresh air come in. It will make the painting experience more pleasant for you.
Doing this will also quicken up the wait. Keep the work area well-ventilated to minimize the drying time for the walls.
Do Your Big Reveal of the Newly-Painted Walls
Leave your walls to dry for at least 24 hours. Remove the dust sheets to reveal your brand-new walls.
Keep the brushes in good condition by cleaning them before you put them away in storage. If the paint you used was water-based, wash the brushes with soap and water.
Keep your paint cans in good condition so you can use them in the future for touch-ups. However, if you opt for a different paint color, ensure to properly dispose of the primer and paint. If you have used paint thinner, dispose it of as well.
Now, step back and stay relaxed, admire your handiwork, and give yourself a well-deserved pat on the back for a job well done.