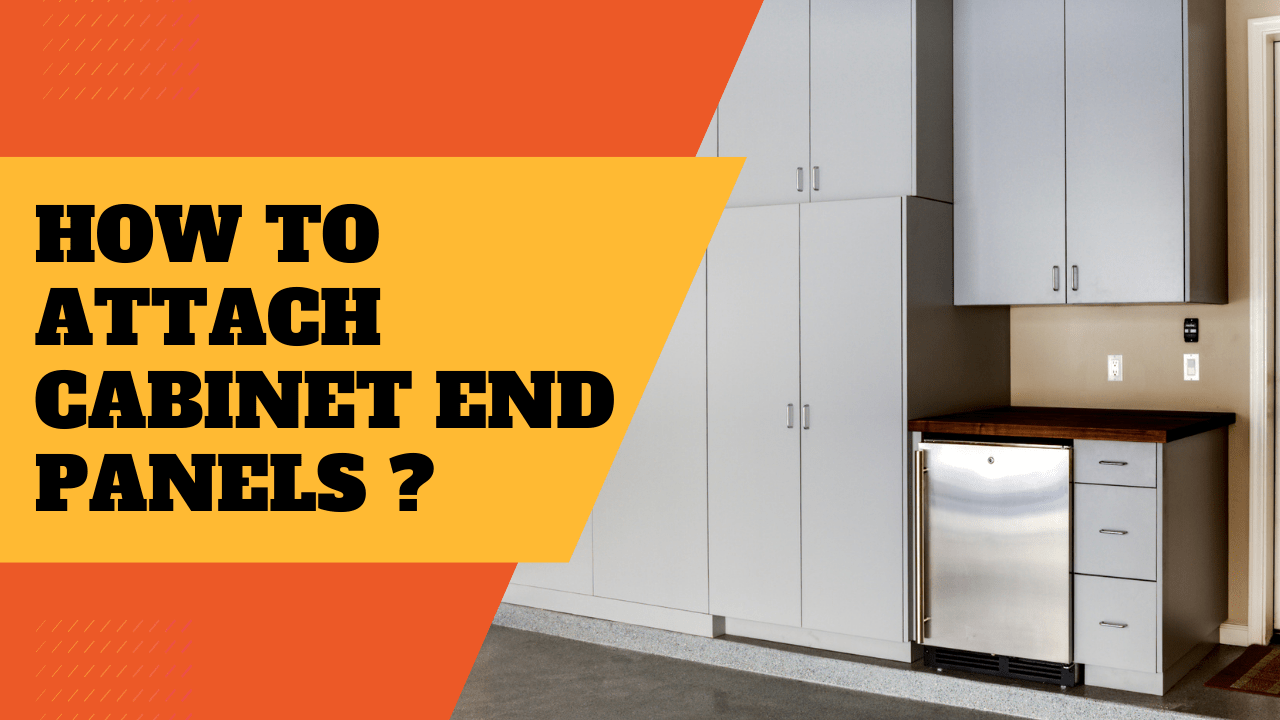
When talking about kitchen renovation, one cannot go without attaching the cabinet end panels. The first rule of cabinetry 101 is to have a beautiful finish and end panels are just of the methods to achieve the desired look. If you are looking for a budget-friendly renovation, then cabinet refacing is a desirable option – hence the end panels are the end game either way.
End panels are the decorative coverings exposed at the wall or base cabinets. They are easy to update without any major renovation. You can give a custom look to the cabinets by attaching new end panels. Let’s take a look at tools and the steps you will need to follow to make it a DIY project.
Table of Contents
3 Common Types Of End Panels
End panels come in various forms, each with unique benefits and drawbacks that may be found on the market. Let’s look at a few of the more well-liked ones.
1. Base and Wall Panels

The base door panel makes it simple to customize a base cabinet’s side or an island’s back. The panel’s extremely flexible architecture enables a wide range of applications. A base cabinet’s side or an island’s back can be set up using this door panel. Your kitchen’s appearance can be changed without completely replacing the cabinet by altering the door panel.
2. Built-In Panels

A built-in panel is a practical tool for giving your fridge a built-in appearance. It is made up of wooden planks that encircle a refrigerator. You can instantly give your kitchen a sleek, cohesive design by simply fastening a wood panel over an open portion of your refrigerator.
This not only gives your kitchen a luxurious appearance but also helps shield your fridge from normal use damage. Installing a fridge panel is a terrific choice if you’re searching for a quick makeover for your kitchen.
3. Dishwashing Area Panel
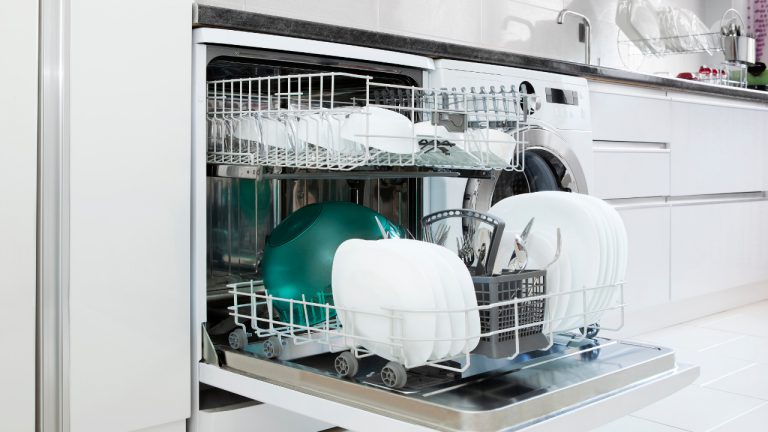
A kitchen accessory called the dishwasher panel can aid in creating a streamlined, uniform appearance in your kitchen. The dishwasher panel contributes to the kitchen’s overall aesthetic by concealing the exposed side of the appliance with a panel that matches the cabinetry.
Tools Needed to Attach Cabinet End Panels
You will need the right set of tools to get the job done. The essential tools for attaching cabinet end panels are
- Drill bit
- Tape measure
- Level
- Clamps
- Pencil
- A saw
- Ear muffs
- Safety glasses
- Impact driver
- Plane
Steps to Attach Cabinets End Panels
Cabinet end panels preserve the aesthetic of the fascias over the remainder of the cabinet, giving kitchen cabinets a polished appearance. They can add a polished finishing touch and are simple to install.
Understand Size and Height Requirements
Start by determining whether the height of any cornices or pelmets above and below needs to be included in your end panel’s coverage or if it will merely cover the end of your cabinet’s height. The cabinet side will determine the size of the panel as well. So do measure it considerably. Decide whether the clad-on panel will cover the height at the end of your cabinets or should include the height in the perimeters as well.
Place Clad-On Panel on Cabinets
Clamp the clad-on panel to the cabinet, making sure to account for the door’s thickness once it is installed in your dimensions and measurements. Mark any extra width on your panel for a 5 mm with a pencil and a straight edge once the door is in place.
Use a hand or toothed saw to trim the extra cladding or end panel. Once you have marked the excess width with a pencil and straight edge, then cut off any excess with the saw.
Include the Height of The End Panel
Repeat the process for the height, note the height of any cornices or pelmets that may be required, and mark up any extra height that needs to be cut from your clad-on panel. Remove any extra material.
Again cut any excess panel. The panel’s cut edge will still be visible after installation, cover it, if necessary, with some color-coordinated edge tape.
Trim End Panels Edges
The end of your cabinet should have your clad-on panel glued to it. Align all the edges to ensure you have left enough excess to account for the door thickness. To secure, use the specified screw size and quantity per panel using the drill bit on the outer side. You can use the 1-¼’’ cabinet screws to secure on all sides.
What is The Basic Purpose of Attaching End Panels
Kitchen cabinet end panels are a crucial component of giving your kitchen a unique style. They can be used to add some decoration or to conceal the cabinet ends for a seamless appearance. It’s crucial to take the intended look and the kitchen’s overall style into account when selecting end panels.
The end panel style is preferred by kitchen renovators because they create the impression that the woodwork in your kitchen is sturdy and well-made. Your kitchen will look more consistent and have a neater finish thanks to end panels. They are also used to complete the interior surfaces of refrigerators, washing machines, and dishwashers.
Why Should You Install Cabinets End Panels

The right question would be why we wouldn’t use the end panels. End panels do complete the work. You can achieve a whole, uniform look with them without any unfinished-looking areas.
On-off and even, the sides of the cabinet will get discolored or completely damaged for several reasons. End panels give off the spotless appearance that most homeowners desire and demonstrate to others that you didn’t skimp on your refacing effort.
Additionally, the cabinet’s side must be flush if you intend to install a crown molding to create a well-maintained area. The molding installation will be simpler with an end panel, and the finished product will look better.
If you choose painted or high-gloss cabinets, you won’t be able to do away with the need for end panels. If you don’t include them, you’ll have that rough base that will stand out, and any adjacent walls and kitchen units will also look flat.
Give Your Kitchen Or Bathroom an Elegant Look
Cabinet door panels may provide a lot of depth and richness to the overall look of your kitchen or bathroom cupboards. End panel installation is straightforward, especially for a skilled cabinet refacing professional. Installing them won’t take much extra time, but the final product will be much more cohesive. There is no need to arrange additional work time because the installation will be completed alongside the other tasks.
Ask your cabinet refacing specialist for additional advice if you’re still unsure whether you want to incorporate end panels with your refacing project or which end panels to pick.