Looking for a cozy temperature inside the house but your thermostat isn’t working well?
It’s time to replace the older unit and install a new thermostat in your home. Not only this but a thermostat also helps in the maintenance of the HVAC system.
But how to install a thermostat on your own?
Well, thermostat installation is an easy DIY home improvement project. You just need the right tools and techniques to perform the installation job to perfection.
Let’s find the complete details of the thermostat replacement and installation process in the sections below.
Table of Contents
Sign that Your Thermostat Needs Replacement
Before we talk about the replacement process in detail, let’s talk about the signs that tell you to immediately replace the thermostat. These include:
- Your HVAC system isn’t working properly and keeps turning on and off.
- Your electricity bills are going suspiciously high.
- Temperature readings on your thermostat are not right.
- Your thermostat isn’t responding to the temperature changes.
- Temperature changes are frequent and sudden.
- Your thermostat is outdated and older than 10+ years.
How to Replace Thermostat Unit
The process of thermostat installation after removal follows the same step as installing a new thermostat. Here is the step-by-step procedure for thermostat replacement and installation.
1. Select the Right Thermostat
For thermostat replacement, the first thing you need to do is to choose the right thermostat. Keep the specific cooling or heating requirements of your home in mind and the extent of automation you need. Once you choose the right thermostat it’s time for the replacement of the older unit and installing the new thermostat.

2. Turn the Power Off
The first thermostat replacement is to discontinue the power supply to your old thermostat. This will make the process of removal easier for you and check it with the help of a circuit tester. Doing this prevents your chances of electricity from being injured.
3. Remove Cover
The next step in the process of old thermostat removal is to remove the cover of the existing thermostat. This will expose the wiring of the thermostat. Based on the type and nature of the thermostat the number of wires in the thermostat can vary. Normally, line thermostats come with two thick wires while the number of wires in voltage thermostats can range from two to nine.
4. Label Wires
Once the wires are exposed, now you need to label the wires on your thermostat. The recommended method of wire labeling is to use the alphabetical labeling method. Most thermostats come with pre-printed labels. Once you are done labeling, you can also take a picture of the wallplate just to be sure of wire arrangements during the thermostat installation process.
5. Remove Wires and Wall Plate
After labeling the wires, now it’s to detach the wires from their respective terminal. After you detach all the wires now it’s to unmount the wall plate of your old thermostat. After removing it, also examine the wall behind to see if there are any unnecessary wall anchors. Take off them as well. Now your wall is all set to bear the new thermostat.
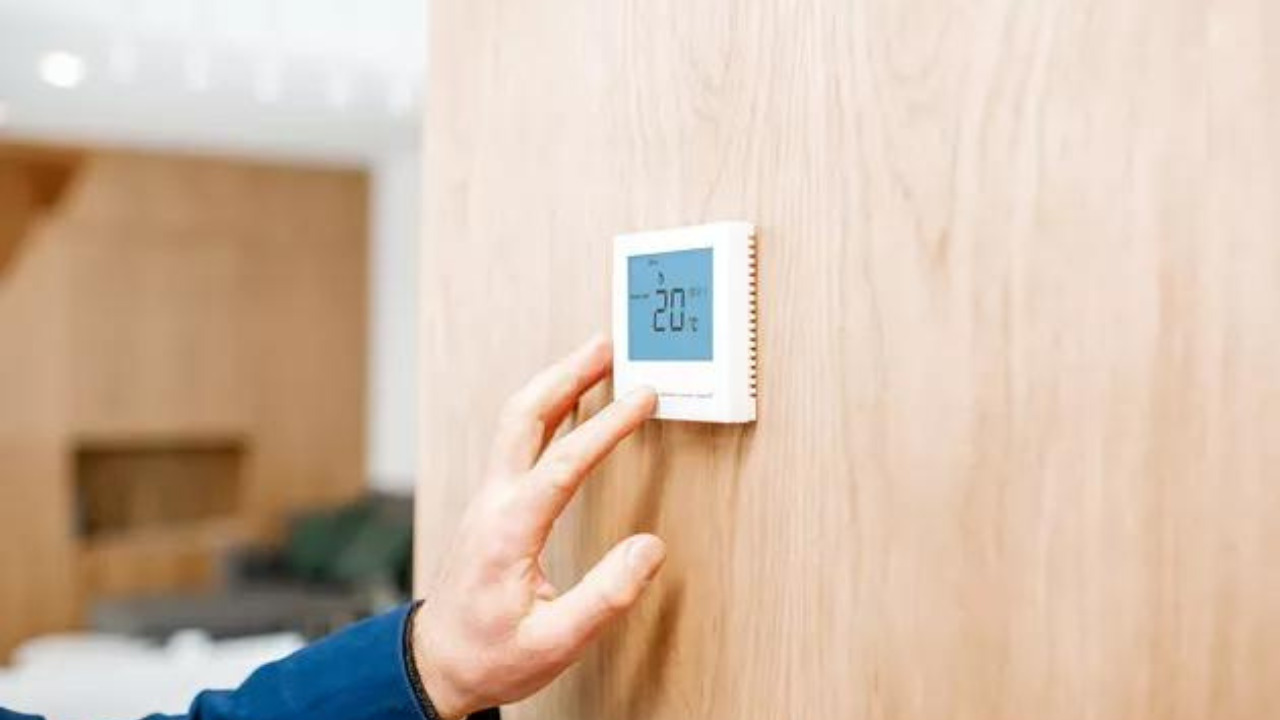
6. Install the New Thermostat
It’s finally time to put your new thermostat in place. Make sure the wall plate of the new thermostat aligns with the previous thermostat holes. Otherwise, you will need to make new holes using a drill. Before installation, make sure to mark the spaces using a marker or level. Mount the new thermostat and use the anchors and screws to fix it in place.
7. Rewire
Once your new thermostat is mounted, now it’s time to place the wires in their respective holes. Start attaching the wires to their terminals. For this, you can use the picture of the wall plate you captured before removing your old thermostat. The thermostat box has a manual that carries detailed instructions on how to install the thermostat and wire it properly.
However, when you are rewiring your new thermostat, you may see additional wires that were not part of your old thermostat settings. It is recommended to leave those wires exposed.
8. Fix the Battery and Cover the Plate
The next step of the thermostat installation process is to fix the batteries in their place. Make sure you get the right batteries that fit in perfectly. After you do this, it’s time to cover the faceplate. With this, you are almost done with the thermostat installation.
9. Test Thermostat
After completing the installation process, it’s time to configure your newly set up gadget. Again, all the information is already available in the user manual. After doing this, now it’s time to test your newly installed thermostat. Resume the power supply and test if your thermostat is working properly or not.
To test the thermostat’s performance, set the room temperature a few degrees above or below the existing temperature. Now check if it turns on the heating or cooling devices for temperature change. If this doesn’t happen, then check the troubleshooting section on the user manual.
What are Some of the Best
Make Your Home Cozy With Thermostat Replacement
A functional thermostat can make your home energy efficient with controlled indoor temperature. This is one of the must-have gadgets for your smart homes. Many people wonder how hard it is to replace a thermostat, however, this is not the case. It is quite easy to install a thermostat after replacing your old unit.
You can do it by following the easy steps. Furthermore, the new thermostat unit contains all the instructions about the replacement of the thermostat. However, if you feel like you won’t be able to handle it alone, then it is recommended to hire a professional.