Hardwood floors are a fashionable, elegant, and durable flooring option and a long-lasting, easy-to-clean option. Hardwood floors are generally straightforward, but debris and filth accumulate in the grooves between the planks over time.
Cleaning the grooves is a little more complicated, but it’s essential for keeping your floors in good shape. Sweeping your hardwood floors is an excellent way to keep them clean, but it can also push dirt and grime into the gaps between the planks. A strong vacuum is your best bet for removing this trash.
Use a heavy-duty canister shop vac with attachments to suck up the dust and grime that collects in the gaps. Although this cleaning procedure is not complicated, it does necessitate a significant amount of time and patience.
Table of Contents
Sweeping Is Not Enough For The Wood Floor

Although you may sweep your hardwood floors daily, sweeping only removes a tiny amount of debris. Of course, after you’re done, you’ll have a mound of dust in your dustpan, but your broom also leaves much filth behind. Sweeping mainly consists of moving dirt around on the hardwood’s surface.
It also allows dirt and dust to settle into the microscopic grooves on the surface of your wooden floors, and unclean broom bristles risk harming your floor’s protective polyurethane. If you must sweep, use a broom with soft bristles and shake it frequently outside.
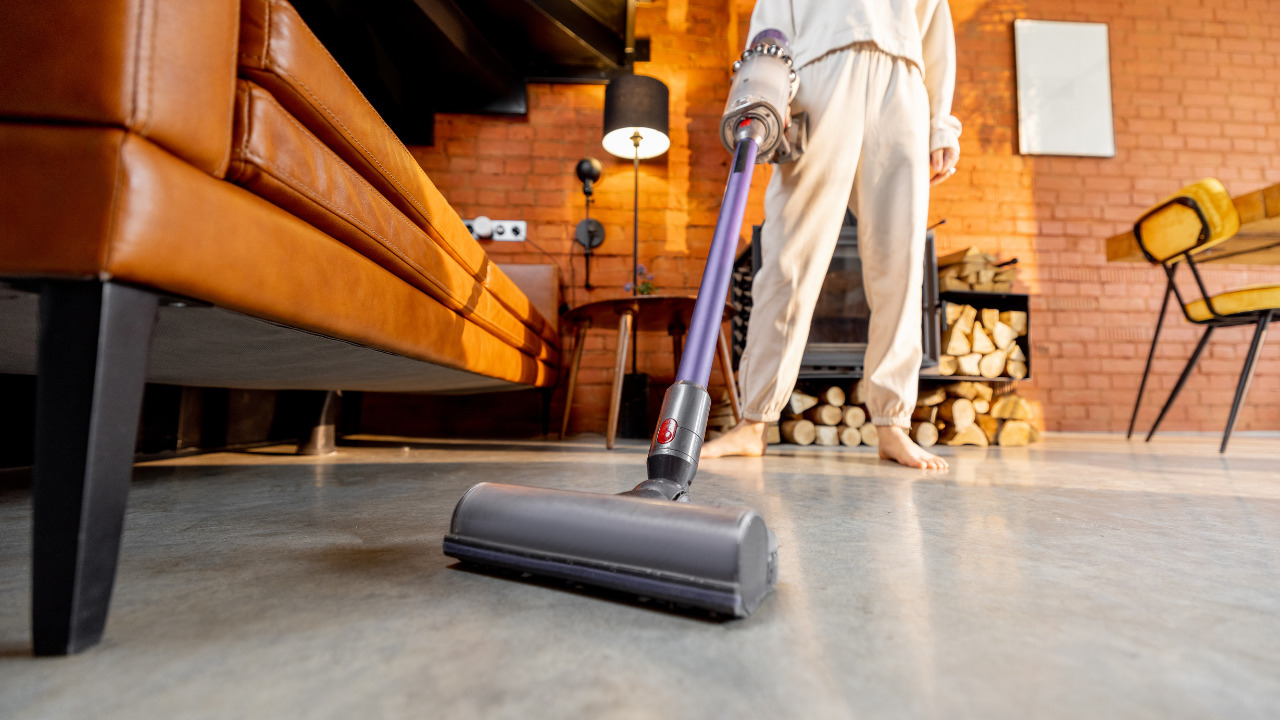
A lightweight stick vacuum built for hardwood floors is a superior option for daily cleaning. They’re not as hefty as a heavy upright can, so they won’t gouge the wood and don’t have stiff bristles to scuff the finish.
How Often Do You Need To Clean Wood Floors?
Keep your floors from becoming too unclean by performing quick, frequent cleanings a few times weekly. Using a microfiber dust mop to remove any dust, debris, or other contaminants that may have been brought into your house is the finest approach to cleaning hardwood floors.
In contrast to some vacuums, a microfiber dust mop won’t damage your floors. Mopping is necessary to clean wood floors and restore their luster thoroughly. Yet, the residue many industrial floor cleaners leave can make wood floors look lifeless. The solution is vinegar, which may make wood floors glossy without leaving a film.
Things To Consider Before Cleaning Hardwood Floor Grooves
It’s critical to understand the sort of finish that has been used on your hardwood floors before you start cleaning them. A water-based cleaning solution can be used to clean a sealed floor if a drop of water remains on the surface. If the water drop is immediately absorbed, the sealant is either no longer there or has worn off.
You should use less water while cleaning a floor that hasn’t been sealed. Use a damp microfiber cloth and quickly follow with a dry one when cleaning something thoroughly. To make cleaning quicker and simpler, pick up any clutter and take small objects off the floor, including area rugs.
Choose a time when there won’t be much foot traffic, such as when your family is away from home. To avoid tracking dirt on a freshly mopped floor, start in one corner of the space and go towards the door.
Improve drying efficiency. Turn on ceiling fans or add a circulating fan to hasten to dry.
Steps To Clean The Hardwood Floor Grooves
Dust and debris build in the grooves between your hardwood floorboards, despite how sturdy and attractive they are. If you spill paint on your hardwood floor, it will also get into the grooves. Cleaning hardwood floors is simple, but cleaning the grooves of your hardwood floor is more difficult due to the small spaces between the planks.
Cleaning the grooves in hardwood floors is not difficult, but it does take some time and patience. If you want to clean the filth out of the grooves of your hardwood floor, carefully follow the steps below;
Collect Needed Cleaning Materials
- A vacuum cleaner
- A mild cleaning solution
- Water
- Rag
- Hardwood floor cleaner
- Steel wood pad
- Putty knife
Use A Powerful Vacuum Cleaner
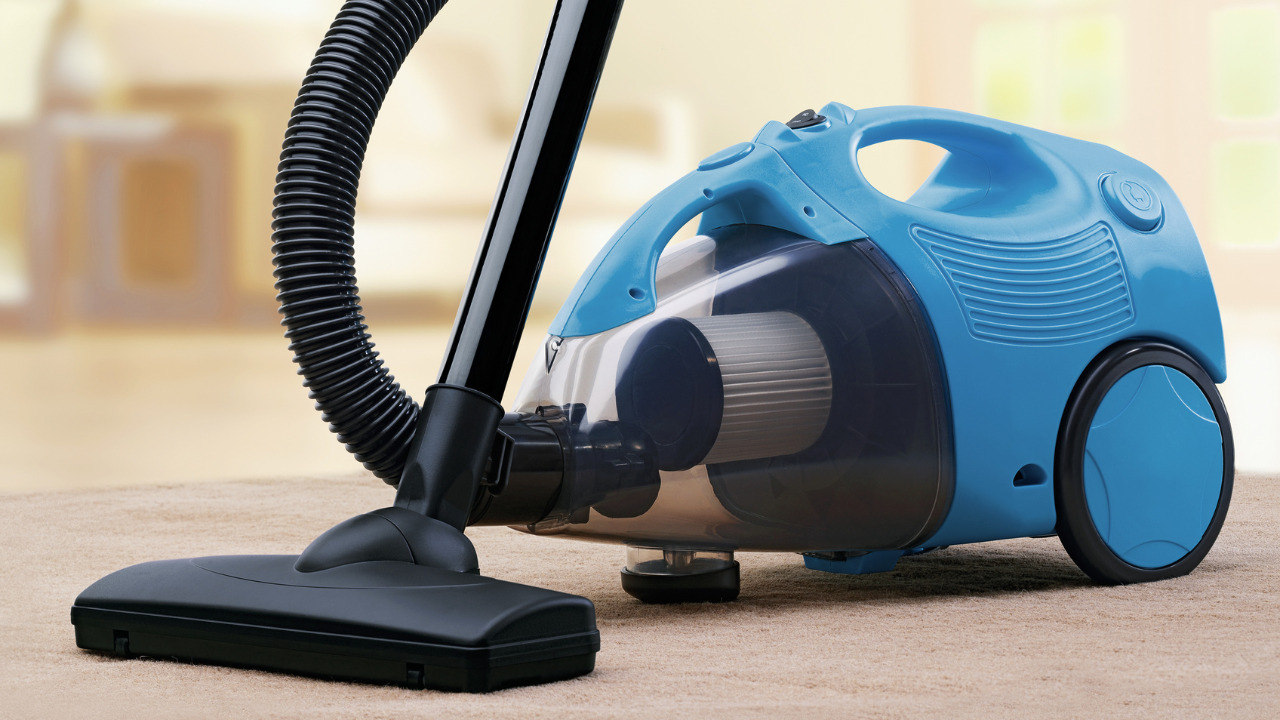
To begin, clean the grooves in your hardwood floor with a vacuum cleaner; however, be sure that the vacuum cleaner is powerful enough to remove grooves. Put a towel under your vacuum if you don’t want your floor scratched.
It may be required to remove dirt and filth with the corner of a plastic putty knife before vacuuming if it has been compressed. It will take some time, but it will be well worth it!
Make A Mild Cleaning Solution
Make a water and detergent solution in one clean bucket after cleaning everything. Dip a rag into the solution and add detergent until the water is entirely soapy. Fill a second bucket with clean water to aid in the rinsing of the mixture. Wipe the grooves with a rag, then rinse with a sponge dipped in clear water from another bucket.

If you’re utilizing the detergent approach, only use enough soap to make bubbles in the water. If you use a commercial hardwood floor cleaner, read the instructions well before getting started and follow them exactly as described.
Use A Soft Sponge For Cleaning
Wipe the grooves of your hardwood floor with a sponge dipped in a commercial wood cleaner or a homemade solution containing white vinegar; if the debris remains in the grooves, wipe them with a sponge dipped in clear water to remove any residue.
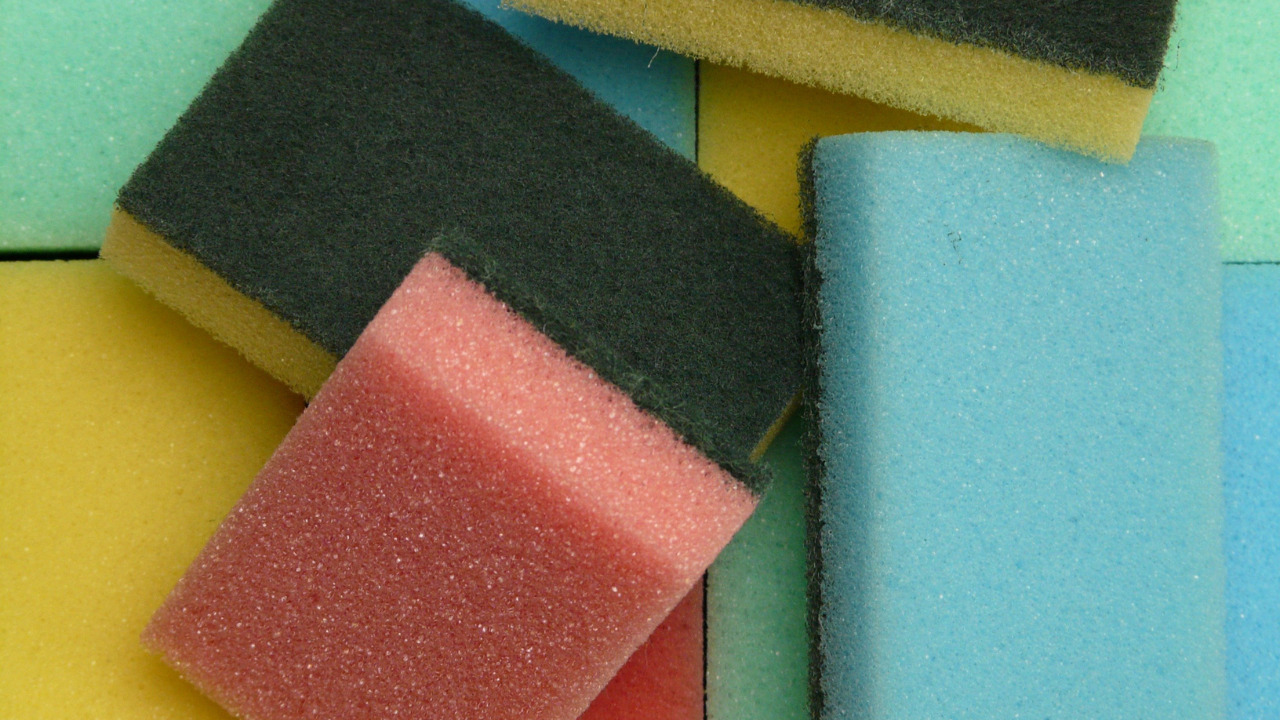
Wipe along the grooves with a rag that has been lightly dipped in the solution. After that, rinse the soap away with a clean rag dipped in plain water. Don’t let the water, even in small amounts, stay on the floor because water is a great enemy of wood.
Remove Remaining Debris
Rub the grooves with a steel wood pad to remove any debris that has remained in the grooves. After cleaning, remove any paint from the crevices of your hardwood boards with a nail knife or putty knife. This work can also be done using sandpaper folded in half. To sand the groove, swipe it with your sandpaper.
Vacuum The Grooves Again
When you’ve successfully removed all of the crud and grime from between each floorboard plank, vacuum again thoroughly, making sure not to push anything back into the grooves you took out.
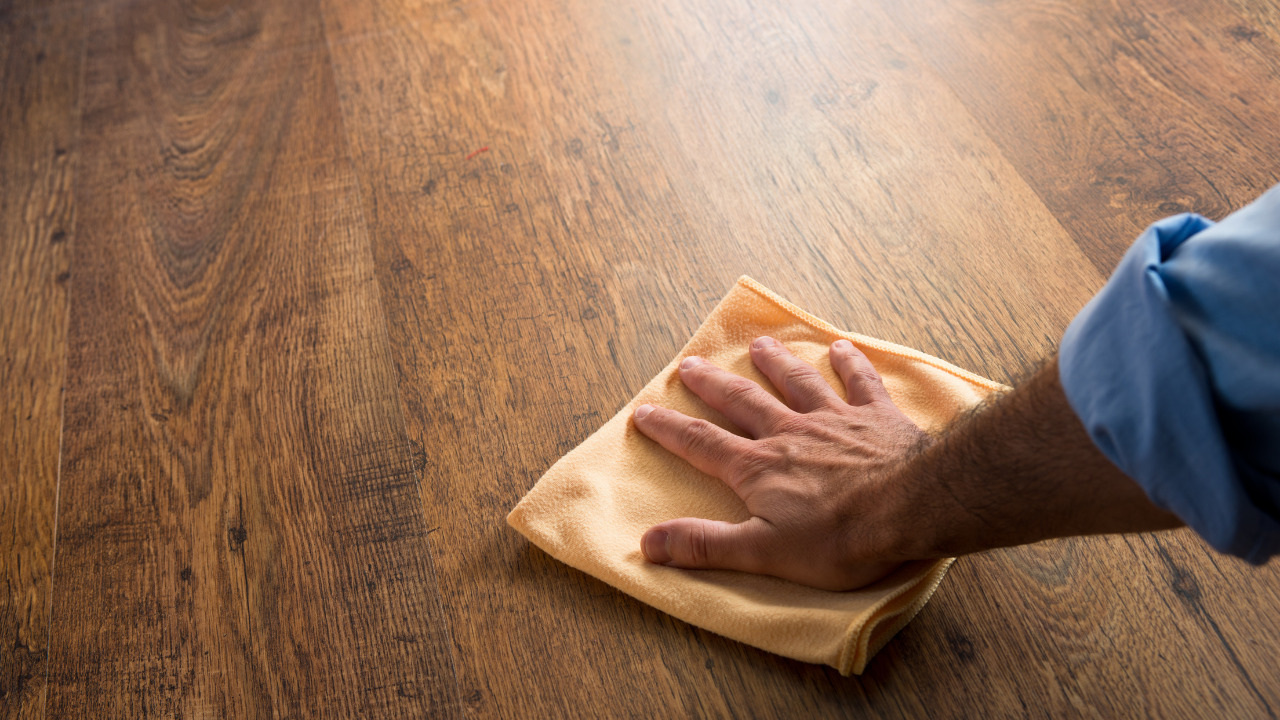
Dry Mop The Floor

When you’re done vacuuming, use a dry mop approach to get your floors shining clean again. Cleaning the filth from the grooves between your hardwood floorboards takes a long time. But it will be worth investing it your time and effort.
Frequently Asked Questions
What is the best way to clean grooved hardwood?
In the furniture’s crevices, work a fresh, soft-bristled toothbrush. Wipe away any debris with a clean cloth as it comes loose from the grooves. If more spraying is required, do so to keep the grooves lubricated as you scrub with the toothbrush. Go over every furniture groove.
Is it difficult to clean small grooves of the floor?
Yes! Get a brush for cleaning clubs. Half of the cloth should be wet in the bucket, while the other half should be dry. Then, using the wet half of the rag, wipe the hosel, face, and back of the club. To clean the grooves, submerge it once again and use a brush like you would a brush, wiping away extra debris as needed.
What are hardwood flooring grooves?
As the planks are nailed into place, the grooves give splinters a place to rest when they shatter. Without it, squeaks could occur where the installed flooring meets the subfloor because of splinters and bulges that could raise those pivot points.
Conclusion
After carefully cleaning your floor, determine which places receive the most foot traffic, such as entryways, and consider laying an area rug there to prevent dust and filth from building up between the planks. Hardwood floors may add value to any home but require careful attention and maintenance.
You can hire a professional hardwood floor cleaner to come in and clean your floors with advanced equipment in less time. It’s a good idea it’s clear up the grooves in your hardwood floors once a year.