If you are one with cleanliness-OCD, you know you can’t sleep without washing the sink full of dishes and putting everything in your kitchen in place. Your kitchen’s cleanliness matters a lot to you. After cleaning all the dishes, stovetops, and countertops, you should focus on getting those cabinets cleaned. But how to clean painted cabinets?
Many of us often neglect our kitchen cabinets without realizing these are the places more prone to accumulating dust. And if you have recently got these cabinets painted, you may feel too lazy to clean painted cabinets. As stylish as your newly painted cabinets look, they are also good at hiding spills.
Whether your cabinets are wood, laminate, painted, or custom, this comprehensive guide will discuss everything about painting kitchen cabinets in detail. Let’s get into it.
Table of Contents
How Often To Clean Kitchen Cabinets?
We all are in our kitchen often, for cooking, eating, or hanging out by the fridge. Daily cooking coats your cabinets with grease and grime, whether you like it or not.
To keep things clean, tidy, and in order, you need to clean the outside of your cabinets once a week. Moreover, you must schedule a deep cleaning outside and inside of the cabinets every few months.
The materials you will need for cleaning are:
- Microfiber cloth
- Soft, clean rags
- Toothbrush
- Warm water
- Bucket
- Dish soap
- Baking Soda
- Kitchen gloves
- Vacuum cleaner (optional)
- Soft cleaning eraser (optional)
- Oil-based cleanser (for wooden cabinets)
9 Easy Steps to Clean Painted Kitchen Cabinets
Let’s start our cleaning with painted kitchen cabinets. It doesn’t matter if you have remodelled or refaced the kitchen cabinets, we will discuss the step-by-step process to clean kitchen cabinets:
1. Clear the Way
It may seem like a daunting task, but you need to clear all your shelves. It’s best for deep cleaning to start with empty shelves and cabinets.
Take out all of your dishes, cups, and appliances from the shelves and cabinets. You can time this cleaning with a full dishwasher to make this process easier.
2. Pick the Right Cloth
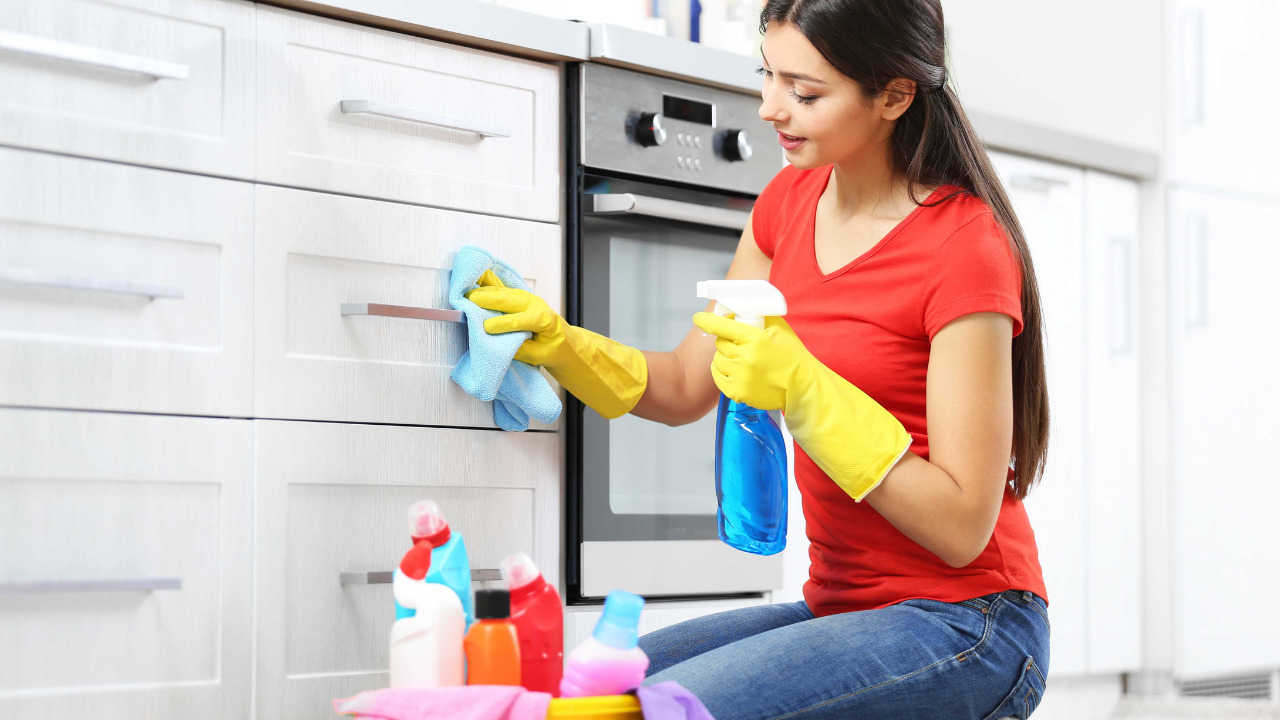
Painted cabinets have sensitive material. You should avoid any abrasive cleaning tools. Pick a soft cloth or clean rag to do the job well for you. You can also try using a microfiber cloth.
3. Clean the Exterior
It’s tempting to grab a multi-purpose bottle with all the sprays stashed underneath your kitchen sink.
However, the best course of action is to mix warm water with a bit of dish soap. It will create a nice bubble bath and you can clean the painted exterior of kitchen cabinets thoroughly.
4. Wipe the Outside of Each Cabinet
While cleaning the cabinets, start from the top and gradually work your way down. You must keep in mind to avoid getting the cabinets too wet. A damp cloth can perfectly dry painted cabinet areas.
You can also try an all-purpose cleaner here. First, test it on an inconspicuous spot before making a wipe you may regret. A patch test is always a must.
5. Remove Grease Stains
After a full round of wet, damp cloth on the cabinets, find and remove any grease stains that are there.
To do this removing effectively, mix two parts baking soda with one part warm water. Rub this paste onto the remaining grease stains. Let it sit for a while before wiping it away with a damp cloth. After that, pat the cabinets dry.
6. Vacuum the Cabinet Inside
You may be astonished to know where the food and bread crumbs might end up in your cabinets. If you have a handheld vacuum cleaner at your disposal, you can easily pick these stray crumbs out of the cabinets.
7. Wipe Down Shelves
Test the multi-purpose cleanser on an out-of-site spot. If it works for you, wipe down each empty shelf, working cabinet by cabinet.
Before moving on, don’t forget to wipe dry each surface you have cleaned.
8. Scrub the Nooks and Crannies
Take an old, clean toothbrush and use it to scrub the corners, nooks, and crevasses inside each cabinet. A toothbrush will do a fine job of cleaning every bit of the dust.
9. Give It a Final Dry and Replenish Shelves
Cleaning your kitchen cabinets gives you a much-needed opportunity and time to reorganize your shelves as you have put away all of your cutlery and appliances.
Before arranging all the stuff back on the shelves, wipe down everything and ensure all surfaces are dry.
How to Clean Wooden and Laminate Cabinets?
Almost the same cleaning process goes true for wooden or laminate cabinets, except for a few things.
Here are some things to remember while cleaning different kinds of cabinets:
1. Wooden Cabinets
Wooden cabinets need gentle cleaners just like painted cabinets. You can use soap or an oil-based cleanser to clean the cabinets and polish them with a microfiber cloth afterward.
Use damp cloths to wipe down the soap or oil. You can dilute oil soap with warm water and use a toothbrush to spot-treat the grease and stains.
2. Laminate Cabinets
Laminate cabinets are harder surfaces, that’s why an all-purpose cleaner will work fine on these cabinets.
You can mix baking soda and warm water for spot cleaning, just like painted cabinets. To remove the scuff marks on laminate cabinets, you can use a soft cleaning eraser.
How to Keep Your Kitchen Cabinets Clean Longer?
If you maintain a clean kitchen space, you can keep your kitchen cabinets shiny and new. Despite using your kitchen daily, regular cleaning of the kitchen cabinets can keep the cabinetry new-like, while conveniently storing everything you use.
Here are the tips you can use to keep your kitchen cabinets clean longer:
1. Avoid Water Exposure
The best way to keep kitchen cabinets clean is to avoid water exposure to the cabinets. You should never let the water settle in the hinges or accumulate in the hardware.
Use a microfiber cloth to ensure that every bit of the cabinet is dry entirely while cleaning.
2. Use Gentle Cleaning Solutions
When you clean kitchen cabinets, you should avoid using cleaning products with harsh chemicals. It is necessary because you can accidentally strip the varnish or finish on the laminate surface.
Make a diluted solution of baking soda and water, or dishwasher soap and water, and clean the cabinets with this mixture. Don’t forget to dry the cabinets completely.
3. Remember to Clean the Doors
The majority of us spend our kitchen cabinets cleaning the process focusing on the big three – sink, counters, and floors.
You can easily forget that the cabinets require regular attention as well, especially the doors. Doors are the most prone to getting tiny droplets of cooking grease, food splatters, and steam from the pressure cooker.
This mess can attract and hold dust over the doors, which may lead to dingy, dull, or streaked door surfaces. That’s why don’t forget to clean the cabinet doors.


