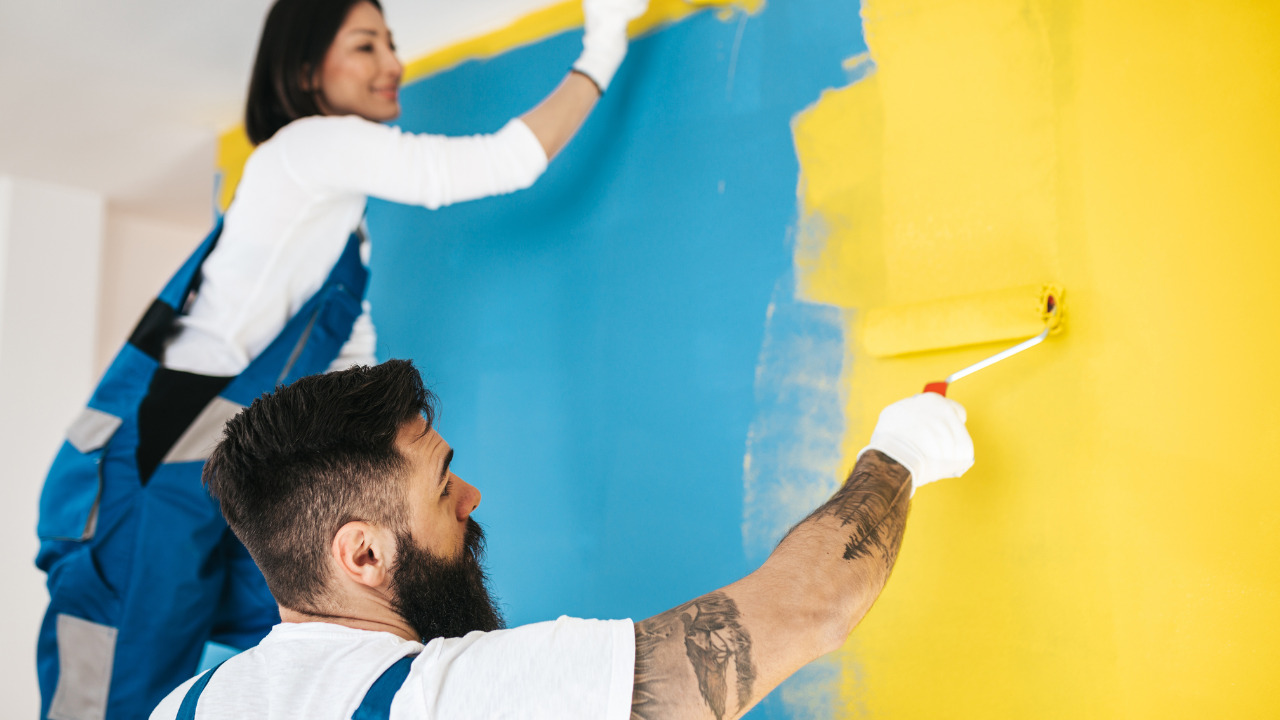
Are you looking to give your home a fresh and updated look but have no idea where to start? One of the most impactful changes you can make is to paint or refinish the cabinets. Whether you want to refresh your kitchen, bathroom, bedroom, or any other space with cabinets, you should know how to do it right. So, how to paint cabinets?
You don’t need to do pricy renovations, remodeling, or refacing the cabinets. Just a fresh coat of paint can lighten, brighten, and give your space a new feel.
Painting your kitchen cabinets is a complete and straightforward DIY makeover. Although it’s time-consuming, if you are a determined DIY-loving homeowner, you can confidently take on this project.
Table of Contents
4 Benefits of Repainting or Refurbishing the Cabinets
Before discussing how to paint cabinets, let’s understand what benefits you have in store if you choose to repaint or refurbish your cabinets:
1. Cost-effective Home Up-gradation
Repainting your cabinets is relatively inexpensive. If you go out into the market, you will be stunned to know how much new cabinets cost.
Moreover, this repainting process is totally transformative, and you will be proud of your DIY paint job.
2. Choosing a Color of Your Own Choice
If you choose to repaint your cabinets, you have the bonus of selecting the colors of your choice.
Repainting or refurbishing the cabinets allows you to select a style that suits your home decor perfectly. It will give you great control over the design and decor of your living space.
3. Increase Your Home’s Value
Repainting and refurbishing old cabinets can boost your home’s value, and you can easily see this when you sell the house.
Well-executed finish makes your refurbishing project an investment worth considering.
4. Eco-friendly and Sustainability
Repainting and refurbishing the cabinets is an eco-friendly option. It reduces waste by repurposing existing paint and materials.
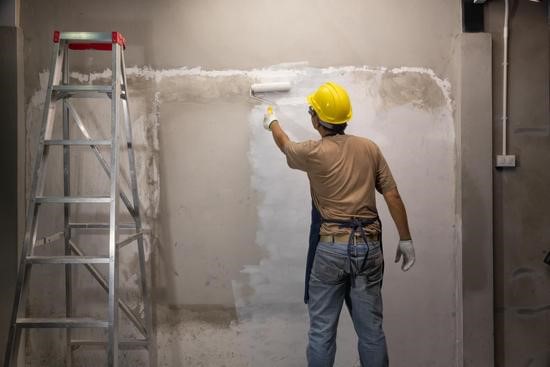
9 Easy Steps to Painting Your Cabinets Like a Pro
The kitchen is often referred to as the heart of the home. Investing in maintaining your kitchen’s aesthetics and creating a space where family and friends gather and have a good time can give you a big return on investment.
Here’s how to paint cabinets in some easy DIY steps:
1. Gather All the Supplies
The better your painting supplies, the longer you will have your DIY project last. Setting up a proper painting area is also worth your time because it will save you time when you clean up.
Moreover, you will need the following supplies before starting the project:
- Painter’s tape
- Ladder
- Degreaser
- Sponges
- Putty knife
- Primer
- Paint
- Paint trays
- Brushes and rollers
2. Prepare the Room
If you want a successful paint job, your first steps should focus on diligently preparing the room and cabinets for painting. Here’s how you can do that:
- Start by emptying the cabinets. Clear off all the counters and remove any freestanding appliances.
- Relocate all the furniture to another room.
- The floors and countertops need protecting as well. So, tape rosin paper over them to save them from dust and fumes.
- Mask off the walls around the cabinets.
- Set up your worktables to put all your paint tools on.
3. Remove the Doors, Drawers, Shelves
The second step is to remove the doors, drawers, and shelves to prepare the v=cabinets for painting. Ensure marking the doors and drawers with a marker to prevent mixing up the doors. The best place to put this mark is behind the hinge location.
Back out the hinge screws from the cabinet frame and remove the doors. Left to right, and top to bottom, label each door with a piece of tape.
Don’t forget to number the edges of cabinet shelves and drawer bottoms.
4. Clean all the Surfaces
Now, start with cleaning all the surfaces. Clean the cabinets by spraying them with a degreaser solution. Next, wipe the cabinets down with a rag. Doing this will remove all the oils and grease that could hinder a perfect paint finish.
If you don’t find ordinary cleaners effective, consider using a stronger acid cleaner. An example is trisodium phosphate and you can easily get this from hardware and paint stores.
Don’t use any cleaner without following the safety precautions on the container.
Once you are done cleaning all the cabinet pieces, rinse them thoroughly with water and let them dry for a while.
5. Prepare the Boxes
Now is the time to put on your safety gear. Open the room windows for ventilation. Scrub down all of the surfaces using an abrasive pad dipped in a liquid degreaser.
After that, use a foam sanding block to scuff the cabinets, drawers, and doors. This is a light sanding, which can give the primer something to adhere to.
Use a damp cloth to remove the sanding dust before moving on. Ensure vacuuming the cabinets inside and out so that no bits of sand can jeopardize the paint finish. Rub the surface down with a damp cloth for extra measure.
6. Prime the Cabinet Boxes
The next step is to prime the cabinet boxes. If your cabinets are heavily stained, you can use a stain-blocking primer. It can dry quickly and seal knots and other surface defects that may seep through the topcoats.
However, in most cases, a stain-blocker isn’t needed. An oil-based or pure acrylic latex primer will do the job just fine.
Pour some primer into the paint tray and load your roller and brush. Use your brush against the edges and tight spots. The roller will help to prime the large, flat surfaces. Put a generous coat on the cabinet, doors, and drawer fronts.
Let the surfaces dry completely before proceeding to the next step.
7. Sand, Caulk, and Fill
After the primer is thoroughly dried, sand the flat surfaces with 220-grit paper. Sand any profiled surfaces with a medium-grit sanding sponge, so that the wood ends up feeling glass-smooth.
If there are any open seams, squeeze the latex caulk in there. Always ensure that the hole in the caulk tube’s tip should be no bigger than a sharp pencil tip.
Smooth the caulk with a damp finger. Once it’s dry after about 60 minutes, sand the surface again with the 220-grit paper, do the vacuuming, and wipe with a damp cloth.
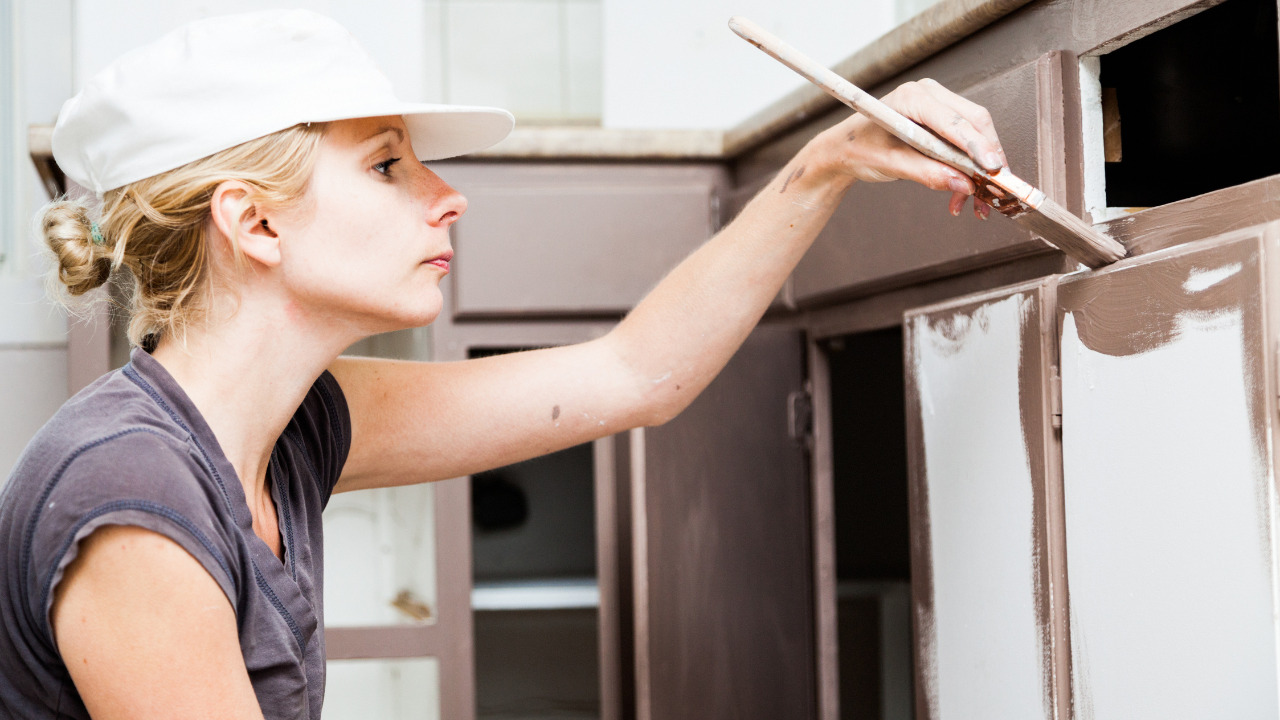
8. Paint the Cabinet Boxes
You have finally reached the step to start painting. If you are using the same shade as the existing paint hue, you will only need two coats to do the job. Or maybe even one. Milk paint can be the best option for the cabinets.
However, you may find it tough to paint over a dark finish with a light color. It may require three or more coats. Ensure to break out a new brush for each coat.
For the cabinet interior, apply the paint with a smooth surface mini roller. It will leave a slightly bumpy, orange-peel texture.
While you wait for the first coat to dry, it’s a good idea that you cover the brushes and rollers with plastic bags so they don’t get hardened with paint. You can also use spray paint for wooden cabinets.
Sand the surfaces lightly between each coat. Clean the debris afterward. After that, apply the second paint coat to the cabinet. It will provide a perfect, consistent finish.
9. Prep, Prime, and Paint the Doors, Drawers, Shelves
Apply the strategy to prep, prime, and paint the cabinets to all the doors, drawers, and shelves as well. Just like painting baseboards with carpets, you need careful administration of primer and paint on these wooden installations.
When painting paneled doors, start with the area around the panel. Then, paint the main field and finish with stiles and rails around the edges. While moving forward, ensure to wipe up any paint that ends up on adjacent dry surfaces. It will eliminate the chance of lap marks.
Paint the door’s outside front and let it dry for an hour. After that, tilt the door up onto its hooks and put a drywall screw into an existing hardware hole.
When you are done painting, pick up the door by the screw and one hook and hang both hooks on a sturdy clothes hanger. Let the door be suspended until it dries.
10. Put Back all the Cabinet Parts
Once the second coat dries, reattach the door fronts and drawers. It; ‘s best if you know how to install base cabinets.
It’s time to enjoy the fact that you just gave your kitchen cabinets a fresh new look with a cost-effective approach.
Now, remove the tape over each door’s number, install back the hinges and knobs, and hang them all in their original opening.
Replace the drawer pulls and reinstall them to their places.
Enjoy the new Cabinet View
Painting and refurbishing the cabinets may seem like a tedious task. However, if you take your time to do it the right way, you will be happy with the results, and your house will get a complete makeover and a new feel. Make sure to keep the cabinets clean so the refurbishing lasts longer.