When removing nails from a sheet-rock wall, don’t punch a hole in the sheetrock with the hammer as you pull. So, here are a few pointers to consider. Use a wide putty knife to protect the surface by slipping it behind the hammer. Try end-cutting pliers, also known as nippers, if you have nails that are a bit too far in for the hammer to grip.
We usually don’t mind because the wall covers to hide the nails. However, we will eventually remove or replace the wall coverings, revealing the nails or nail holes in the walls. It can be difficult to remove nails from walls without damaging the drywall, especially if the nails are nailed into wall studs.
Has a stubborn nail stumped you? For the roughest nails, try these methods.
Table of Contents
Pull Out Nail With A Hammer
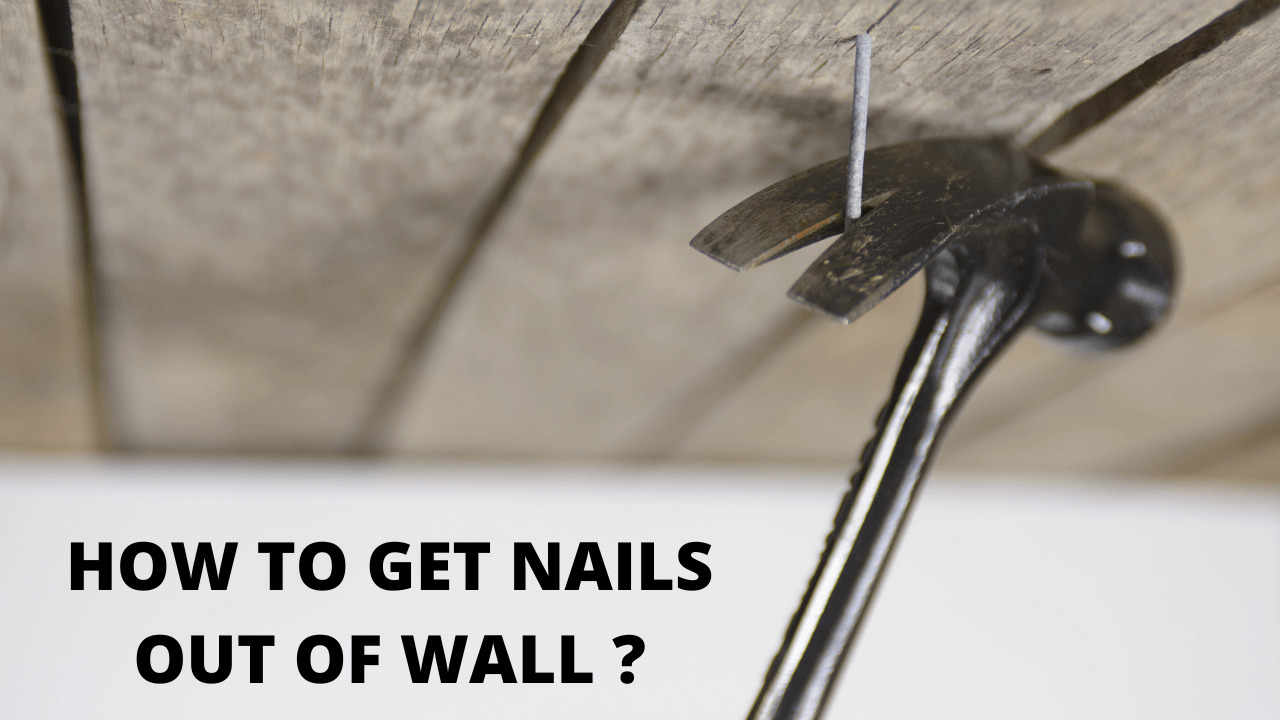
Using the claw edge of your hammer as a pivot point, ram the claw into the nail shank and rock it sideways. Rep the procedure till the nail is removed. This approach gives you the most pulling strength while putting the least strain on the handle.
Driving a nail near a knot is a waste of time for three reasons: Before you can push the nail home, it must first bend in the dense wood surrounding it. Second, it’ll be firmly lodged in the wood and difficult to remove. Finally, straining on a hammer handle could cause it to break.
Although a hammer isn’t the finest instrument for nail removal, utilize it because it’s already in your hand. As close to the wood as possible, ram the claw into the nail shank and rock it sideways.
Then repeat the process, each time pulling the nail. You gain incredible pulling strength, capable of extracting even the toughest cement-coated or galvanized nails without putting your hammer handle or arm under stress.
This approach normally works even if the nail head has broken off because the hammer claw holds the nail’s shank. It does, however, have a few flaws. The head’s edge will bite into the wood and damage it. A worn claw may sometimes slip on the shank, resulting in no pull.
Use A Block Of Scrap Wood
To protect fragile surfaces, place a block of scrap wood behind the hammerhead. The block also improves the leverage of the hammer claw, allowing you to rock the hammer directly back on its head rather than sideways.
However, this is not always the case. Only use this straight pull-on nail that comes out easily or isn’t pushed through. A wooden-handled hammer could be broken otherwise. Although you can yank hammers with a fiberglass or steel handle harder, you’ll discover that using a sideways pull is much easier.
Cut The Struck Nail
A reciprocating saw can cut through a fraction of the time it takes to extract nails. It can also reach nails that are difficult to reach otherwise. Many multi-purpose blades are capable of cutting both wood and nails.
You can also accomplish delicate tasks with a gentle touch, such as reaching beneath trim to cut nails, screws, and bolts without marring the wood.
Pull Out The Nail From Outside
Using nippers, pry the finish nail out from the backside. Its head will pierce through the wood with minimal harm. Finish trim is costly, so it’s best to save it if you can. Pull the finish nails out of the backside if you can peel it off.
If you drive back through them, they’ll fracture the front. Nippers, slip-joint pliers, and locking pliers are all good options.
Drive The Finish Nails Completely
To avoid pulling finish nails, use a nail set or a pin punch to punch them all the way through. Finish trim less than 5/8 inch. Thick is preferable for this approach. To avoid destroying a precious piece of woodwork, finishing carpentry may necessitate more advanced techniques.
The hammer-and-block technique or pliers can be used to pull most bent finish nails. If you can’t peel the trim off without hurting it, drive your finish nails through it and pop it off.
They’re particularly useful for removing cross-nailed windows and door casings.
Final Thoughts
After removing the nail from the wall, use your hammer to gently tap the nail hole to level down the wall surface surrounding it. Then use spackle to patch the hole and a damp paper towel to wipe the area clean. To finish the process, touch up the spackle with a little paint after drying.