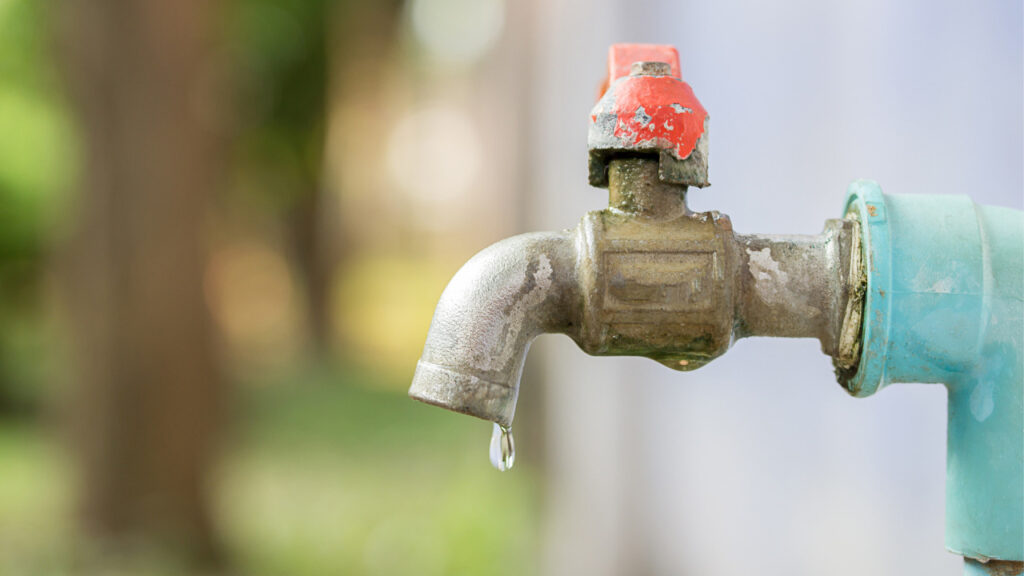
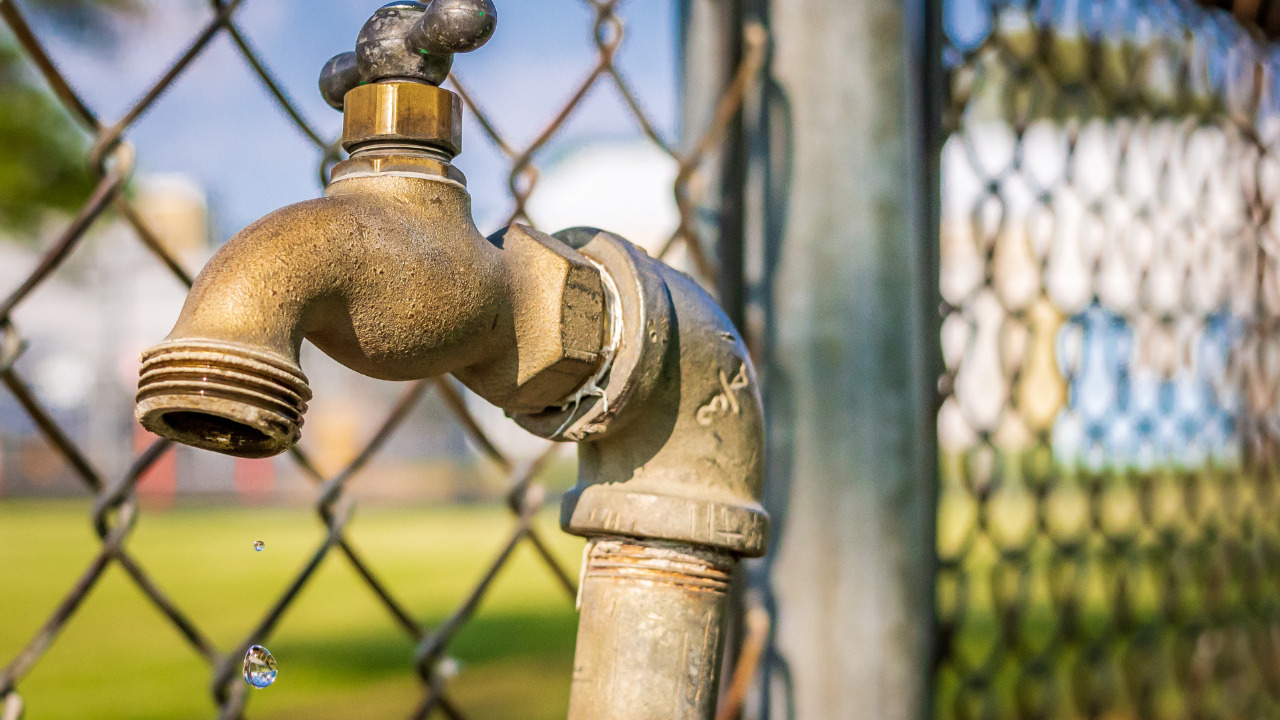
Are you seeing an unusual hike in your utility bill? If yes, it might be because of your leaky outdoor faucet. To fix the issue, you need to learn how to fix a leaky outdoor faucet.
Dealing with a leaking faucet can be aggravating, not to mention the wasted water and higher electricity bills. Fortunately, with a little know-how and some basic tools, you can solve this common household problem and stop that unpleasant leak. This blog will guide you through recognizing the problem, making necessary repairs, and the process of changing the faucet to get it back in working order. Let’s get started and get your outside faucet back in its leak-free state!
Table of Contents
6 Common Reasons for Leaky Outdoor Faucets

An outdoor faucet leakage can be caused by several factors, and it’s critical to recognize and treat these problems as quickly as possible. Here are some common causes of a dripping outside faucet:
1. Worn Out Washer
A worn-out washer is the most common cause of a leaking outdoor faucet. Because of constant use and exposure to the environment, the rubber or silicone washer inside the faucet handle might deteriorate over time. When this occurs, water might seep through the damaged washer and cause a leak.
2. Loose Packing Nut
The packing nut is a threaded component that is situated just beneath the faucet handle. Its job is to seal the faucet stem and keep water from seeping around the handle. If this packing nut loses, leaks might occur. You may need to tighten or replace the packing nut.
3. Corroded Valve Seat
When the faucet is turned off, the valve seat, which is made of brass or metal, produces a seal. Water might leak out around the spout if the valve seat becomes rusted or worn. The problem can be resolved by cleaning or replacing the valve seat.
4. Frost Damage
Water left within the outdoor faucet during the winter in colder climates can freeze and expand, causing the faucet’s components to split or become damaged. When the weather warms up, the faucet may begin to leak. To avoid frost damage, winterize the outside faucet by turning off the water supply and draining any residual water.
5. High Water Pressure
Excessive water pressure might put undue strain on the faucet’s components, resulting in leaks. Installing a pressure regulator can aid in the regulation of water pressure and the prevention of leaks.
6. Inadequate Installation
A badly installed outdoor faucet may have loose connections or insufficient seals, which can lead to leaks. Making sure the faucet is properly installed with the proper seals and fittings can help prevent leaks from the start. You can even opt for a new outdoor plumbing design to ensure adequate installation of an outdoor faucet.
3 Ways to Fix a Leaky Outdoor Faucet
Water dripping out from the outdoor faucet may be annoying for you, especially if you love gardening. This issue might also lead your garden or foundation to damage.
Let’s talk about a few easy-to-follow ways if you are looking for a quick solution to fix a leaky faucet.
1) Replace or Repair the Faucet’s Gasket
If you notice water leakage in your outdoor faucet, check the gasket first for any signs of damage. If it requires replacement or repair, take prompt action to resolve the issue quickly. The gasket’s plastic body is often the main reason for its susceptibility to damage.
The plastic faucet’s gasket will get damaged or loosen over time. To fix the faucet’s gasket, you may need to remove the faucet’s handle. While opening or loosening the washer, check its condition to see if it requires repair or replacement.
Also, faucet retaining nuts may also start leaking over time. In this case, you will also need to remove the retaining nut by using a plier. To fix a retaining nut, you will also need to remove your faucet handle.
2) Change Faucet’s Washers
The washer is located in the faucet’s stem or trunk. You can access that washer by using a wrench or screwdriver to replace it. Replace the washer if the old one is completely damaged or broken.
If the washer is not broken, it is best to simply tighten it rather than replace it with a new washer. Carefully follow each step when removing or replacing an old washer with a new one to ensure a proper fixing kitchen faucet.
Secondly, you may also need to remove your faucet’s end cap to access the washer easily. At that point, you can also check your faucet’s vacuum breaker whether it needs a repair or not. However, it is better to fix the vacuum breaker again after cleaning it even if it doesn’t need to be replaced or repaired.
3) Replace Entire Outdoor Faucet
If both of the above ways are not working for your leaky outdoor faucet, it’s time to replace an entire leaky faucet. You may also need to replace the complete outdoor faucet with a new one. If you know how to fix a leaky outdoor faucet, it will be super easy for you to install a new faucet system without any difficulty. The best thing is that you can remove your outdoor faucet simply with a screwdriver if it is placed directly on a water pipe.
Simply remove the old faucet and add a new one. Ensure to tighten the screws and washers of newly installed outdoor faucets carefully. Otherwise, water will start dripping again from an improperly screwed faucet.
After following these ways or techniques, you are all set to know how to fix a dripping outdoor faucet. The best part is that learning about how to fix a leaky outside faucet will require only a few minutes.
4) Keep Outdoor Faucet Well-Maintained
Hard water and buildup in the faucet’s pipes over time are the main causes of water leakage. Don’t worry, you don’t need to hire a professional to get rid of this issue. You can overcome it with the passage of time by maintaining or cleaning your clogged pipes.
Additionally, it is better to work on the cleaning of your faucet’s aerator. This way, you can keep the inside of your faucet free from buildup. You can also use a mild cleaner to clean your aerator. All you need to do is place the removed aerator in a cleaning solution for a few minutes.
You can also use a small scrubbing brush to remove all buildup from the aerator. After cleaning the aerator, simply wash it off with water, dry it out, and fix it back in your faucet pipe.
Cost of Repairing an Outdoor Leaky Faucet
Once you have identified problems, you have to choose a replacement or repair option based on your time and budget. The main reason to consider your budget is that you might need to buy some new parts for your leaky outdoor faucet.
So, the replacement and repairing cost of a leaky faucet will vary on the basis of bought parts, and the kind of repair your faucet requires. If you are completely unaware of plumbing tasks, it is best to hire a professional to repair your leaky outdoor faucet.
The professional repair and replacement of a leaky outdoor faucet will surely cost you more than a DIY repair. But you will be able to get satisfied with professional repairing or replacement results.
Generally, repairing a leaking outside faucet normally costs between $50-$150, depending on the degree of the damage and the parts that need to be replaced. If repair is not possible, a new outside faucet can range in price from $20-$100. If a new installation is required, the cost may range from $150-$350, including the faucet and labor expenses.
Drip No More! Fix Faucet Yourself and Save Water
Fixing a leaky outdoor faucet is a manageable task for many homeowners that can save both water and money in the long term. Identifying the source of the leak is critical for determining the best repair approach.
Replacing worn-out washers or damaged O-rings can usually cure the problem. However, if you run into problems during the repair or fear more serious damage, it’s best to call in a professional plumber. Regular maintenance and winterization of your outdoor faucets can also help avoid leaks and extend their lifespan, assuring a steady flow of water for your outside activities. Take action now and put an end to wasteful leaks!


