Many basement windows now feature window wells regularly suck water up from the ground. Because of this, all of your wells should have window drains. Closed lids on these drains prevent dirt from leaking into the well and obstructing water flow.
Animals can get into basements if they flood. Like any other portion of the house, the basement requires proper maintenance. Basement windows are one of the most problematic regions. Egress windows are required by building code to be put in basements as fire exits, particularly in basement bedrooms.
If there are trees nearby, the leaves will quickly fill the window well and need to be cleaned out. Window well coverings are a simple solution to these possible issues. This is a rather simple and affordable repair for what could otherwise be a source of aggravation.
Table of Contents
Window Well Covers: An Overview
Clear plastic window well covers are unobtrusive and elegant and come in a range of shapes that don’t detract from the aesthetic of your home. Nonetheless, they are immediately useful. Window well coverings are devices that prevent wells from collapsing. For your basement window, these covers are similar to window guards.
Galvanized steel shields are available in semi-circular, square, or bubble shapes. Basement owners can use this item to attach to the exterior of their buildings to keep dirt out of their basement windows. This sort of Steel window well covers fits into the side of a house and attaches easily if you plan to use them.
It effectively prevents water and other debris from entering the basement. However, some of them are transparent and allow light to pass through.
Steps To Install Window Well Covers
Collect Needed Tools And Materials
- Tape measure
- Ruler
- Plastic tape
- Clips
- Bucklings
- Nails
- A nail gun
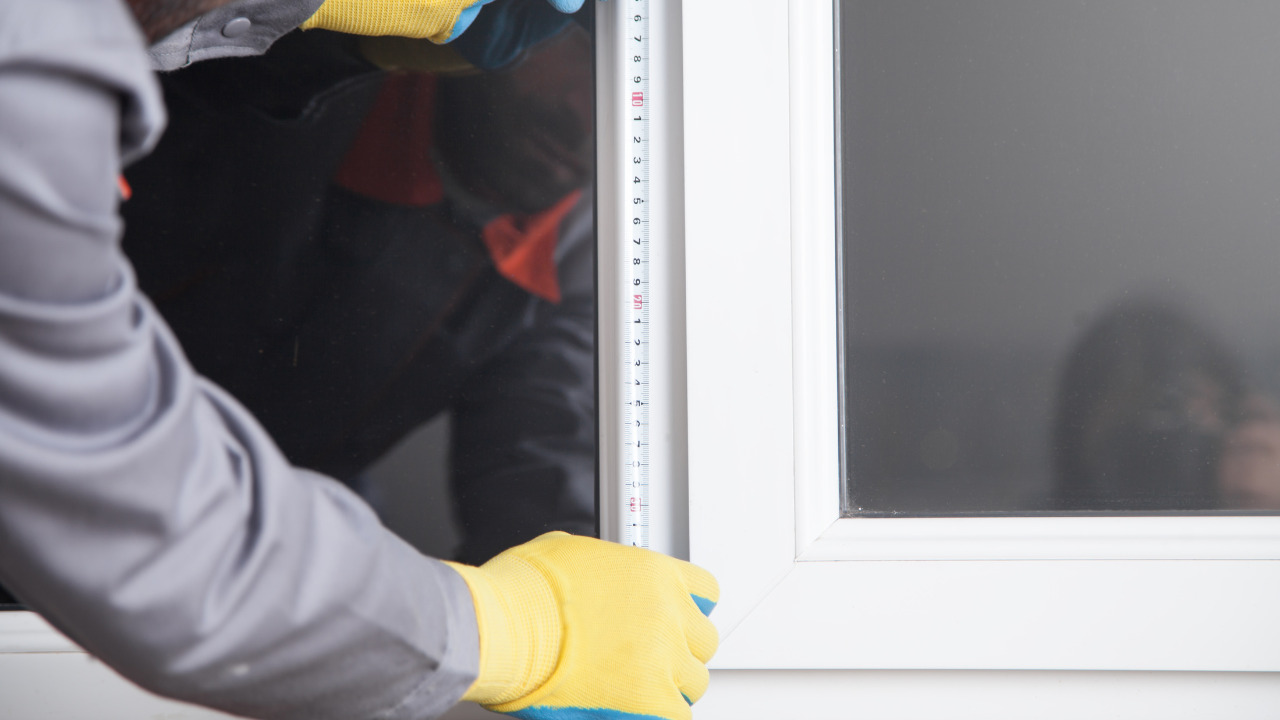
Measure Window Well
It’s good to measure the window well before going to the local home improvement store to buy the window well coverings. The width of the window well where it touches the wall, as this will be its broadest point, and how far out the window well protrudes are the two primary measurements to be concerned with.
Measure how far the window sticks up if the top of the window is higher than the top of the window well. Similarly, not all window wells are the same shape. They used to be virtually usually semi-circular, but a squared-off form with rounded corners has supplanted them.
The measurements will aid in selecting the proper window well cover for those particular window wells. Domed covers are required for windows that protrude more than a couple of inches above the edge. Otherwise, either type of window can be utilized in any home. Another advantage of domed ones is that they shed melting snow easier.
Measure Side Covers
Mark the spots with tape starting from the side of the cover against the wall. Use the tape to mark the end of the pipe that meets the good lid.
Do the same thing on the side and front of large window well covers using two or more clips.
Remove Window Well And Measure
Measure the exact measurements of the window well after removing it. You can dig where you marked these on the ground. Make a mark at the window well’s intended height, width, and resting point. Ascertain that it will be perfectly centered with respect to the window opening. Where the window well will be placed, you must dig down about 10 inches.
Add Plastic Tape Beneath The Cover
Taking the cover off the window well is a good idea. Bore an aperture somewhat wider than the screw diameter with the cover by inserting a chunk under the plastic behind one designated tape. The chunk of wood protects the plastic from being damaged during the boring.
However, it would help if you were cautious because old drills can corrode plastic, causing the bottom to break. As a result, use fresh ones and secure the plastic to the wood.
Attach window Well Covers With Clips.
In addition to being fastened using screws, some window well coverings will use clips to attach to the edge of the window well. With a hinged cover, these are typically used for egress windows. In that scenario, you’ll need to attach clips to the cover to keep it in place on the window well’s top.
These clips resemble a smaller version of those attached to the wall and hold mops, brooms, and rakes. Mark the location of the three clips directly above the edge of the window well, with the window, well cover in place.
If galvanized steel window wells are used, magnetic cabinet catches can be applied to the bottom side of the window well cover to keep it in place instead of grinding off part of the flange.
Choose a magnetic catch with a powerful magnet rather than the cheapest one available to protect the wind from blowing it loose.
Test For Bends And Buckling Of Clips
Tighten the clamps firmly to the cover and check that the prongs hold the edge. When fastened, test it on the glass to ensure there are no bends or buckling of the clips. Examine the fit of these clips to ensure that they make good contact with the window and hold the cover in place.
Check The Level Of the Window Well
Make sure the window well is entirely flat by using your level. Next, set one side of the level at a distance of 3 inches from the top of the window well. On the backfilled dirt, place the level’s other side. A mark 3 inches below the top of the window well should be level with the ground.
Frequently Asked Questions
Do you need to add a drain to a window well?
In many cases, a window well has a drain connecting it to the foundation’s drainage system. Windowsill drains that feed to drainage tiles on either side are common in recent homes. If you want to allow for this drainage, make sure your grading is correct. A drain is necessary if you frequently see a sizable amount of water in the window well.
What is the average depth of a window well?
The window opening should be 6 inches wide, and the window well should be 5-8 inches deeper than the window sill.
What is the average installation cost of window well covers?
The well’s size and the materials you choose determine the price. Window wells range in price from $15 to $380. If you decide to do it yourself, the costs will continue to be very cheap.
Conclusion
Installing window well covers is a great DIY project, and you’ll be really satisfied with the final result. Again, it takes around 2 1/2 hours, and you should budget $150, which is probably far less expensive than hiring someone. Start by carefully removing the existing window well’s surrounding soil before installing the replacement. Additionally, you must exercise caution to prevent window damage. Then adhere to the directions given above.


