Even if you are not in renovation mode, there comes a time when a room or two in your house calls for painting. No doubt, painting is single-handedly the best and easiest way to update your room. But how to paint a room if you are a beginner?
It may feel overwhelming to you but painting is something that any homeowner can do. It doesn’t matter if your patience level is thin or high. All you need is a small investment of resources and time (and maybe a little trial and error too) and you can easily figure out how to paint a room for beginners.
Let’s go through the process of painting your room step-by-step.
Table of Contents
6 Essential Steps to Prepping the Walls for Painting
To ensure an even coverage and the best paint job, you need to prepare the walls you are going to paint. These steps are crucial if you opt for a glossy finish.
1. Fill the Holes in the walls (If Any)
You should prepare the walls by first addressing any appearance issues the room walls may have. You can look for nail holes, cracks, or crevices in the walls. Use a flat knife to apply a filling agent to fill out the holes. Ensure you work with a flat and even surface.
Allow the filling agent to dry before moving on to the next steps.
2. Scrape Off any Peeling Paint
If there is peeling or cracked paint on the walls, scrape it away as best as you can. It’s essential so you get the best base foundation to start painting on.
Don’t worry too much if it’s not perfectly smooth. Using the sanding method will fully even out the walls. If you have wallpapers on the walls, you can also paint over wallpaper, just make sure to even out any edges.
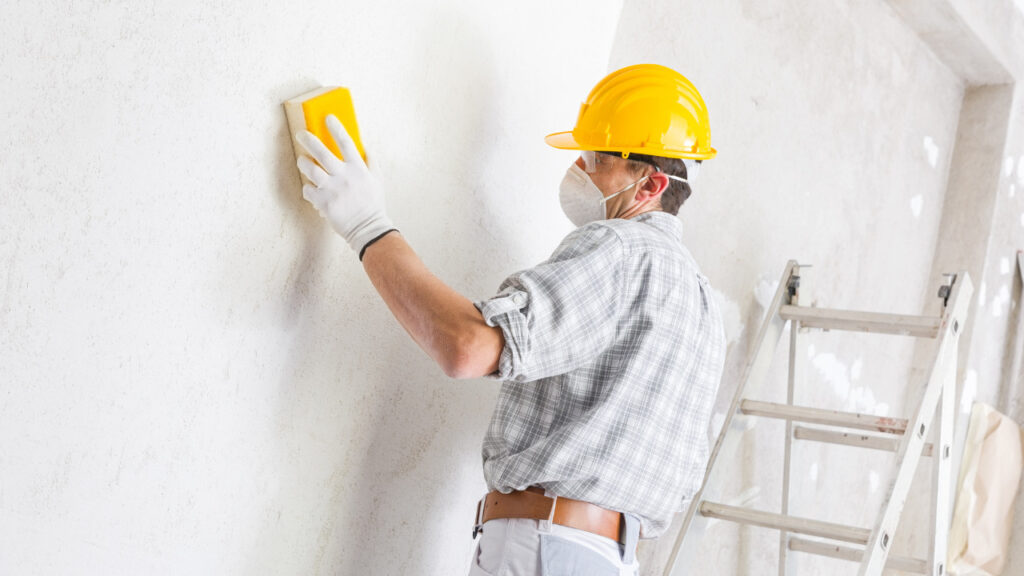
3. Sand Down the Walls
Use very fine sandpaper to gently sand down the glossy areas. This step will improve the adhesion of the fresh paint to the walls.
Make sure to remove any remaining sanding dust fully before you move on to begin painting. You can do this by vacuuming the wall or brushing it down.
4. Wash the Walls
Take mild detergent and warm water and make a mixture. Use this to wash your walls. It will remove any surface dirt, oil, or grease that could make its way into the new paint layer. If that happens, it can undo your hard work. So, work smart and vigilantly.
Completely wash away any soap residue and let the walls dry completely before you start painting.
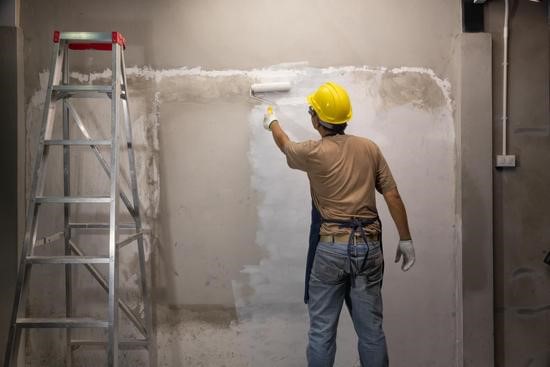
5. Consider a Primer Before Painting
If you want your paint job to be the best, consider applying a paint primer. It will work as the best adhesive, pigment, and durable agent for the paint.
Apply the coat of the primer and let it dry completely before applying the paint. You can use ceiling paint as a primer.
6. Perfect the Primer with a Tint
This step is not necessary and you can just skip it. However, if you tint your primer with the final color, it will improve the paint coverage, and you may not even need to apply many coats in the long run.
It’s a professional painter’s tip!
9 Easy DIY Steps to Painting Your Room
Now that the preparation is done for the paint job, it’s time to discuss the most crucial part of how to paint a room.
This is the main event, so you don’t just slop the paint on. You need to follow some techniques that will give your end paint job a result worth loving.
1. Mix the Paint
Take all the paints and mix them into one bucket. Mixing them will keep a consistent color. If you pour the paints in separate trays, the paints may react differently, dry slightly, and create a mismatched coloration.
Make sure you stir the mixture properly. Not doing so will result in oil, water, and powder in paints separating if you use the paint cans after some time of buying them.
2. Cut the Trims and Edges
Start by “cutting in” the edges and trims of the walls. It is a technique where you paint the edges and corners of the walls where a roller can’t do a good job.
You will need a 2-3mm trim brush to paint a three-inch strip along the perimeter of the wall and ceiling.
3. Understand the Paintbrush Techniques
Understanding the brush techniques can go a long way in your DIY paint projects. When cutting the trims, hold the paintbrush the narrow way around. You may find it a bit uncomfortable, but it will create a much crisper line.
Don’t forget to wet your brush before dipping it in the paint and blot it. It will prevent the paint from dripping up towards the handle and save the brush.
There’s a technique for dipping the brush as well. Only dip the brush in paint about half an inch. Doing so will prevent overloading the brush and stop excess dripping.
You will need to avoid tidemarks as well, so always paint in long, continuous strokes.
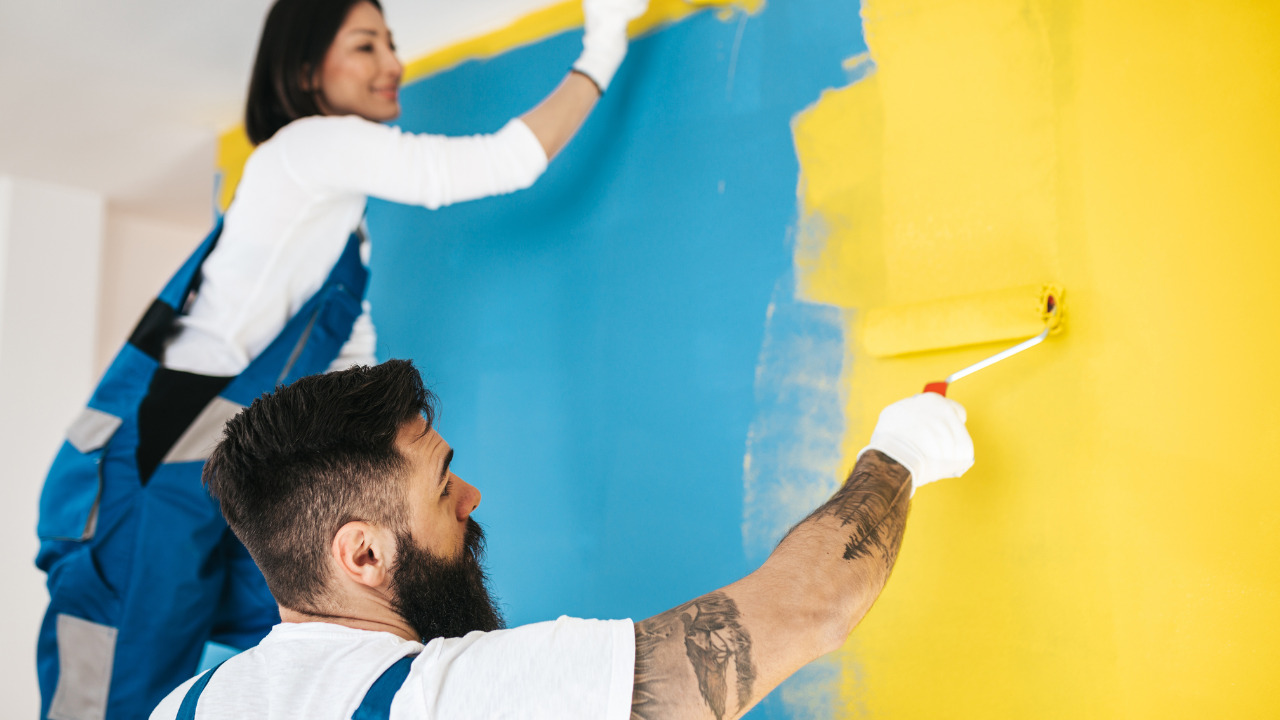
4. Apply the Paint from Top to Bottom
Once you understand the paintbrush techniques, keep in mind the golden rule of painting a room – always work from top to bottom.
If you are painting a surface, you need to paint both coats and allow each coat to dry completely before starting on anything else.
5. Paint the Ceiling
When starting to paint the ceiling, keep the paint direction across the width of the room rather than the length. Start from the corners and work out, blending with the previous trims you painted on.
Try to roll excess paint into the tray to prevent dripping as much as possible.
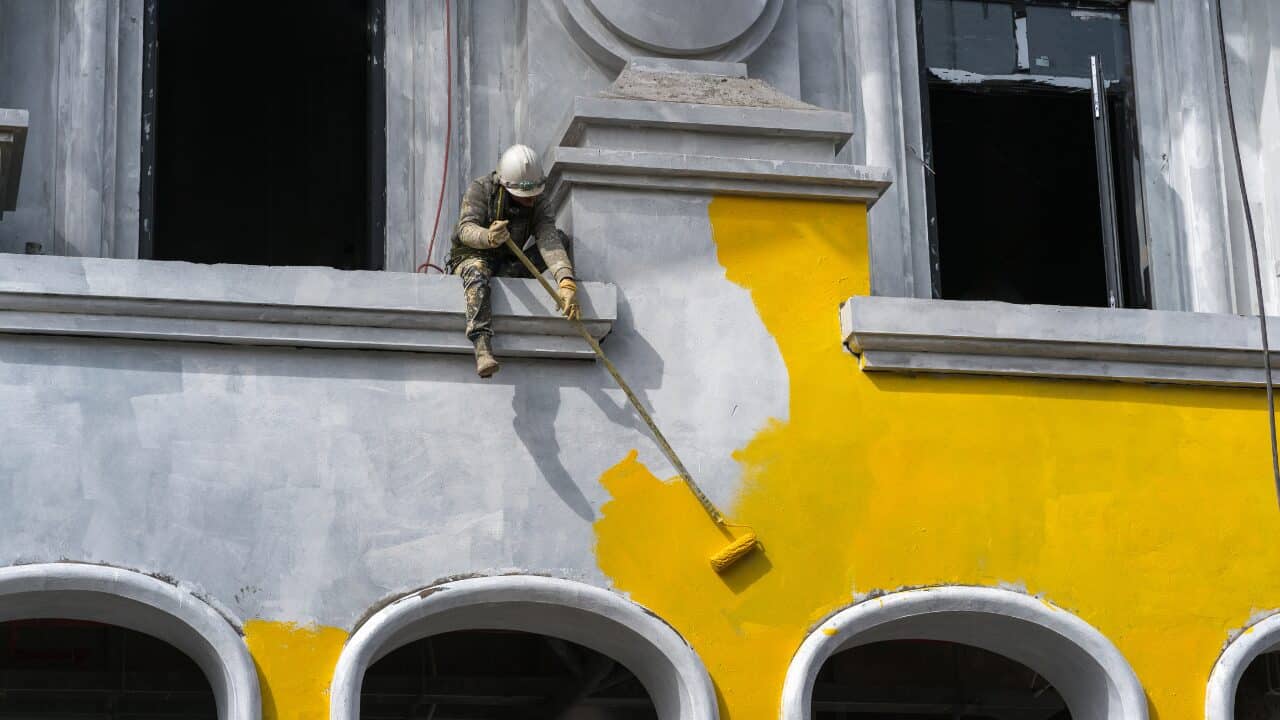
6. The Paint Roller Technique
Try to paint in a ‘W’ pattern when using a roller. Fill in the gaps of the W without lifting the roller off the wall. This is the right technique to use a roller.
Repeat this process until the wall gets covered with the first paint coat. The benefit of using this technique is that it reduces the appearance of tide marks or lines where you can see the roller was placed on the wall.

7. Don’t Stretch the Paint
You can’t overload the wall with the paint. So, make sure to wipe the roller on the tray to remove excess paint.
However, you can’t stretch out the paint too thin as well. It will result in an uneven blotchy paint job. So, try to keep it balanced.
8. What to Do If You Take a Break?
You should prepare for the painting to take longer than one day. So, wrap your rollers and paintbrushes in cling film and put them in the refrigerator so that they don’t dry. This step won’t make you clean the brushes again and again.
Just take them out of the refrigerator half an hour before starting again so the paintbrushes are back to doing their best job.
9. Finally, Finish Up!
Before removing the painter’s tape, make sure to do it before the paint is completely dry. It will reduce any damage to the newly-applied paint.
Peel it off when you feel the paint is no longer tacky, but still a bit damp below the surface.
If you feel the paint is peeling a little, use a knife or razor to remove it without damaging the paint.
And that’s it. Your paint job is done.
Paint Your Room Confidently!
This guide can help you break down the task of how to paint a room into a fairly easy DIY project. It takes time, energy, and effort to paint a room flawlessly. However, it’s worth it in the long run for perfect home decor. When done right, a DIY paint project will stand the test of time much better.