How to paint an ombre wall? Before discussing that in detail, let’s get the idea of an ombre wall.
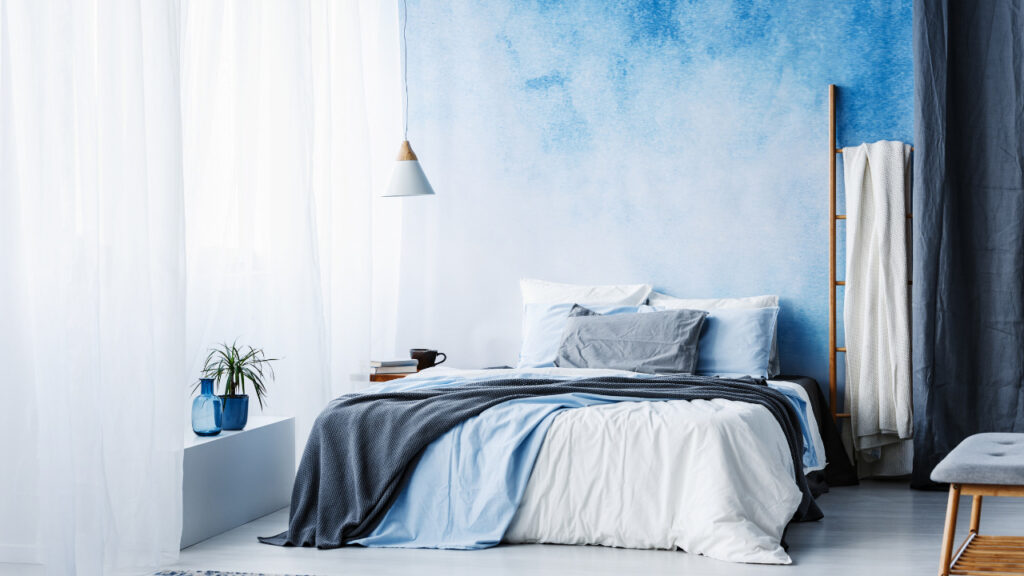
An ombre wall treatment is a decorative effect you can give to your room wall. It creates a dreamy, water-colored effect using a single paint color gently transitioning into another and covering the spectrum between two colors.
To get a clear idea, think about a beautiful sunset with layers of multiple colors looking miraculous together as they paint the sky. Ombre is just like that – an inexpensive way to add colors and texture to your walls.
How to paint an ombre wall in your room? Let’s discuss steps to achieve this elegance for your house.
Table of Contents
10 Steps to Painting an Ombre Wall
Just like painting an accent wall, creating an ombre effect on your room wall is not complicated if you prepare the wall properly before painting.
If you are new to painting an ombre wall, follow the step-by-step guidelines for a great paint finish:
1. Preparation is the Key
If you hope to paint an ombre wall where one color fades into another, choosing shades to create the ombre effect can be a little tricky.
If you are not sure which colors will work, you can try a paint color match app. Colors that share a single base color and line on the color wheel will blend perfectly well. You can choose adjacent shades on the color wheel to get a subtle effect. However, if you want a more dramatic effect, choose a color from different sides of the wheel.
You need to spend some time experimenting on finding the perfect hue. Make sure you have plenty of paint.
2. Tools and Equipment You’ll Need
You will need the following tools, materials, and equipment to start your painting project:
- Pencil
- Yardstick
- Measuring tape and measuring cup
- Paint trays
- Large paintbrushes
- Medium-sized paint rollers
- Primer
- Masking tape
- Two shades of paint
- Paint stir stick
3. Determine the Color Flow
Now you should decide which way you want to direct the flow of color.
If you keep the transition from dark at the bottom to light at the top, it will make the ceiling seem higher, and the space will appear larger.
On the contrary, transitioning from light at the bottom to dark at the top can give your room a cozy look.
Here’s a tip: If you use oil-based paints, the wall will dry more slowly than the latex paints. That’s a plus point when creating an ombre wall because blending two shades will require the wall to stay wet.
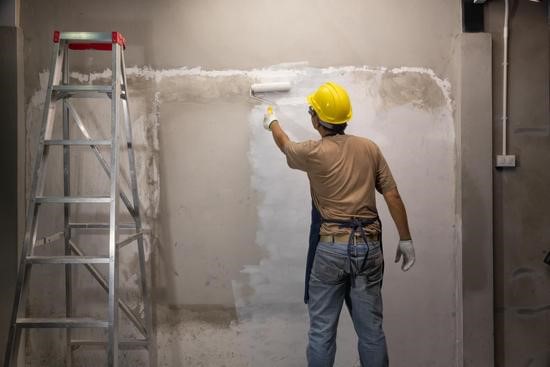
4. Prime the Wall
Start by covering the wall with an even coat of white primer. Use a standard roller and paintbrush for this step.
If you are a beginner, you should consider using the painter’s tape. Tape off the baseboard and other trim before applying the primer. Let the coat dry completely. While that happens, wash the roller, paintbrush, and tray. Let them dry as well so that they are ready for the painting.
You can paint without the painter’s tape if you have a steady hand. You can also consider using special brushes, such as an angle brush or an artist’s small brush. Both these brushes can cut into the edge with some precision.
5. Divide the Wall into Sections
Divide the wall into three equal horizontal sections. You can do this step using a measuring tape, pencil, and a yardstick. Measure the sections vertically and make light pencil marks for each. Through these marks, draw light horizontal lines with the pencil.
6. Paint the Top and Bottom Edges of the Wall
Just like you did the priming step, painter’s tape can help protect the baseboards and ceilings, and cut in around the base of the wall. Use a small paintbrush and a dark paint color. Afterward, use the light color to cut in along the ceiling. Let the paint dry completely.
Now, let’s understand the concept of cutting in. It’s a painter’s term to do the painting around the edges freehand without using painter’s tape.
You can use a regular paintbrush, angle brush, or artist’s brush for a careful paint job around the edges. This process saves you time because you don’t have to wait for the paint to dry before removing the tape.
7. Mix the Paint
Now’s the crucial step to paint an ombre wall. Take three paint trays, and fill one with dark color and another with light color.
Use a measuring cup to mix the third color by combining the two shades in equal parts. Stir thoroughly with a paint stir stick. Pour this mixed paint into the third paint tray.

8. Roll Each Section Properly
Take the darkest shade to roll the bottom section of the wall. Use a paint roller and keep the paint edge about 1 inch below the lower pencil line.
Don’t wait for the paint to dry and roll the middle section immediately with blended paint. Roll the top section with the light paint. Use a different color for each color and don’t mix them.
Carefully keep each paint back at least 1 inch from the marked lines. It will create a 2-inch wide strip of bare wall between each section.
9. Blend Each Section
It’s time to blend. Take a large, dry paintbrush to blend the two colors between the bottom and middle sections. You have to work quickly at this point so that the paint does not dry. Repeat the same thing to blend the middle and top sections and use a different dry brush,
Blend as much or as little as you would like. But act quickly so the paint does not dry and you complete the blending.
10. Tips to Paint Morean 3 Sections
If you are blending a single color with white or using two completely different colors such as blue and green, you will need to make three color sections.
You must choose an odd number, like five, seven, or nine. The more sections you create, the more gradual and spontaneous the color change will be.
Start by mixing equal parts of the original paint colors to create a custom half-and-half blend. If you plan to make seven sections, mix six cups of each light and dark paint.
Now, use this half-and-half blend to paint the center section of the wall. Add one cup of dark paint to the blended color, mix it well, then roll the area below the center section.
Add one more cup of dark paint to the remaining tint and roll the next section. Repeat the same process for the bottom sections. Repeat this same painting process for the bottom section and blend the adjacent areas with dry brushes.
Mix another batch of half-and-half blend. Repeat the same process. Start from the middle section and move up. For each section, add one cup of light color to the paint mix. As you go up, the color will get softer.
Your Ombre Wall is Ready to show off!
Now you can proudly show off your masterpiece to the world. Make sure to let the wall dry completely. After the drying, move the furniture back to the places and remove all the drop cloths.