Are you going to start painting your home? Well, let’s hear us out about an eco-friendly paint option, milk paint. It is a real thing, and it may provide you with more benefits for your home painting project than other types of paint.
Whether you are going to paint the walls, your floors, your ceilings, or furniture, painting includes immense preparation work and research. All of this is to ensure you get the best materials for surfaces throughout your house.
Paint can have many bases, such as water, oil, chalk, and even, milk. Yes, you read that right. Milk paint is a reality. Let’s understand how to use milk paint.
Table of Contents
What is Milk Paint?
Milk paint is a kind of paint that contains milk protein, lime, casein, and natural earth pigments like ochre, umber, and iron oxide.
Sometimes called casein paint, milk paint has been around for centuries and it is a tried-and-true favorite by many skilled designers. Although it’s one of the world’s most ancient paint forms, the formula has been adjusted over time to adapt to the modern world.
Known for its durability and velvety finish, milk paint comes in a powdered form. It is a paint finish that is particularly loved by DIY paint enthusiasts for its ability to create a stylish look for pieces of furniture, walls, doors, and more.
It’s an eco-friendly, all-natural paint formula in the world of design, that offers zero volatile organic com. pounds or other toxins. Milk paint is a better alternative in place of chalk paint.
So, how to use milk paint? How can you apply it? What are the benefits of milk paint? Let’s find out what is milk paint used for.
How to Use Milk Paint?
When you get milk paint, it’s in powdered form. That means you can safely avoid lugging those big paint cans into your home.
All you need to do is mix the formula with water. It gives you an edge of having total control over how much or how little of the paint you like to make.
When the milk paint is in powdered form, you can store it indefinitely. However, once you have mixed it with water, the milk component will only last for 24-48 hours. You can prolong its life span by refrigerating it with a tight seal.
So, you may be wondering “What is milk paint finish?” When you are painting with milk paint on your desired space, it gives a beautiful matte and velvety finish. It creates a real vintage feel and gives a period look to any old surface. Milk paint is also an effective way to paint over your wallpapers for a perfect finish.
That’s why milk paint is being increasingly used in painting furniture for an authentic, vintage look.
How to Apply Milk Paint? 9 Steps to Achieving a Flawless Finish
Applying milk paint is a very creative process. You need to get through several steps to make sure you do a great milk paint job and achieve a beautiful and flawless look. You can use milk paint on walls, doors, furniture, crafts, and other surfaces. You can also use a paint color match app to choose the perfect color for milk paint.
Let’s walk through a series of steps to painting with milk paint:
1. Materials to Gather
You will need some materials to gather before starting your project. Here’s a list:
- Water
- Milk Paint Powder
- Stirring Whisk or Stick
- Paintbrushes
- Sandpaper
- Rags or paper towels
- Painter’s tape
- Drop cloths or newspapers (to protect the workspace)
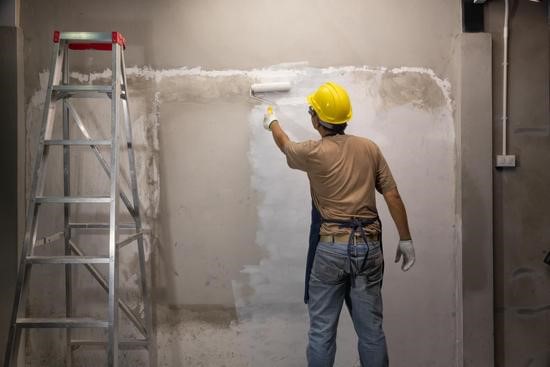
2. Prepare the Surface to be Painted
You should choose a well-ventilated, outdoor area for your paint project. That way you can protect yourself from the paint fumes, and your surroundings from paint splatters.
If you are going to paint furniture or other surface, make sure they are clean, dry, and free of any existing paint or debris.
Think of wooden furniture such as chests, chairs, desks, tables, dressers, etc. You can transform and update any of these pieces with milk paint.
If the surface is smooth, you can use the sandpaper to lightly sand it, or if you want to distress it after the painting.
3. Mix the Milk Paint
To mix the milk paint powder with water, you need to follow the manufacturer’s instructions on the paint package about the mixing ratio.
Typically, all you need to do is mix equal parts of milk paint powder and water. However, this ratio can vary depending on the brand of milk paint powder you are using.
Add the mixture to a mixing container, and use the stirring stick or wish to create a consistent and smooth milk paint mixture. After mixing, let the mixture rest for about 5-10 minutes. It will let the milk paint dissolve fully and thicken.
4. Test the Consistency of the Mix
Before applying the paint, make sure to check the consistency of the paint mix. To do that, dip the paintbrush into the mixture and lift it out. The milk paint should coat the brush without getting too watery.
The paint should be thin enough to spread easily. However, it shouldn’t be so thin to drip excessively.
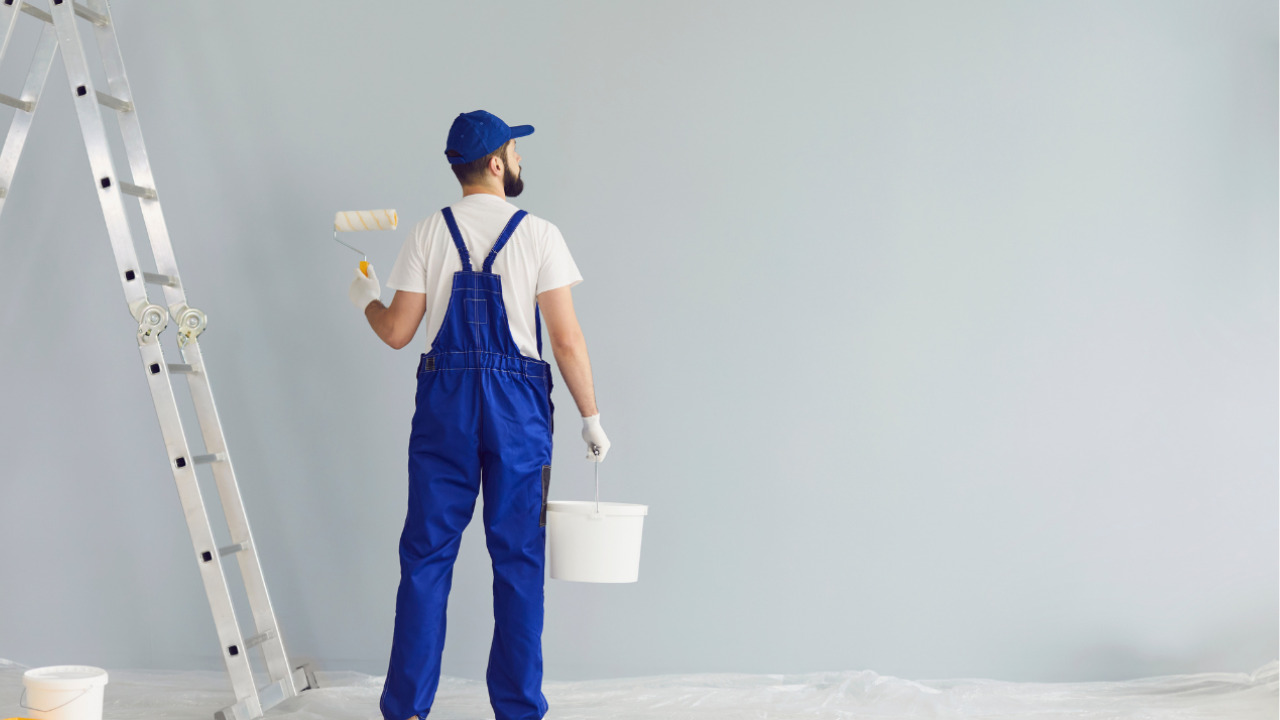
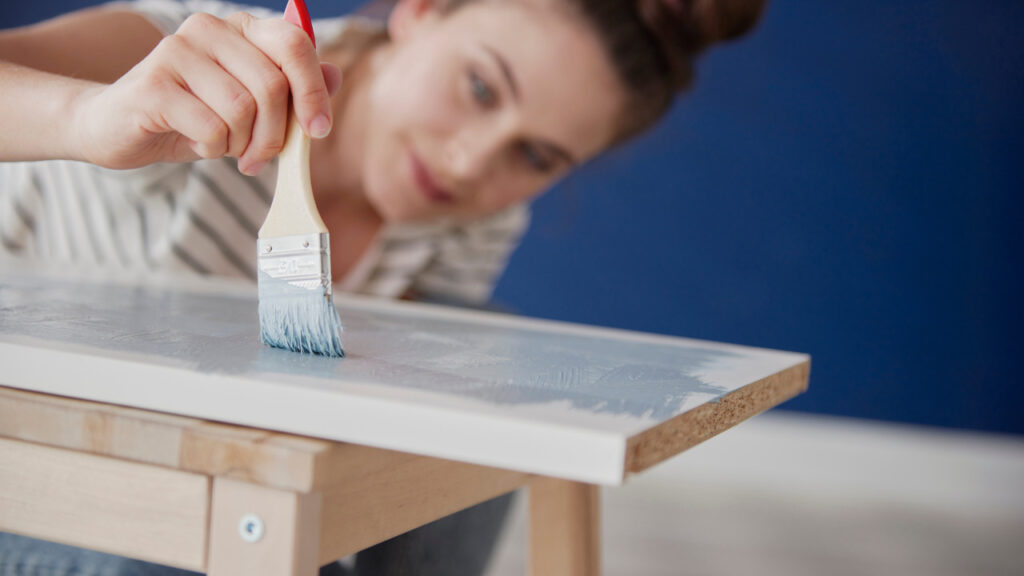
5. Apply the First Layer of Paint
Now, you can start your paint project. Apply the first layer of paint using long, even paint strokes. Work in the direction of the wood or the pattern you are working on.
Milk paint is usually slightly translucent, so the first coat may appear uneven. However, you can apply additional coats after letting the first layer dry completely.
Keep in mind that the first layer may take up to 30 minutes to fully dry to as long as a few hours. It depends on the humidity and temperature.

6. Apply Additional Coats (If Needed)
If you want a deeper finish with milk paint, you can try applying additional coats. Follow the same pattern as the first coat to get an opaque look for the surface.
However, let each coat dry fully before applying the next.
7. Do the Distressing
If you want a distressed or vintage look for the surface, you can try sanding.
Use the sandpaper to sand the edges, corners, and other areas where wear and tear can easily damage the surface. Saddening will create a weathered and vintage appearance for the furniture surface.
8. Seal the Milk Paint
If you are satisfied with the paint’s look, you can leave it as the matte, chalky finish. However, for a more durable and polished look, use wax to seal the paint as a topcoat.
9. Do the Cleanup
Once your paint project is finished, hasten to clean your paintbrushes and other tools. It is necessary as the milk paint tends to harden quickly.
Once the paint is dried and additional topcoats are applied, you can enjoy your new piece of furniture with a fresh look.
Milk Paint Promises a Beautiful Finish!
Milk paint is an ideal paint option to give your furniture a distressed, vintage look. If you are going to choose milk paint to update your furniture pieces, make sure to follow the instructions for a job well done. You can easily do the milk paint project at home, with an environmental-friendly touch and a matte, velvety finish.