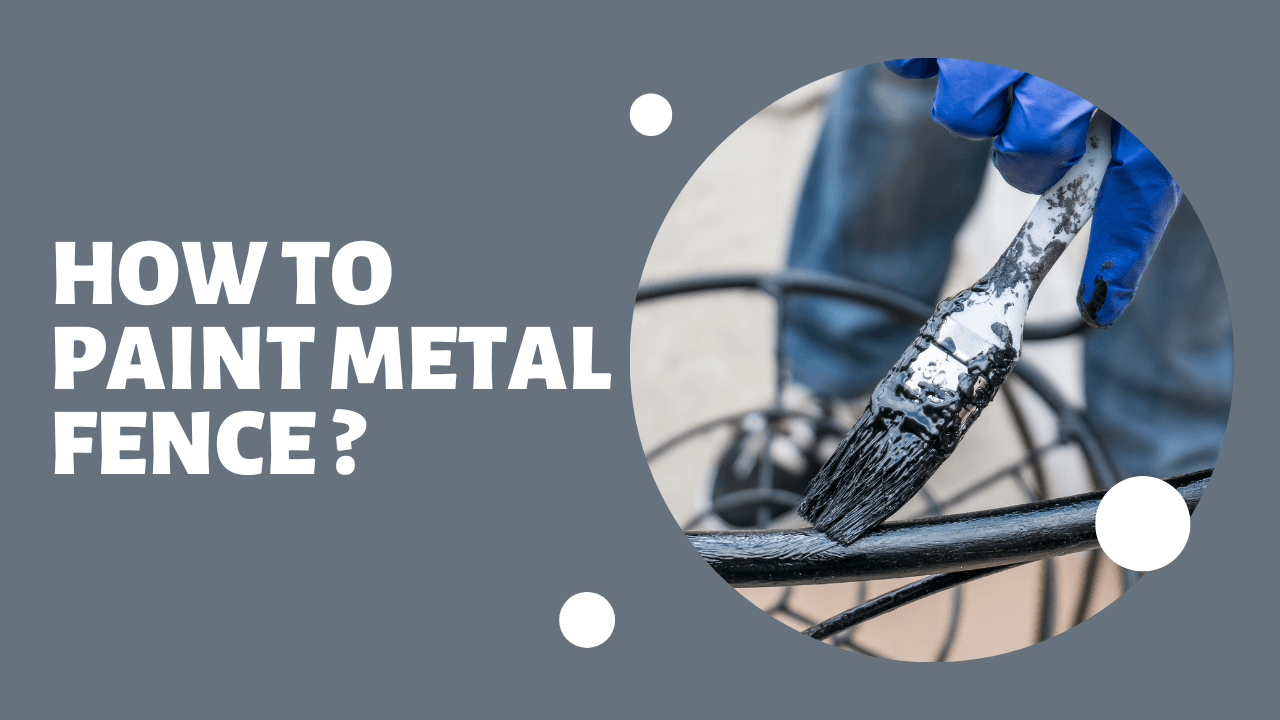
If you don’t do it right, painting a metal fence can be a pain. Before painting, the fence should be stripped of all paint, rusted, and smoothed out. Manual sanding, sandblasting, or paint and rust removal are all options. Instead of trying to cover up the old paint, scrape it off.
This helps to keep the new paint from flaking and chipping. When particular painting steps are followed during the painting process, your metal iron fence will last years rather than months.
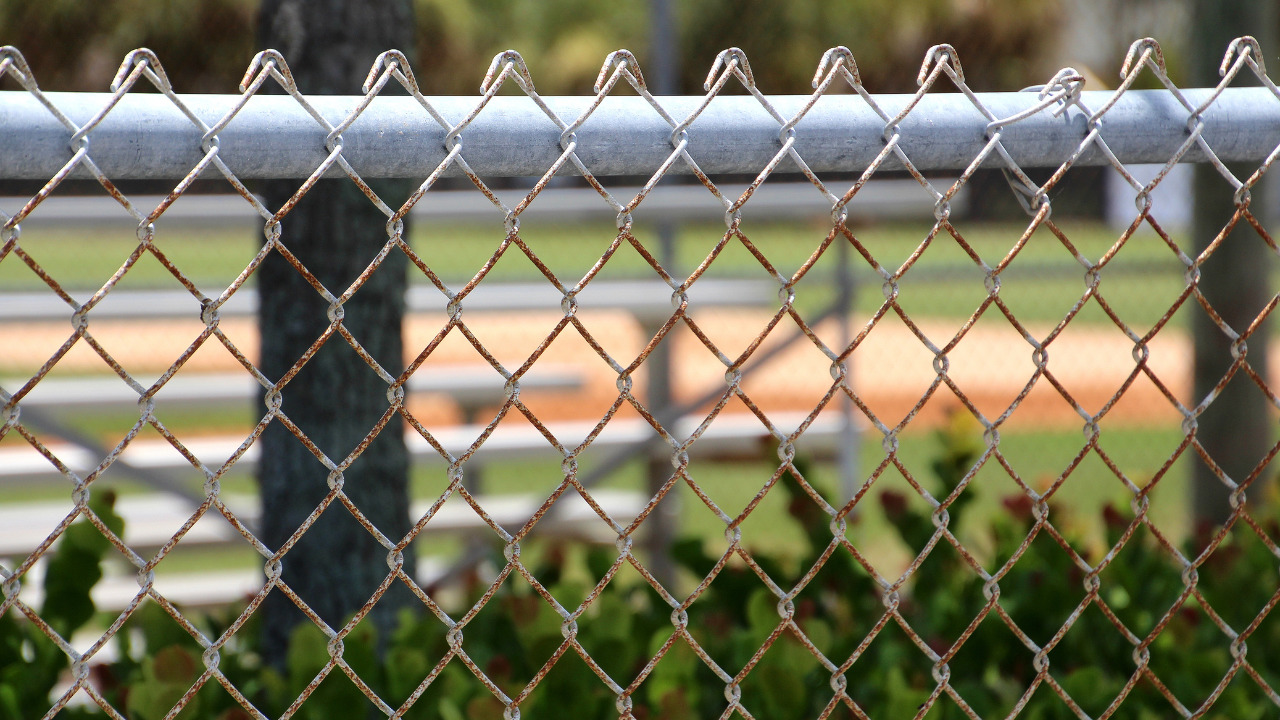
Metal railings, fences, gates, and other external metalwork are decorative elements that serve a practical purpose. Many old iron fences and gates paint, while others have been left unpainted to highlight the metal’s beauty.
Learn how to fix, clean, and refinish railings and other metals in the steps mentioned below. Make sure to include them in your annual home maintenance checklist to avoid complications.
Table of Contents
Clear The Rust From The Metal Fence
Before you begin painting metal, ensure sure it is ready to accept primer and metal paint. Metal, mainly when used outside, is exposed to various factors that can cause it to corrode. Metal fences, as previously indicated, are prone to rusting, retaining water, and attracting oil or grime.
As a result, the first step is to inspect the surface for rust deposits and clear any that you detect. Put on your safety glasses, mask, and work gloves, then select a wire brush or a piece of steel wool and begin to work. Scrub the corroded area thoroughly to eliminate any loose debris.
If you’re having problems, start with the wire brush and work your way down to the steel wool. This is going to be much work, and it will take a long time to complete. Once the significant deposits have been removed, dampen a rag with mineral spirits and remove the residual rust.
When the rag becomes too soiled, replace it and dispose of the rags properly. It’s crucial to keep in mind that you won’t remove all of the rust; the goal here is to get the metal as smooth and level as possible before painting.
Remove Old Paint Layer
Before you begin, use a drop sheet and put on a dust mask and gloves. You can remove the paint in several different methods. You can scrape off all of the old paint with a wire brush. Another method is to use a cordless drill with a wire brush attachment, which is faster and easier but requires wearing earmuffs.
You may also remove the paint with sandpaper and some elbow grease. However, removing the paint with the sandpaper will require more time and effort.
Wash The Fence
Because oil, filth, and the mineral spirits you just used can limit the adhesion of certain metal paints, you should always wash the fence before applying primer and paint.
Fill a bucket halfway with hot water and a bar of soap. Soak a rag or a scrubbing brush in water and scrub the fence’s nooks and crannies thoroughly. After rinsing off the soap with a hose, dry the fence with a rag or let it dry overnight.
It’s Time To Paint The Metal Fence!
To achieve the most durable and long-lasting finish, start with a metal primer before painting. The primer provides a base for the topcoat to adhere to.
If the primer is too thick to apply correctly, thin it out with a bit of mineral spirit. Add it in small increments, stirring after each, and only adding more if the mixture is still too thick. When the primer has reached the desired consistency, dip your brush into it and apply it to the surface.
To avoid primer from merging, work swiftly and with even strokes. Pay close attention to streaks, bubbles, and other flaws. Make sure to dab in tight spots with a smaller paintbrush until the entire surface is covered.
Let The Paint Dry At least For One Day
You can paint the metal fence with the topcoat after the primer has had a chance to dry- this can take at least one full day. Pick a clean brush, dip it in the paint, and start spreading it around the surface.
Apply the topcoat in the same manner as the primer. Keeping an eye out for any missing patches, streaks, or paint pooling. Besides this, thoroughly dab the difficult-to-reach places. Allow for drying time before applying a second coat, if necessary.
Go For The Second Coat
Apply a second layer to ensure that your finished product looks it’s most refined. Always check the tin directions to see how long you should wait for the first coat to dry before applying the second coat. Clean your brush with turps after applying the second coat. So, it’s ready to use for your next painting project.
Apply Sealant
Because your fence is exposed to the weather frequently, it’s a good idea to seal the job to keep the paint appearing fresh. Look for a sealer that is specifically formulated to stick to painted metal. You can get all the product detail and specifications on the sealant’s tin.
But if you’re still unclear, ask a store associate or a professional to choose the best sealant for the painted metal fence.
Final Verdict
Hopefully, the discussed points and steps will help all the readers and DIY crafters paint the metal fence effortlessly. If you are still looking for guidelines or assistance, get help from professional and experienced painters to ease work. However, it’s super-efficient and completely okay to paint the metal fence yourself.