Removing interior partition walls to make the spaces so in demand in today’s real estate market is a common remodeling project, especially in older homes. In addition to enhancing family life, such a renovation can significantly increase the real estate worth of your home by combining two little rooms into one larger space.
To ensure the building is supported adequately, the removal of load-bearing walls necessitates a significant increase in labor costs.
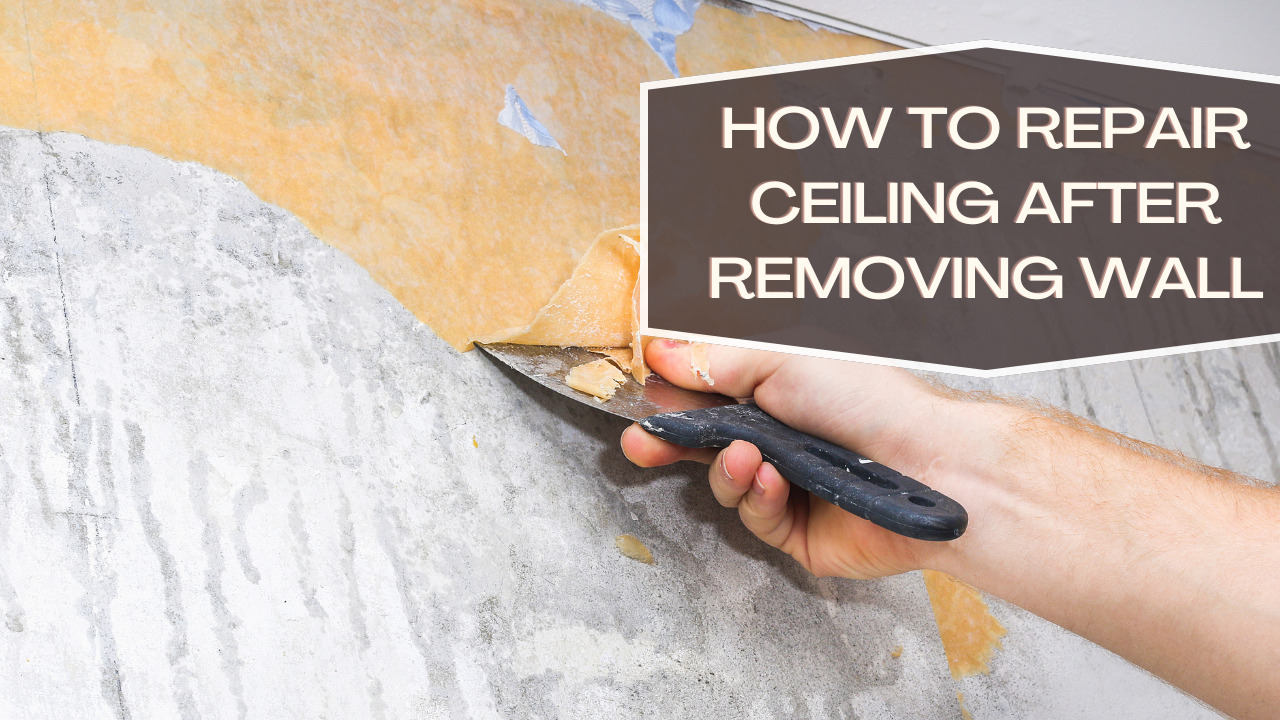
Other, more challenging jobs always accompany wall removal, and the process can be fairly complex. We’ll demonstrate in great detail how to swiftly and effectively fix the ceiling after removing the wall.
Table of Contents
Steps to Repair Ceiling After Removing Wall
1. Clean The Area After Removing The Wall
It’s time to tidy up once the wall has been taken down and only a large empty space is left. Before continuing, you should clean out any clutter or dust from your space. Nothing should touch the freshly painted surfaces!
Although it might not appear like there will be much mess, trust us. When walls are demolished, the surroundings become messier.
2. Use Pipes for Temporary Ceiling Support
While you wait for the new ceiling, you will need to erect temporary supports. Before building anything permanent, remove any pipes or wires blocking the location where you want to put your joists by cutting them off at the source and transferring them out of the way. Beams should be trimmed to fit together using wood boards.
3. Use a Joist for Holding Up The Ceiling
Joists will support your ceiling. When you’re ready to install them, align them with the former locations of your walls and fasten them using screws. This phase can only be completed with a power drill; without one, it is impossible.
Maintain space between ceiling joist supports so that insulation can be placed there.
4. Put Ceiling Sheets
Large plywood pieces that fit together like tiles are used for ceiling sheeting. As long as all of the joists are evenly covered, it doesn’t matter how many sheets are laid down or in what direction. Using caution when handling this material is important because even slight damage might make it challenging to paint afterward.
5. Add Flooring
There is no reason not to lay temporary boards before tiling your new sheeted ceiling, even if you intend to have a ceiling that extends to your floor. Since any damage at this point could be expensive and difficult to repair, it is especially crucial when working with wood rather than tiles.
6. Cover the Ceiling with Tiles
Typically, drywall or plaster is used to create ceilings. It’s wonderful if you want to wallpaper yours. However, tile is the material of choice for the majority of people. Therefore, this is how it functions. To cover your joists, arrange your tiles in the desired pattern.
If your sheeting is made of plywood, spacers should be employed. It would help if you decorated your ceiling now that you have one. You can choose to paint or use paper for this project; search local home improvement stores for the best supplies.
Wallpaper is undoubtedly the cheapest option, but most people prefer something less complicated, especially while working at a height. Nobody wants their new ceiling type to stand out from the rest of the room, so make sure the material you chose blends in with what was there before.
Conclusion
Professional artisans with experience operating rooftops or ladders frequently complete their ceiling work. Nevertheless, taking no chances when restoring your ceiling after knocking down a wall is crucial if you haven’t previously worked at heights.
Don’t undertake this task alone; make sure someone else is in the room while you work. Don’t forget to put on appropriate shoes and non-snagging clothing. Ladders should never be used along walls; scaffolding boards will provide more support while allowing you to access higher regions safely.
Even non-tradespeople who take the necessary precautions and care can fix a ceiling after removing a wall. Hire an expert to help you if you need advice on anything.