Are you looking for a budget-friendly revamp for your space?
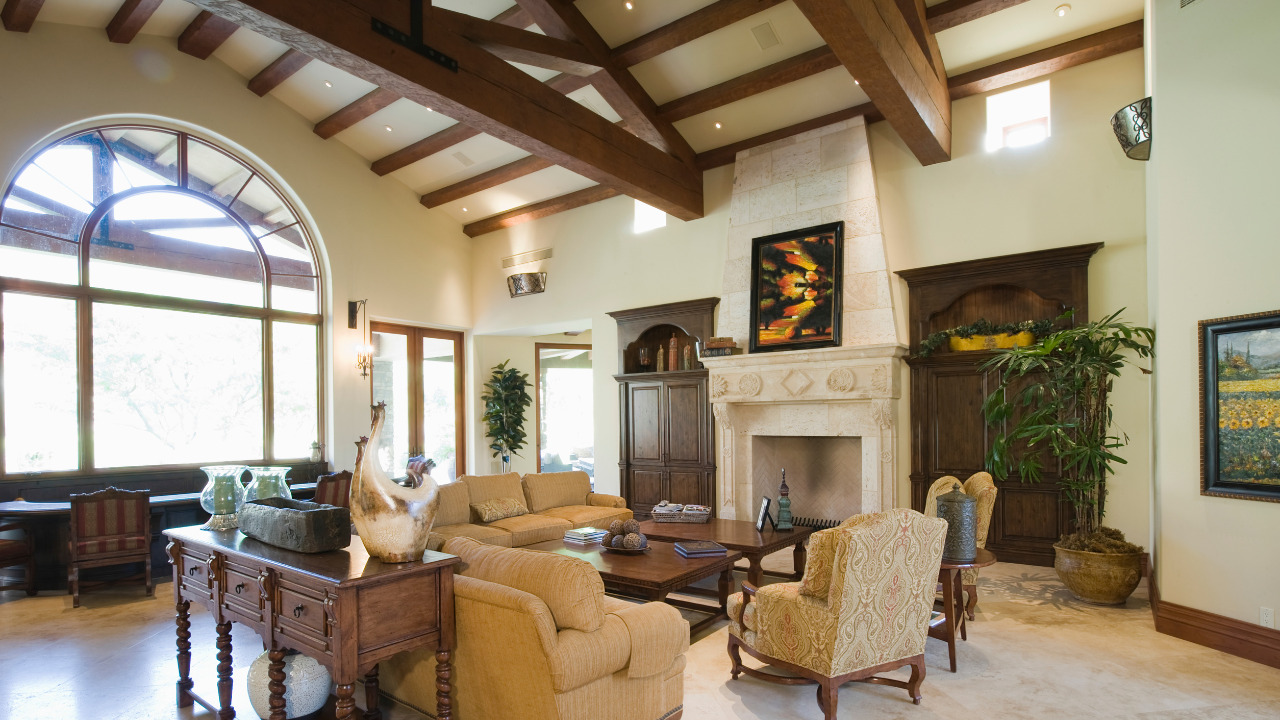
Drop ceilings aka suspended ceilings can be the perfect choice. This ceiling type has retained its prominence for years and still makes a great choice for modern homes. Other than homes, people also prefer installing drop ceilings for their commercial buildings.
The reason behind the increasing popularity of drop ceilings is the benefits it brings along. From providing insulation and better lighting to being inexpensive and giving a finish to your space, these ceilings are a preferable choice for any space. Unlike other ceiling types, their versatile nature significantly adds to their popularity.
If you are also swayed by these benefits and wondering how to install a drop ceiling, then we have got you covered. Let’s walk through the journey of drop ceiling installation in the sections below.
Table of Contents
How to Install Drop Ceilings
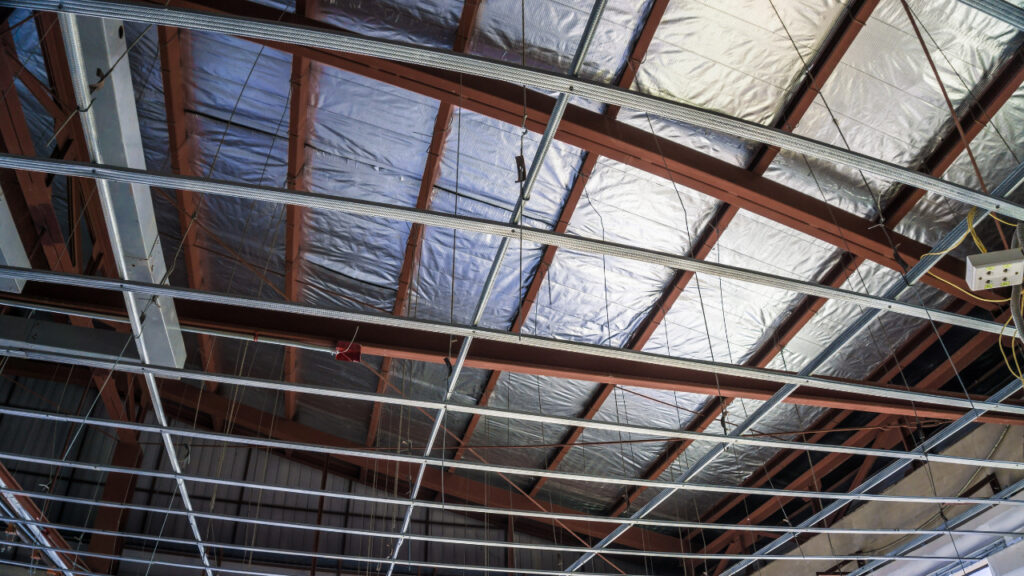
Drop ceilings, also known as T-bar ceilings, are cost-effective and easy to install on your own. It is commonly used to cover your existing ceiling such as the old popcorn ceiling. For the covering process, metal T-bars and lightweight ceiling tiles are used.
Here is a step-by-step guide which will answer your query regarding how to install the drop ceiling:
1. Decide the Look
The first step in drop ceiling installation is to decide the look you are aiming for. These drop ceilings are available in a variety of designs and styles. While choosing your ceiling look, make sure to keep your budget in mind.

2. Get the Material First
It is important to collect all the required material before you start the actual work. The choice of material is one of the factors that impact your drop ceiling installation cost.
Gather the materials such as ceiling tiles, screw eyes, wall angle molding, wire cutter, hanger wires, tiles adhesives, safety gears, etc. Also gather tools such as measuring tape, chalk line, drill driver, ladder, etc.
3. Measure the Room’s Ceiling:
It is important to measure the walls of the room as it is tricky to install the tiles at the corner of the ceiling. Use a tape measure to note the length of each wall. Also, measure the width of the walls in case of a square or rectangular room.
Mark the line almost 4-5 ft below, from the top of your wall. So, you have room for the fixture and to put in your tiles. Now, draw a straight line with the chalk completely around your room, keeping in mind the 4 ft distance.
4. Adjust the Wall Angles
Now you need tin snips to cut the wall angles to the length of your walls. These L-shaped pieces are used to support the tiles and runners around your room. Cut the wall angles according to the wall length of the room.
In case of a projecting wall corner, extend the angles of your walls by an additional half inch beyond your measurements. For a mitered corner finish, cut the bottom-most wall angle of the wall runner at a 45-degree angle. If your walls extend the wall angles in length, then butt them together by aligning the wall angle ends.
5. Install the Ceiling Grid
Cut the main runners to match the length of your room, positioning them perpendicular to the joists. The main runners play a crucial role in supporting the majority of the ceiling’s weight.
Measure the section of your room that runs at a right angle to the wooden joists of your ceiling. Then, use a pair of tin snips to accurately trim the runners to the appropriate length. If your room’s length exceeds that of a single main runner, utilize the clips located at the ends of the pieces to join them.

6. Framing the Border Tiles
After completing the gridwork for the main tiles, it’s time to put up the framework for the smaller border tiles. Cut the Cross-T’s to align with the border’s width, ensuring consistency. Position the cut end onto the wall rail firmly, allowing for stability.
Subsequently, snap the uncut end securely into the designated slot within the framework. This systematic approach ensures a precise fit and proper installation of the Cross-T’s, contributing to the overall stability and uniform appearance of the drop ceiling.
7. Installing the Ceiling Tiles
Before installing tiles, locate those areas where you need any duct opening or light fixture. Use a sharp utility knife to trace. Then, cut the shape of the duct or the dimensions of the light fixture onto the back of one of your tiles. If you’re installing a full-panel fluorescent light fixture, cutting shapes from the tiles is unnecessary.
Now, raise the tiles through the grid and position them atop the grid. Begin the process from the room’s center and proceed towards the edges. Tilt the tiles at an angle and elevate them through the grid system.
Align and straighten the tiles and then insert the tiles into your ceiling until you have completely covered it. Ensure the tiles are level during installation. If you come across any tiles that aren’t level, make adjustments to the runners before proceeding.
Cost of Drop Ceiling Installation
Generally, drop ceilings are considered an inexpensive ceiling option. Installing a drop ceiling can cost between $4-$7 per square foot of the room. However, the exact cost of installation varies and depends on multiple factors.
The choice of ceiling material is one of the major factors that affect the cost of the drop ceiling. Other than this, the size of your room and its dimensions also determine the cost. Furthermore, you should also consider equipment rental and labor costs while deciding your budget for the installation of drop ceilings.
Elevate Your Space with Drop Ceilings
Drop ceilings are a perfect choice for both residential and commercial spaces. These ceilings are easy to install and you can do them on your own. A variety of tile options are available in the market that you can choose to match your existing interiors.
Installing a drop ceiling can be a daunting task. If you have the right tools and materials, then you can easily install a drop ceiling. However, if you feel that you won’t be able to do it alone, then you can hire a professional to get the work done.