When it’s time for a house revamp, ceilings are considered the safest bet.
There are a variety of ceiling types you can choose from. High ceilings are particularly considered as a preferable option over flat monotonous ceilings.
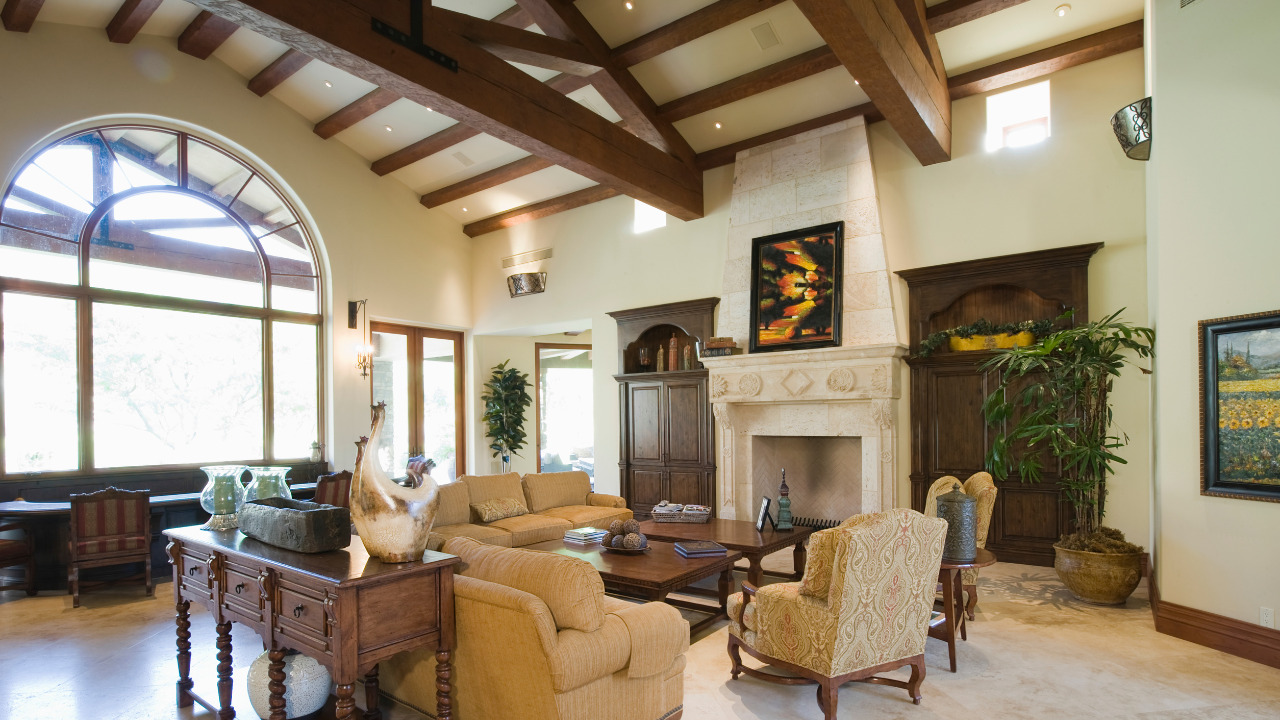
No matter what vaulted ceiling or cathedral, irrespective of the high ceiling type, you can always choose them.
However, in case you have a pre-installed ceiling, then painting your high ceiling can be a good idea. For instance, if you have a cathedral ceiling in your home and you want to go for a budget-friendly revamp option, is there anything better than painting your cathedral ceiling?
Of course, not.
The best part about this revamp option is that it can be easily done as a home improvement DIY project. However, painting a cathedral ceiling on your own can be a daunting task especially for the beginners. One may need the right tools and skill set to make the job easier for you. But due to the excessive height of cathedral ceilings, painting them is much more difficult than painting than the flat or drop ceiling.
In case you are wondering how you can paint your cathedral ceiling, then read on below to find all the details about the painting process for the cathedral ceiling.
Table of Contents
How to Paint Cathedral Ceilings
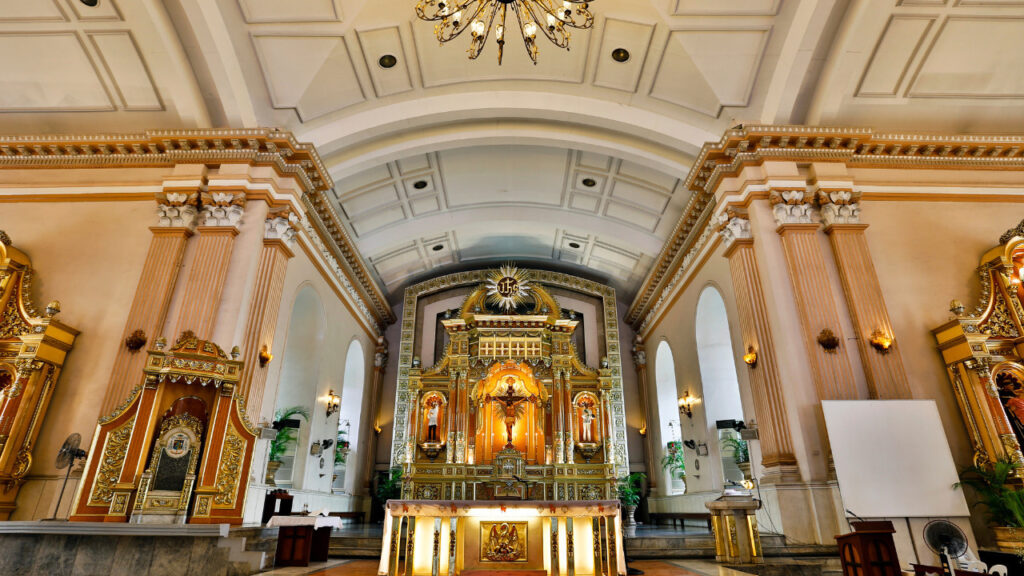
Cathedral ceilings are known for their majestic appeal and make a room look more spacious. These ceilings have remained quite popular for a long time. Cathedral ceiling is ocular due to its exceptional height that gives it a sense of openness. However, the same height makes it difficult to paint the ceiling.
Just like painting a vaulted ceiling, another high ceiling, it is also possible to paint cathedral ceilings. But for painting cathedral ceilings, you need the right tools and follow the right procedure to it perfectly.
Painting cathedral ceilings is a multiple step process and requires a lot of patience. Here is the step-by-step process to paint the cathedral ceiling.
1. Gather Materials
For painting cathedral ceilings, the material and tool supply should be available and you must have a definite plan. The following is the list of materials that you will be needing for a painting job.
- Drop cloths and plastic sheets
- Broom
- Painter’s tape
- Paint pans or buckets or trays
- Paint brushes
- Paint rollers
- Extension pole
- Ladder or scaffolding
The size of the extension pole depends on the maximum ceiling height and the area that requires a paint coat. Different lengths of extension poles can be attached with paint rollers and you need to decide the value based on the clear height in your room. Too big extension poles often make it difficult to balance the roller-on-pole while painting. It is therefore better to go for a size that suits your interior.
Normally for painting high ceilings, an 18-inch roller is used to provide a good coverage while you roll it over the ceiling surface.
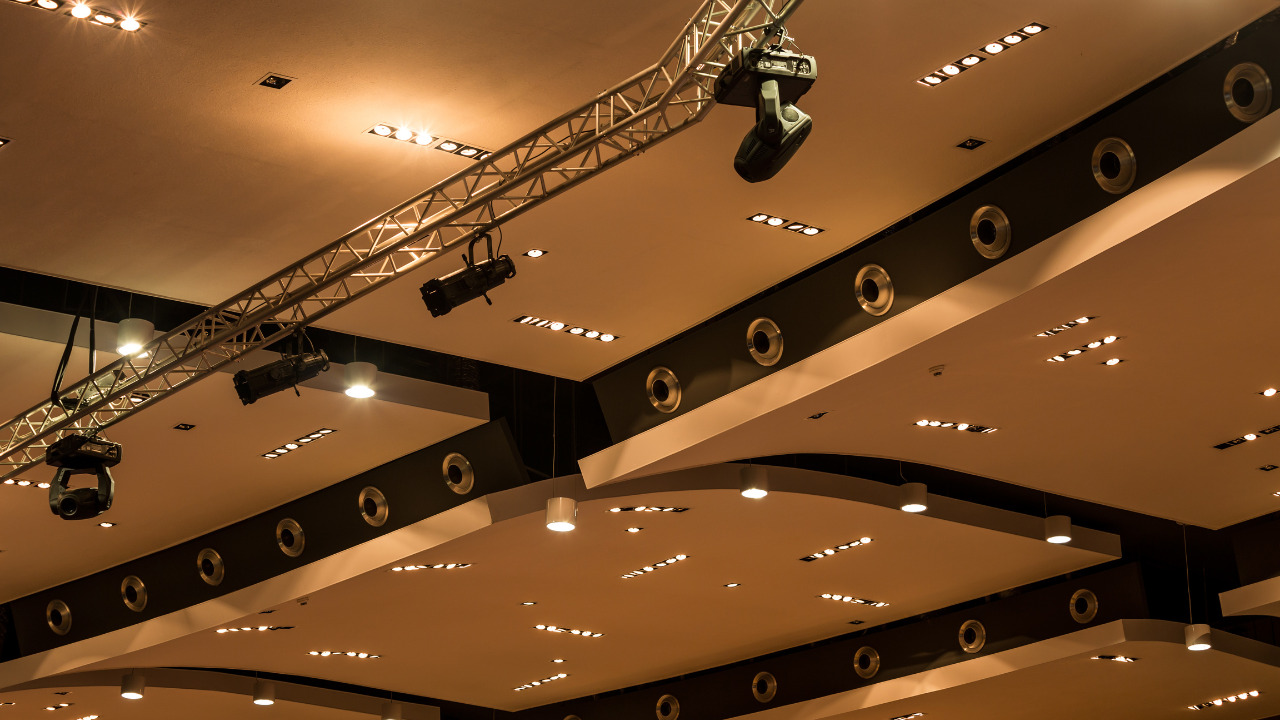
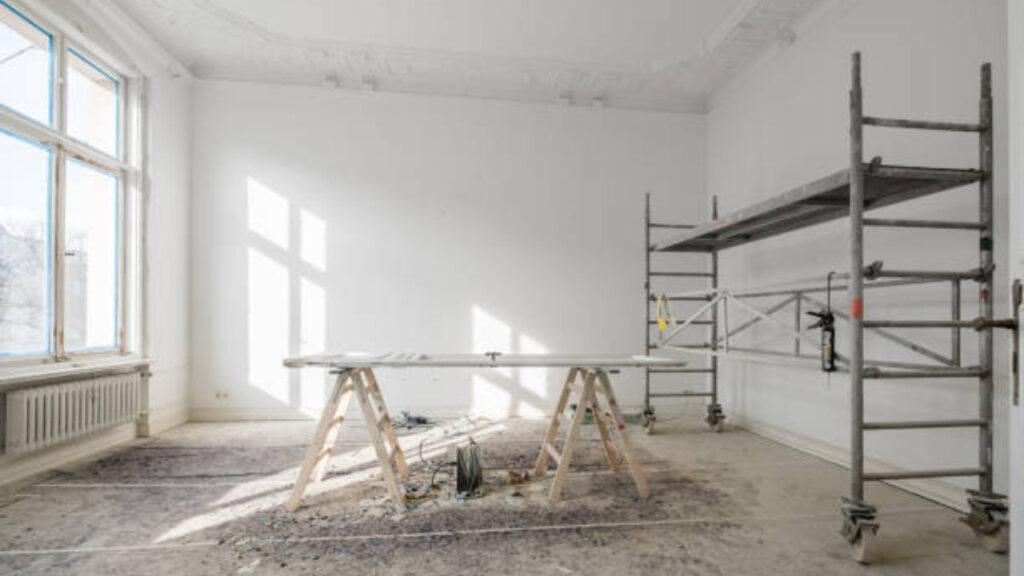
In case of cathedral ceilings, it is advisable to go for scaffolds because the architectural detailing will make the painting process even more intricate. Using an ordinary ladder won’t work and even an extension ladder will require changing position very often, with each new adjustment necessitating stability when secured.
2. Cover the Room
Just like any painting work, painting cathedral ceilings requires moving the furniture and other important items out of the room so these remain safe from paint splatters during work. In addition, cover the remaining fixtures using drop cloths and the floor with plastic sheets. Doing so will keep them out of mess while the ceiling is being painted.

3. Clean the Ceiling Surface
Inspect the ceiling surface carefully for imperfections. Look for chippings, dents or cracks in the area, go for repairing it first using a filler compound before painting.
Ensuring a smooth underlying surface is crucial to get a finished and leveled overall look. So, once you are done with inspecting the surface, go for cleaning it with a light broom to get rid of loose paint or dust on the ceiling surface.
4. Paste the Painter’s Tape
The painter’s tape is pasted in areas that you do not want to get painted and also in regions where there are chances that the painting work might end up with splashes.
Painter’s tape is normally applied at the intersection of walls and ceilings because that area is most likely to be affected by the painting work. In addition, light fixtures are also covered in with the tape so these
don’t catch paint hues.

5. Prime the Ceiling
Priming the ceiling is optional but it will prove advantageous in terms of preparing the surface to take the paint hue. It helps create a smooth surface but sealing imperfections. Preferably, go for a stain-blocking primer.
Primer is normally used on surfaces that have stains or any form of discoloration because this can also affect the color of paint as it will appear different at different sections.
6. Start Painting
Once the ceiling is primed, you are good to begin with the painting process. Pour the paint in the tray or pan in an ample amount so that the roller gets immersed in it easily.
First cut in the edges using a paint brush or a roller that provides a lesser coverage. Proceed carefully along the corners and edges and at sections where the ceiling meets the wall.
Attach an extension pole with a roller and this time Dip the roller in the paint tray and start painting the ceiling, working on small sections at a time. Go for an M pattern or a W one to minimize the roller marks.
Work in a systematic manner and keep immersing the roller in the pan so that it doesn’t dry out. While you move from one section to the other, make sure the paint stays wet so that the two areas blend well and give a coherent look.
You can go for multiple paint coats if a single coat doesn’t suffice. This also depends upon the coverage your paint color provides and also on what color was already present on the ceiling surface.
7. Give Final Touches
Inspect the ceiling to check if any section is still devoid of the new paint hue and give final touches using a brush or roller. Once the paint is close to drying, remove the painter’s tape carefully without damaging the paint coat.
8. Clean Up the Area
Remove the drop cloths and plastic sheet and clean up the mess. Also clean the painting tools and there you go: what’s better than a room with a new paint hue, exuding elegance and coherence with the surroundings.
Painting Tips on the Go
Make sure that the paint roller doesn’t dry up while painting. In other words, intermittent dipping in the paint bucket or pan is essential when you roll it over the ceiling.
Using the right paint product is very important to get the look you are desiring and it is never recommended to bargain the paint quality for a low-cost paint product.
Painting Cathedral vs Vaulted Ceilings
It is often touted that cathedral and vaulted ceilings are two different names of the same thing; however, this is a misconception. Both of these are two separate ceiling types that do share similarities and differences. The key differences between cathedral and vaulted ceilings become pronounced when you keenly inspect the architectural design and functional requirements of the two.
Both cathedral and vaulted ceilings are high ceilings and the steps followed in painting high ceilings pretty much apply to both of them. However, if we draw a comparison between painting jobs in both the cases, the following are a few key conclusions;
- Painting cathedral ceilings is more complex because of its intricate architecture that is very finely detailed in design and also requires a finer application of the paint coat. On the other hand, vaulted ceilings usually have a lesser pitch and provide more accessibility than cathedral ceilings.
- Cathedral ceilings usually require scaffolding for painting works because the clear height is usually way more than ordinary vaulted ceilings. For painting vaulted ceilings, a scaffold may or may not be required and even an extension might do the required work.
Cost to Paint Cathedral Ceilings
The total cost of painting a cathedral ceiling has a bearing on several factors including:
- If you are hiring a professional painter, you will end up spending more money on the job.
- If your ceiling requires any preliminary treatment or repair work, you have to spend extra money on that too.
- The cost of protection materials such as drop cloths, plastic sheets, etc. is also included in the total cost.
- If priming is required, it will incur more cost for the painting job.
- The type and quality of paint is very didactic in determining the overall cost.
- The painting technique and accessing equipment use also decide how economically heavy the task would be.
- The ceiling area is a dominating factor that decides the total cost.
- If you go for multiple paint coats, the cost will surge accordingly.
Even giving an estimated amount for painting cathedral ceilings is difficult because of a number of influencing factors. However, as a general consideration, the estimated range for painting cathedral ceilings can be somewhere between a few hundred to several thousand dollars.
Painting Cathedral Ceilings
Cathedral ceilings are known for their grandeur appeal and a preferable choice for traditional and modern homes. However, sometimes old cathedral ceilings can look old and can harm the aesthetic appeal of your home. If you have an existing cathedral ceiling in your home, then you can go for painting it. Painting cathedral ceilings is one of the easiest ways to revamp your old cathedral ceiling.
It is always advisable to go for hiring professional painters. However, if you have hands-on experience on painting jobs and have been into these activities, you may go for painting a cathedral ceiling as a DIY task.