Two most common causes of kitchen remodeling is the kitchen sink drain or the faucet leakage. It may not be the case at all times, but its a serious concern. Otherwise it can cause multiple problems like continuous water drainage causing damage to the base cabinets and the kitchen flooring.
In case water is draining slowly, or not at all it is a red flag, something is wrong with the sink drain. If it happens continuously then its about time you need to take care of it making it a DIY project.
Even before replacing your kitchen sink drain, ensure to check if you only need to fix your leaky kitchen sink rather than replacing the entire drain system. Moreover, check for clogging or blockage in your sink drain before replacing it. You can clean overflow sink hole and clogged drains before going for sink replacement.
Let’s start replacing the kitchen sink drain, it’s not a daunting task!
Table of Contents
Tools to Use for Replacing Kitchen Sink Drain
You can complete the replacement task patiently and follow the listed down steps. But first you will need the following tools and equipment even if you are going to replace already installed sink drain;
- Sink drain trap kit
- Sink drain strainer bucket
- Tape measure
- Screwdriver
- Wrench
- Pliers
- A cutter for tubing
6 Steps to Change the Kitchen Sink Drain
Before learning about how to replace a kitchen sink drain, you have to understand the working mechanism of your sink drain and its parts. You may need to only change a few parts of your kitchen sink drain especially during your kitchen remodeling.
The reason is that you don’t need to replace the entire sink drain system every time you upgrade your kitchen. If replacement is needed, check for the type of your kitchen sink drain either it is a single-bowl or a double-bowl sink drain.
Additionally, check for additional attachments or connections such as the garbage disposal system with your kitchen sink drain. Keep in mind that learning about how to replace kitchen sink drain pipes is one of the most complicated steps of kitchen sink drain replacement.
Here are the 6 easy steps you need to follow.
1) Check Sink Drain for Leakage
If you are replacing the kitchen sink drain because of leakage or water dripping, you have to identify the spot of leakage. This way, it would be easier for you to find out the main cause of drain blockage or water leakage.
By identifying the leakage cause, you may also not need to replace the entire drain system. If you see water leakage or dampness between sink drain strainer and drain pipe, you may need to replace your kitchen sink drain.
2) Identify Trap Arm Height
Identifying the trap arm height of your kitchen sink drain is the most important step of learning how to replace the kitchen sink drain. The reason is that without estimating the right height, you cannot adjust or replace an old sink drain with a new one.

To identify trap arm height, clear your kitchen sink under the cabinet. You can check the trap arm height with a tape measure by looking at the bend under your current kitchen sink. Without estimating the right height of the sink drain trap arm, you cannot even know how to replace pipes under the kitchen sink.
If you want to replace your kitchen sink also with the drain, ensure to buy a new kitchen sink that has the same depth as your old kitchen sink. So, you can fix the sink and drain without any difficulty. On the other hand, the depth of the kitchen sink also matters for the right adjustment of the kitchen sink drain there.
3) Seal Drain Strainer Basket

While replacing your kitchen sink drain, you can keep your old sink drain strainer basket. However, you can reset the strainer basket by reapplying the putty. For this, you have to scrape off the old putty first.
Once you have removed the old putty, apply a new layer of putty around the edges of the drain strainer basket. Ensure to remove excess putty with a paper towel.
4) Adjust the Height of Drain Outlet
If you find it a little bit difficult to adjust your kitchen sink drain while replacing your kitchen sink drain, you may need to learn about how to replace the kitchen sink pipes. No doubt, this is not an easy step to adjust the height of the drain outlet according to the depth of the kitchen sink.
At that point, most DIYers prefer to hire professionals. But you can also complete this job if you have determination and the right tools. If you are unable to adjust the height of the drain outlet, you may need to pass the drain outlet through under the kitchen sink or surface wall.
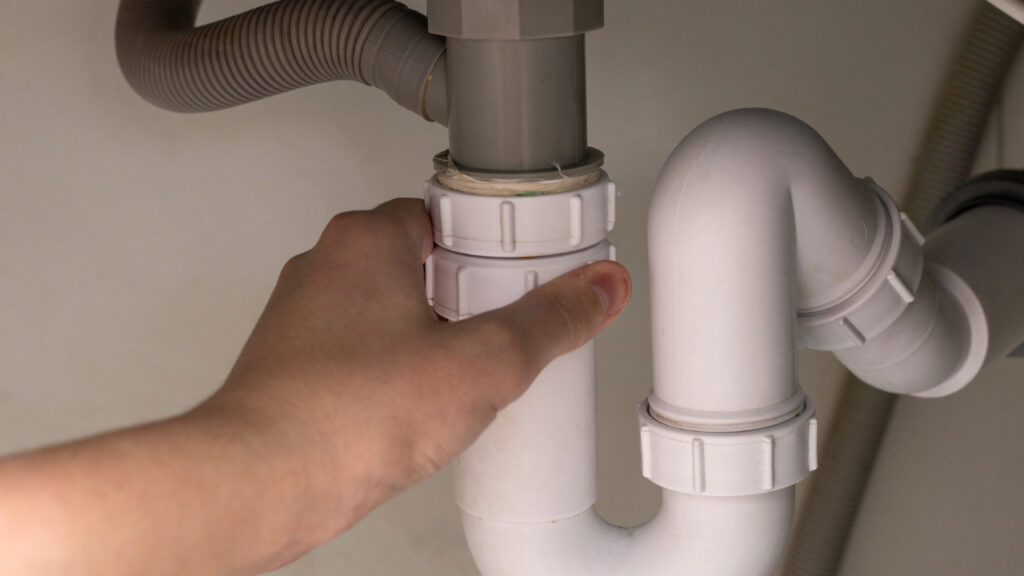
Ensure to perform this step carefully, so you can remove the P-trap of your kitchen sink drain when you need to clean it.
5) Install Drain Pipes

It is best to use pre-cut or already measured drain pipes for your new kitchen sink drain outlet. Otherwise, you may need to measure the outlet and adjust the height as mentioned in the previous step.
Whole connecting new drain pipes, ensure to remove the parts such as tubing and trap of your old kitchen sink drain. So, you can replace the entire system to save yourself from future water leakage or blockage.
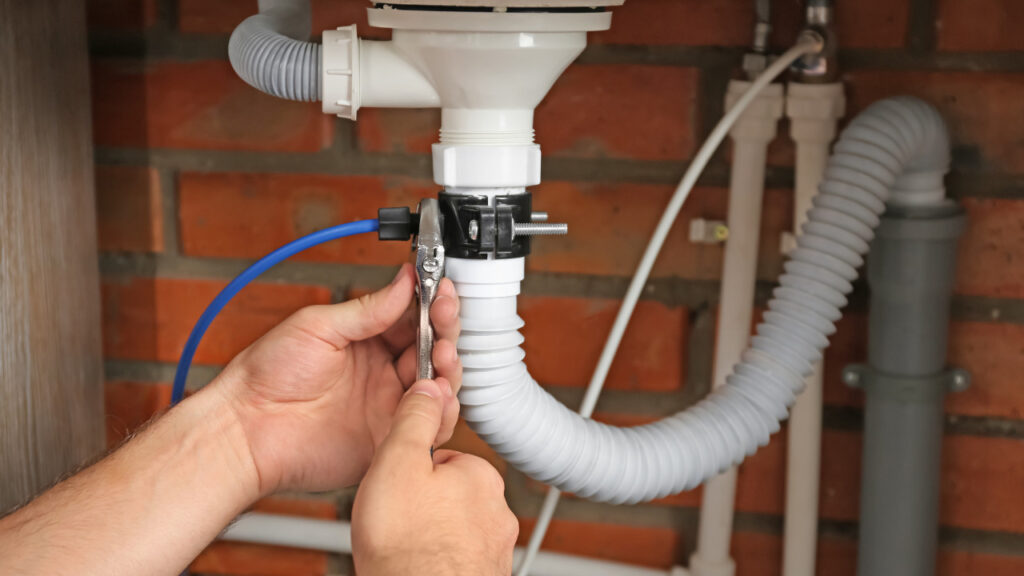
Once you have installed or connected drain pipes, use a wrench or screwdriver to tight the pies.
6) Test New Kitchen Sink Drain

Once you have done the “how to replace a kitchen sink drain” process, you have to test your newly installed kitchen sink drain. For the test, turn on the sink water tap and fill the sink tub with water. Check for the kitchen sink leak.
If there’s still some leakage of water, you may need to tighten the drain pipes, tubing or fittings. For this, you can use a plier. Ensure to place a basket under your kitchen sink drain while testing it for leakage or water dripping.
This way, you can save your kitchen sink under the cabinet to become a pool in case of water leakage. Even after kitchen sink drain replacement, if you still see leakage or water blockage, you may need to call a professional.
Take Quick Actions for Leakage!
It is not uncommon to find a leakage in kitchen sink drain or faucet. The problem arises when you do not replace the kitchen sink drain on time. Take all the necessary measures and protocols with the right tools and equipment to replace the sink drain. Making it a DIY project is cost-effective measure, but if you do not want to do it by yourself, call in the contractor or plumber.