Do you need to replace your kitchen sink because of its wrecked condition or any other issue? We all know that kitchen hardware or fixtures especially, kitchen sink have a great impact when planning kitchen remodeling. Before replacing your kitchen sink, make sure that it actually needs replacement. If not the case then just fix the leaky kitchen sink faucet or clean sink using baking soda and vinegar to see if it improves the functionality.
This way, you can save kitchen sink replacement cost simply by fixing the leakage or other issues. If you really need to know how to change the kitchen sink, make sure to collect all needed tools and supplies firstly. So, you can get the job done efficiently and smartly.
Table of Contents
How to Change a Kitchen Sink
Follow this DIY guide to tackle all issues while replacing a kitchen sink faucet.
1) Turn Off Water Supply Lines
Before working on kitchen sink project, ensure to disconnect all water lines, quite similar to when changing the kitchen faucet. If there are two lines for cold and hot water, you have to disconnect both lines. Check the side of your kitchen sink faucet to find the water valves. Once you have found the valves, you can disconnect or turn it off by turning it in a counter clockwise pattern.
If there are no valves under your kitchen sink, you can simply shut off the water supply from the main lines. It is necessary to shut off the water to save the kitchen sink from leakage at the time of replacement.
2) Drain Out Remaining Water

The next step of how to replace a kitchen sink is turning on the kitchen sink faucet tap to let the stopped water drain out. Even if you haven’t recently used the sink tap, you still need to turn it on to let the water drain out collected in pipelines.
This step will only take a few seconds. So, work on it patiently to save yourself from further halt or difficulties.
3) Use a Bucket to Collect Dripping Water

Even if you have drained out all water from your sink pipes, the water may still keep dripping from the valves or pipes because of some leftover water. To keep your working space free of mess, it would be best to place a bucket under your kitchen sink’s pipe.
It is also necessary to select the right type of kitchen faucet when replacing the kitchen sink to avoid any leakage.
4) Use a Wrench to Remove Water Lines
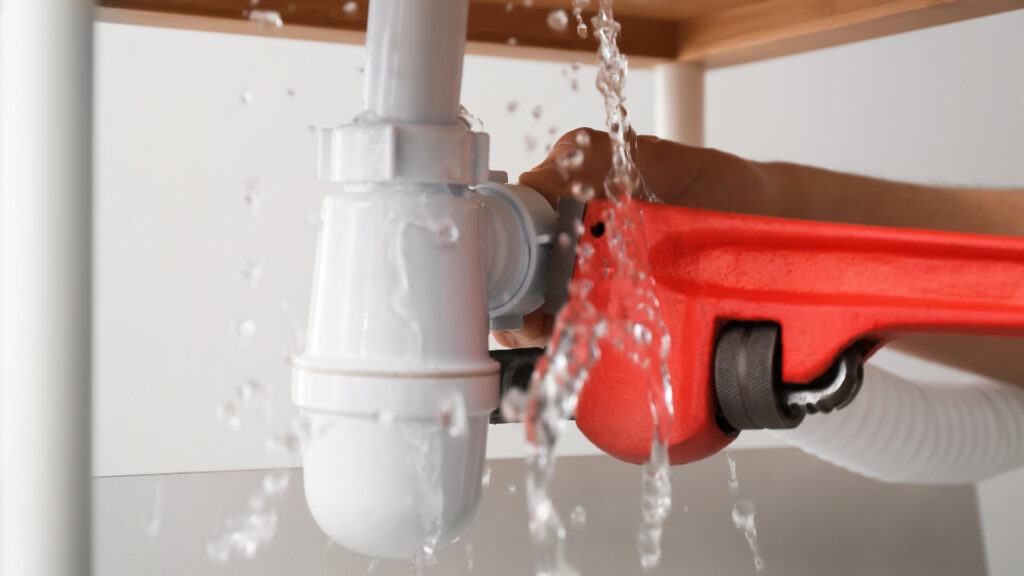
Turning off water lines connected to your kitchen sink is not enough. You will also need to disconnect or remove water lines that are attached to your kitchen sink. If you find it difficult to remove water lines by hand or twisting, use a wrench for ease of work. At this point you have to consider replacing kitchen sink drain.
If water pipes are rusted or in a wrecked condition, don’t apply too much force. The reason is that doing so will break the pipe and create a huge mess for you. Once you have removed all the water lines or supply lines from your sink as a considerable step of how to replace a kitchen sink, ensure to keep all parts and pipes. The reason is that you have to reattach all these lines again once you have replaced your kitchen sink.
5) Remove Sink’s Pipes Fittings

After removing the water supply lines, it’s time to remove the sink’s other pipes or fittings. You may see some metal fittings around your kitchen sink pipe. You can remove those metal fittings with a plier easily while learning about how to remove old kitchen sinks.
If your pipe fitting has a plastic body, you don’t even need to use a plier. You can simply lose the pipes by twisting them in anti-clockwise patterns. If you use a plier for plastic pipe fittings, it may damage or break the pipe. This way you can fix under the sink leak rather easily.
While removing pipe fittings, ensure to place a bucket under pipes to let the remaining water collect in it.
6) Remove Old Sink

Once you have removed all connections, water lines and supply lines, it’s time to remove an old kitchen sink. This is an essential step of how to replace a kitchen sink process. So, perform it thoroughly or carefully.
Firstly, remove the clips of your kitchen sink that are undermounted the sink. If your sink is caulked, you can remove the sealing or caulk from the sink by using a utility knife. Ensure to not use the knife with high-pressure. Otherwise, it may damage the structure of your sink or attached countertop.
Once the caulk or sealing has been removed, it’s time to pull out the old kitchen sink. Keep in mind to not pull out the kitchen sink with high-pressure. You can do it smoothly simply by lifting out once all the fixtures have demounted.
After removing the old kitchen sink, remove all leftover caulk or debris from the area by using a putty knife. You can also use a mild cleaner to clean the area before placing a new kitchen sink at the same location where the old kitchen sink was installed.
7) Install New Sink’s Fixtures

Most DIYers think installing new sinks fixtures is the next step of installing a kitchen sink while working on how to replace a kitchen sink process. But it is wrong! You have to install the sink fixtures and all hardware first before placing the new sink.
You can connect the garbage disposal system attached with the sink and other straining baskets before placing a new sink. Ensure to install the disposal system with your new kitchen sink fixture according to their manufacturer’s instructions to get the job done smartly.
DIYers also prefer to use plumber’s putty to fix the sink’s hardware before placing a new kitchen sink. Install all washers and nuts attached to the gasket firstly before installing a new kitchen sink.
8) Use a Caulk Gun

After placing all fixtures including gasket, nuts and washers, you can use a silicone caulk gun to seal the sink to the countertop. However, you have to use the caulk according to the installation pattern of your kitchen sink.
Ensure to apply the caulk around the opening of your sink’s countertop. Secondly, apply caulk or sealing under the mounting area of your kitchen sink. You can also use water-proof or water-resistant sealing to keep the caulk for a long time under the sink.
9) Place a New Kitchen Sink

Once the caulk or sealing line has dried out, it’s time to place a new kitchen sink that is the most essential step. Keep in mind that the installation or placement of a new kitchen sink will be accompanied with installing kitchen sink drain. It may vary according to the type of your kitchen sink.
So, you cannot go for the same mounting method while learning about how to change out a kitchen sink. Simply place the new sink on the exact location from where you have removed the old kitchen sink. After that, apply a gentle pressure on the sink to push it down in the location.
Once you have placed the sink, it’s time to complete the undermounting steps by opening the under-sink cabinet. For this, you have to secure all clips, metal and plastic pipe fittings. If you have worked on unmounting steps while replacing your kitchen sink, it will be easier for you to remount all the lines proficiently.
10) Re-Attach Supply Lines
After placing or installing a new kitchen sink, you are all set to reconnect water lines and other supply lines to your newly installed fixture. For this, you will need to go under your sink and connect your sink’s valves with water lines.
Additionally, reconnect your water sprayer drainage pipe as well. While mounting or reconnecting the garbage disposal system, you have to work on its mounting according to manufacturer’s instructions or guidelines.
11) Test Your New Kitchen Sink
Even if professionals have worked on “how to replace a kitchen sink” process, you still need to check or test your newly installed kitchen sink. It is necessary to check your kitchen sink for any kind of leakage or other issues.
Even if you worked on the kitchen replacement process yourself, it would still be best to check your kitchen sink. For this, simply you have to turn on the water supply in your newly installed kitchen sink. This way, you can check if there are any leakage issues.
What is the Cost of Replacing a Kitchen Sink
Most oftenly the to install a new sink in the kitchen or even in the bathroom will cost at least $1000. The average cost to replace a kitchen sink is at least $420. However the nominal price range may vary from $200 – $600.
The price ranges may vary according to the type of kitchen sink model being replaced. For instance replacing old sink with a luxury sink (including the countertop work and fixtures) can exceed your budget as high as $1,700. This is the sink installation cost for a luxury model.
If you are planning to replace the old sink with farmhouse-style sink, then the kitchen sink installation cost will be around $300 – $1,400. The price may vary according to the type of farmhouse-style sink model you chose to replace the old one with. Even a state-of-the-art faucet can cost around $2,000.
The most nominal charges are for the corner kitchen sinks. Cost installation of a corner kitchen sink is between $480 – $1,350.