Applying tiles to a wall is difficult enough; when there is an uneven wall to contend with, the task becomes more complex than the normal installation of tiles. Uneven walls aren’t always perfectly straight.
The tiling procedure is made much more difficult by boards that aren’t flush with each other. There isn’t a single vertical and flat wall in any house. Similarly, floors will always have flaws or regions of unevenness.
When it comes to tiling, you’ll have to work around the issue of the uneven wall and figure out how to get a flawless finish. Otherwise, your tiles will protrude, and moisture may seep beneath them.
Uneven tiles on flooring can be a tripping hazard, so addressing the issue is vital. It is surely possible to achieve a flat surface for the tiles. For more guidelines and details, continue reading:
Table of Contents
A Few Considerations Before Tiling Over the Uneven Walls
When it comes to the worldwide construction industry, it’s no secret that workers have a penchant for cutting costs wherever they can. It’s just about constructing a straight wall for them. No one said it had to be perfectly level. There are more uneven walls than even walls in the world.
However, your difficulties might not be limited to gaps and roughness. You might even notice areas where the paint is either thick or thin, along with window trims or wall plugs. This would cause issues for you when tiling around cabinets or windows or when cutting.
Steps To Tile Over Uneven Walls
There are two basic reasons why walls are uneven. Either the wall has sagged somewhat over time, or the wall’s surface is not perfectly flat.
In either case, removing the boards then re-boarding and re-skimming the walls to create a flat surface to work with is the best course of action. Ascertain that your plasterer is aware of your final aims so that the surface is as flat as feasible.
1) Measure And Prepare The Wall
Measure the area on the wall where the tiles will be installed. Mark the wall’s midpoint with a chalk line from ceiling to floor. Place your first tile directly on this line and your subsequent tiles evenly out to each side to achieve a balanced installation. Preparing the wall is the easiest part of the entire process of how to tile over uneven drywall.
Begin by removing all fixtures from the walls. This could include nails, screws, and other items. It’s a good idea to cover any outlets with tape if there are any. However, keep in mind that due to the increased height of your wall, you may need to replace these. This, however, is entirely dependent on how flush you want your outlets to be.
2) Use Scraper To Remove The Plaster
Start scraping any loose plaster of the drywall with the scraper. This plaster will most likely be used where the drywall is uneven. Take care not to remove too much plaster. You don’t need to scrape it off if it’s securely fastened.
Scrape any wallpaper that has been installed as well. Examine the wall thoroughly. Use a phone’s torch to check if any cracks are developing or another form of damage. Repair it before going any further.
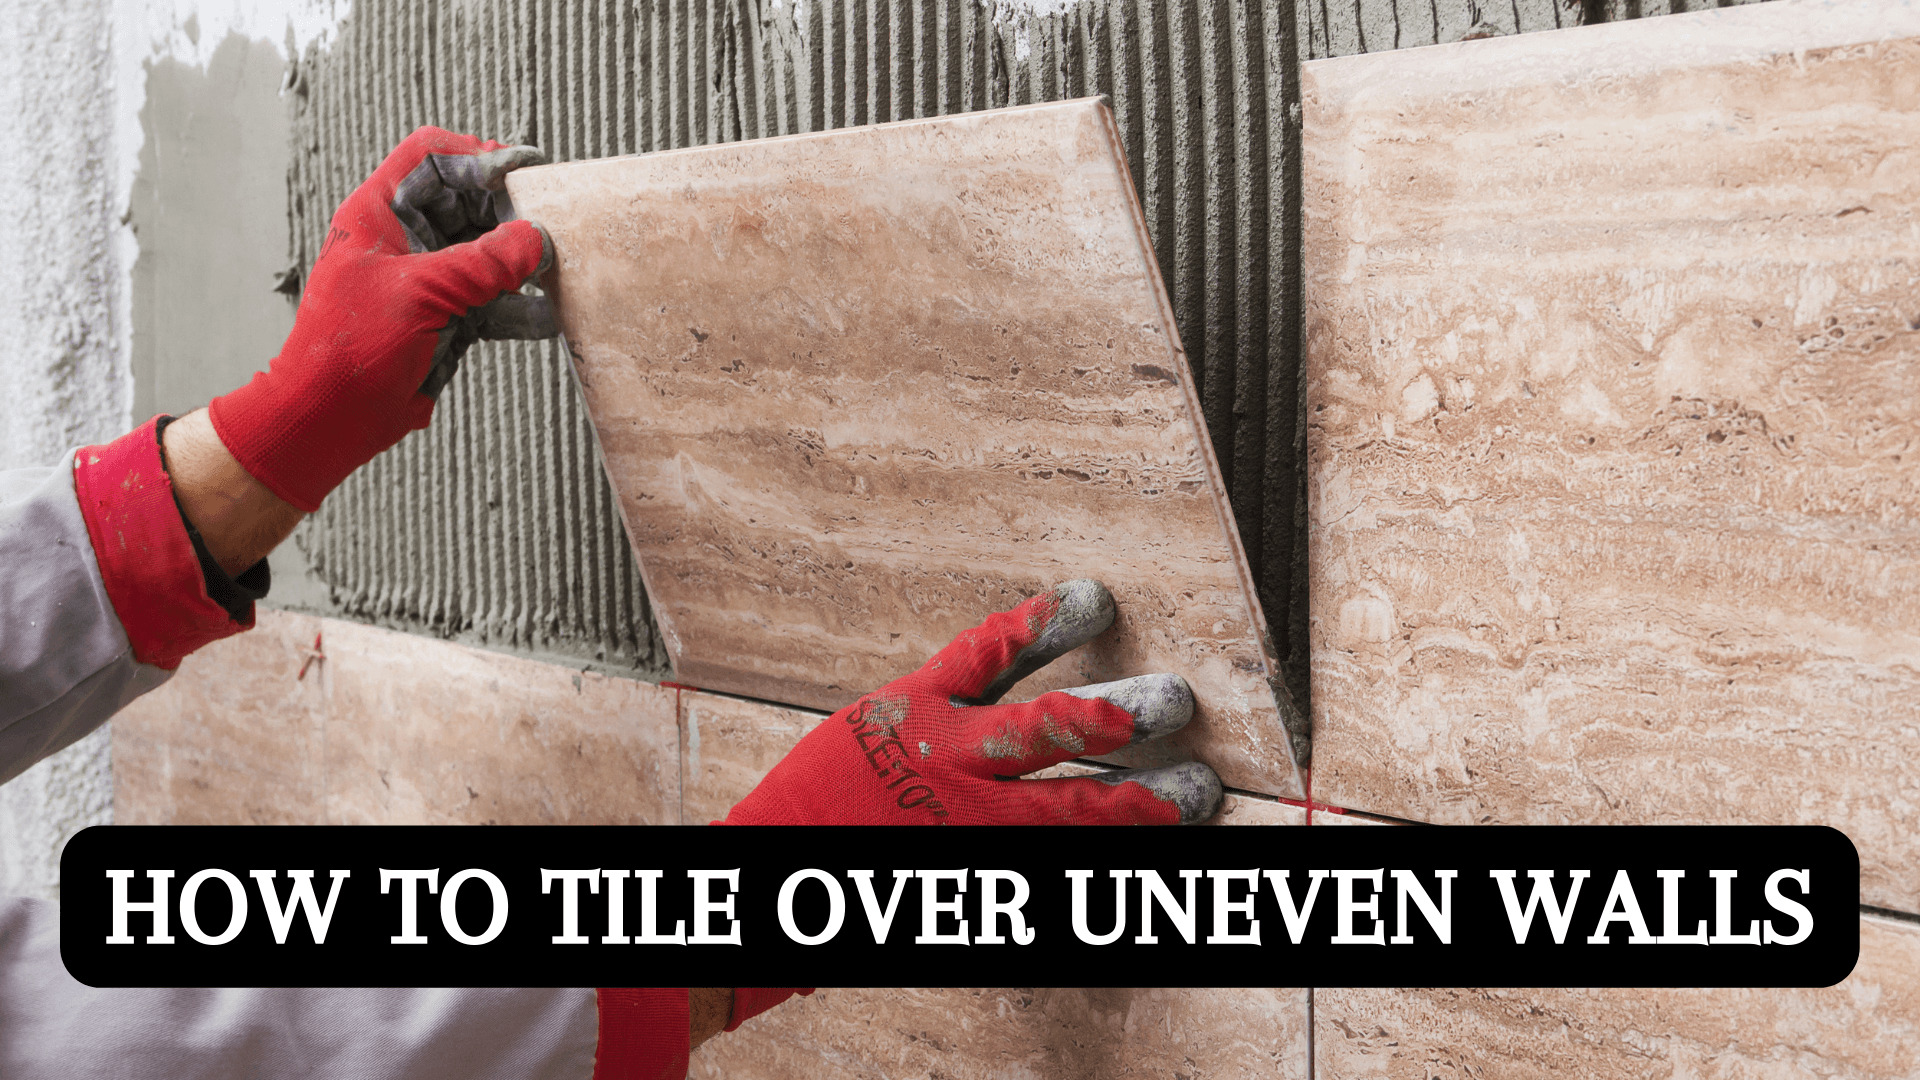
3) Use A Thinset Mortar
On the bottom center of the wall, spread the thin-set mortar. The flat edge of the trowel should be used to spread the mortar; then, the toothed edge should be used to groove the mortar until it is uniform in depth.
Place the tiles in the mortar according to the pattern you created on the ground. Begin with the bottom row of tiles and work your way out to each side evenly before moving up. The leveling spacers will hold the tiles together on the wall, eliminating the need for a ledge.
4) Use A Rubber Mallet To Beat The Tiles In The Wall
With a rubber mallet, pound the first few rows of tile into the mortar until they’re evenly spaced. Fill up the gaps between the tiles using leveling spacers. Depending on the size of the tiles, one to two spacers per tile side are recommended.
From top to bottom and left to right, slide the narrow end of the wedge into the clips. The wedge should be pushed in as tightly as possible to provide an even tile job.
5) Use Grout Between The Lines
To snap the spacers off between the tiles, pull out the wedges and push down firmly on them. Grout will cover the remaining spacer pieces. Using a grout float, a rubber instrument for spreading grout, spread the grout over the wall tiles.
To press the grout into the joints between the tiles, hold the float at a straight angle to the wall. Remove excess grout from the tile.
Conclusion
Problem areas can be difficult to tile, and they aren’t always visible until you’re halfway through the project. If feasible, hire an expert to inspect the area for uneven surfaces before they begin. If you’re looking for a way to tile over uneven drywall, the approach described here is ideal because it’s simple and leaves little room for error.