If your bathroom cabinets have gone dingy with prolonged use or exposure to the constant moisture, or you just feel like it’s outdated, painting these cabinets is an easy way to restore their charm. But how do you paint bathroom cabinets?
You can successfully paint both solid wood and engineered wood. It doesn’t matter if the bathroom cabinets are unfinished, sealed, or previously gone through painting. All you need to achieve a professional-quality paint job is careful preparation, meticulous technique, and the right materials.
Let’s go through a complete guide on painting bathroom cabinets. You will find all the tools you need to give your bathroom cabinets a durable new look.
Table of Contents
Things to Consider Before Starting Your Project
Giving a perfect paint finish to bathroom cabinets is not a difficult task. It doesn’t require a lot of physical strength or skills with tools. However, as a DIYer, you should understand some things and think them through before picking up a paintbrush. Here are some things to ponder upon:
- Determining the right kind of primer and paint to use is the foremost concern.
- Protecting yourself as you tackle the project is equally important. Bathrooms are small spaces, and fumes from primer, paint, and trisodium phosphate can make breathing difficult. Make sure the room is well-ventilated.
- Always run the exhaust fan and open the window when you are painting the bathroom cabinets.
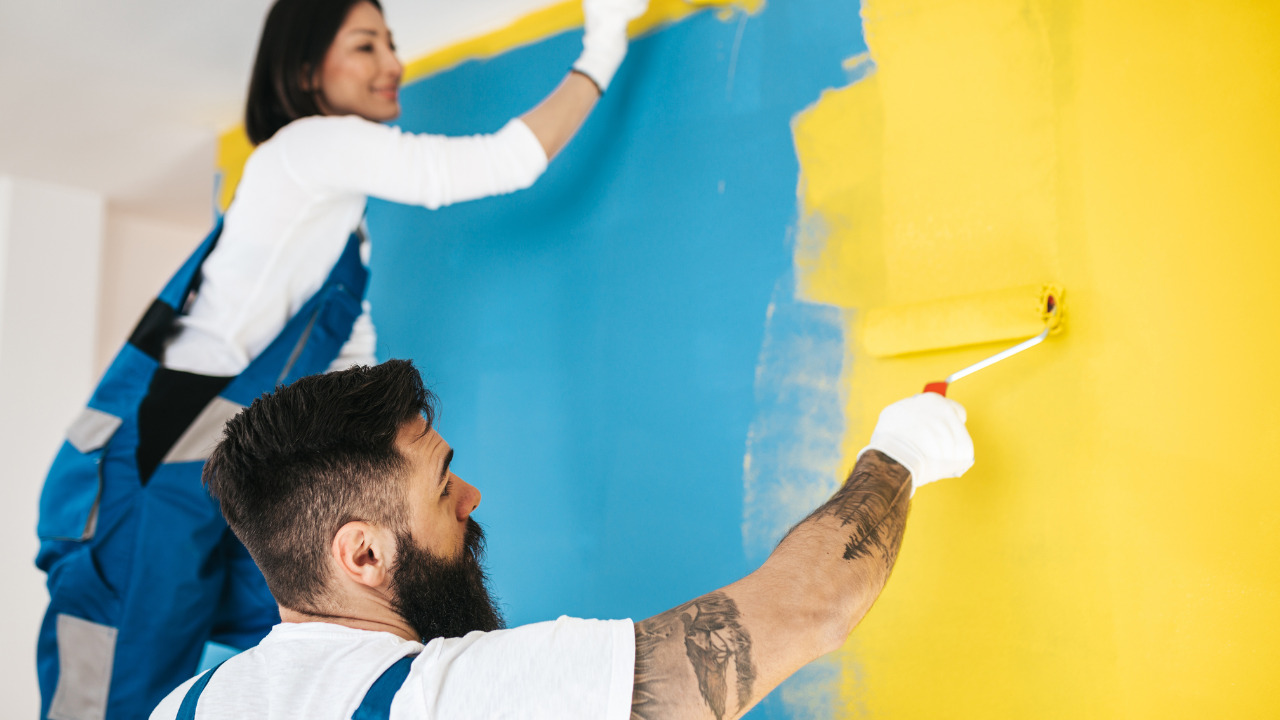
- Protect your body by wearing protective goggles, gloves, and clothing that covers your skin.
Steps to a Perfect Bathroom Cabinets Painting Project
Now that you have protected yourself before the painting project, let’s walk through the vital steps that can give your bathroom cabinets a perfect paint finish.
1. Prepare Your Bathroom Space for Painting
Prepare the bathroom for painting by laying the drop cloths on the floor around the cabinets. It’s crucial to protect them from sanding dust and paint.
Remove all the items from the cabinets and store them in a safe place.
2. Remove the Cabinet Doors
If you want a clean and uniform paint finish, removing the cabinet doors can help you achieve that. Consider these points:
- If the cabinet door hinges are mounted with clips, unclip each door hinge mounted to the interior, and then lift each door from the cabinet.
- If the hinges are fixed with screws, you can use a screwdriver to loosen the screws that fix each cabinet door hinge to the cabinets. Store the screws in a safe place for later use.
- Pull each door away from the bathroom cabinets, along with the hinges.
Set the doors and hinges aside so they don’t get paint splashes or sanding dust.
3. Take the Drawers Out of the Cabinets
The next step is to remove the cabinet drawers. Start with the upper drawers and work your way down. Try to pull out the drawer as far as you can. When the wheels reach the end of the rail, it will naturally stop moving forward. Tilt the drawer to lift its wheels off the rail, then pull it straight out to remove it. Set the drawers aside as well.
4. Remove the Cabinet Hardware
Use a screwdriver to remove the hardware from the doors and drawers. If you can’t find the screws that secure each pull or knob, you can find them at the back of the door or drawer face.
Lift the hardware from the front of the door and set it aside, away from the painting area.

5. Clean the Cabinets with TSP
Open the bathroom windows and turn on the exhaust fan because trisodium phosphate can cause respiratory irritation.
After wearing gloves, goggles, and a respirator, dilute one-fourth cup of trisodium phosphate in one liter of warm water.
Use this mixture to vigorously scrub the outer and inner cabinet sides, door, and drawer fronts with a sponge. Make a second round over the cleaned surfaces with a water-dampened sponge. It will remove the TSP mixture. Dry the cabinets well with a towel and then let all the pieces air-dry.
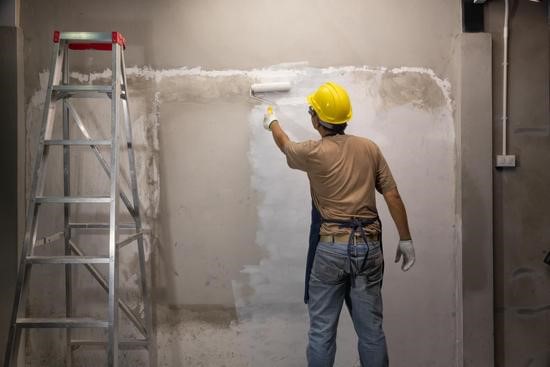
6. Sand the Cabinets
You first have to check if the cabinet surface is coated with a sealant. To do that, use a knife to test an inconspicuous area of the cabinet. If the coating flakes off, you will need to do some extra sanding. Make sure your protective gear is still in place before doing that.
Sand the outer and inner cabinet frame, door and drawers, fronts, and backs of all the surfaces.
- For sanding unfinished cabinets, use 220-grit sandpaper and make a single round.
- For sanding a paint-coated cabinet, make a first round with medium-grit sandpaper (120-150). It will remove the clear coating or peeling paint. Then, do a light sanding using 220-grit sandpaper.
7. Prime the Cabinets
Pour some oil-based primer into the paint tray. Coat the paintbrush or roller with primer and work it over the outer and inner cabinet frame. Apply this in the direction of the wood grain.
Next, tackle the flat areas of the drawers and doors. Use a natural bristle paintbrush to deal with the grooves on the surfaces. This brush can reach the recesses and tight corners easily.
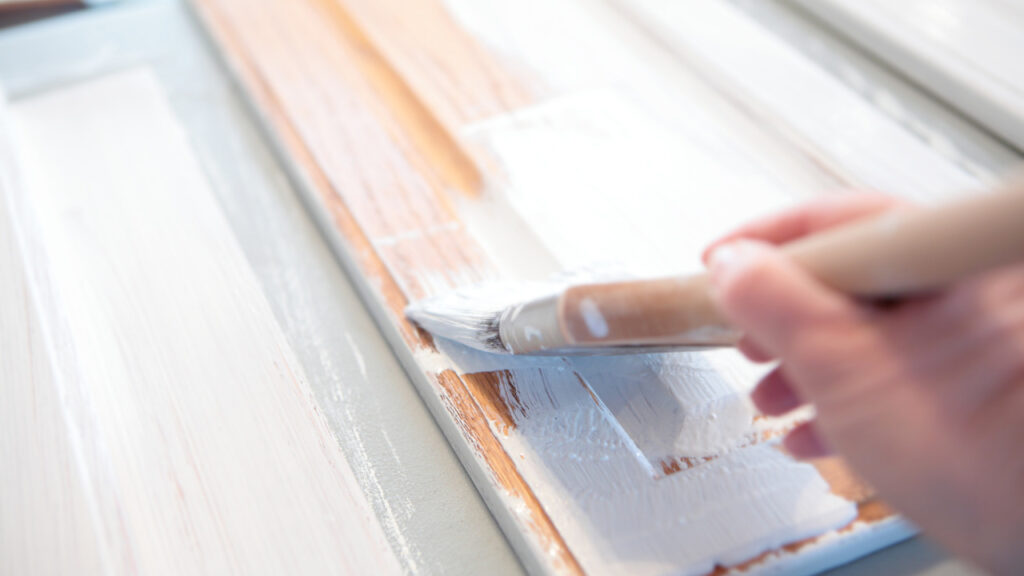
8. Apply the Paint to the Bathroom Cabinets
Finally, you have reached the step where you paint the bathroom cabinets.
Pour a small amount of oil-based paint or latex paint into a paint tray. The best paint for wooden cabinets is oil-based. However, latex paints are also mild and mildew-proof. You can prefer latex paint if you want a faster-drying paint job with few volatile organic compounds.
If you want a professional finish, work with the tools best suited for the paint type you chose:
- For oil-based paints, use a natural fiber, polyester blend, or wool roller.
- For latex paint, use a synthetic roller cover.
Load the roller cover with paint and apply a base coat to the outer and inner cabinet surfaces.
Paint the bathroom cabinets’ flat areas in the direction of the wood grain. Also, don’t forget to paint the nooks and crannies.
- For oil-based paints, a natural bristle brush can help paint the grooves in the door and drawers.
- For latex paint, use a synthetic bristle brush.
Let the paint coat dry completely.
9. Clean Up and Reattach the Cabinet Doors
Now that the paint is done, it’s time to clean up. Remove the drop clothes, and remove the painter’s tape from the cabinets.
Reattach the cabinet door hinges with the screws or clips to the cabinets. In the same way, reinstall the cabinet doors and drawers just as you removed them. In the end, reattach the hardware of the doors and drawers.
Ready to Take Your Bathroom Paint to the Next Level?
If you have a working knowledge of painting and sanding, a bathroom cabinet painting project will be a relatively easy DIY for you.
In fact, the most challenging part is probably preparing the bathroom cabinet surfaces for priming and painting, removing hardware, and protecting surfaces you don’t want paint splashes on.
Never forget to wear your gloves and proper respiratory protection before repainting bathroom cabinets.