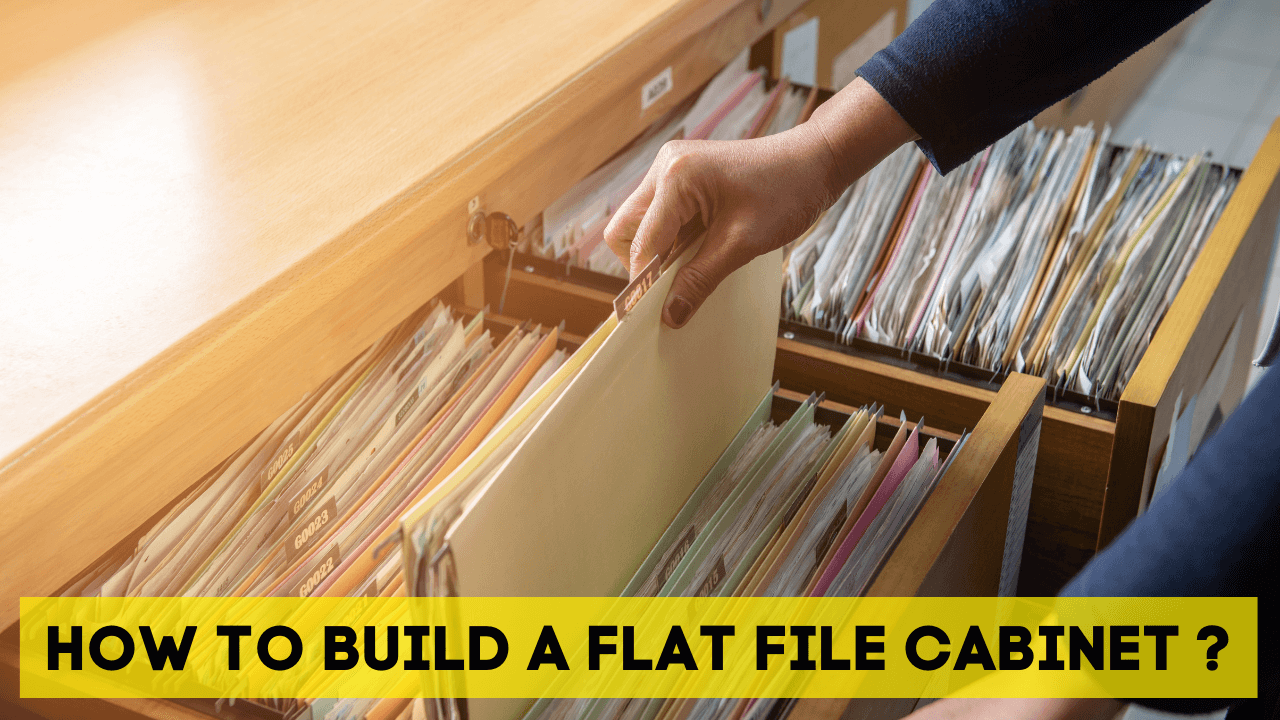
Do you have too many rooms filled with your art? Do you need a secure location to keep all that stuff and files? You’ve discovered that office supply stores’ flat files and filing cabinets are too pricey. Building a flat-file cabinet by yourself would be fantastic.
Flat file cabinets are essential office equipment for artists, workspaces, and art studios. They housed plans and drawings in deep, fully-expandable drawers preserved undamaged. Flat file cabinets can also be used as coffee tables and board supports as actual print storage.
Table of Contents
Steps To Build A Flay File Cabinet
Needed Tools And Materials
- Kreg jig
- Tape measure
- Level
- Drill bits
- Plywood boards
- MDF boards
- Lattice boards for trim
- Handsaw
- Pocket hole screws
- Drawer pulls
- Finishing nails
- Wood glue
- Wood filler
- Sandpaper
- Wood screws
- Finishing supplies
1) Create A Plan For Carcase
Whether a kitchen cabinet or anything else, the carcase in cabinetmaking is a five-sided box for a project, the construction of a carcase can be done in dozens of different ways.
To create a case, glue, pocket screws, and rabbeted corners are used to attach plywood panels. Time can be saved by performing significantly easier butt joints. For the top and bottom, use 1/2 plywood. Use 3/4″ stock; thinner material won’t support the weight of the flat files.
2) Drill Holes For Attaching Casters
Although the carcass does some deflection around the casters, there are no chances of collapsing. Cut two sheets with a finishing blade on a circular saw and a straightedge clamped for smooth cuts. Before assembling the entire thing, it is essential to proceed and drill the bolt holes for attaching your casters.
On one of the huge sheets, attach the three ribs—one in the center and one flush with each edge—using screws and glue. Bring them up to the border of the front. Put the back on and fasten it through the bottom and each rib’s back.
You might have to struggle to make the parts flush and straight, especially if you’re using cheaper plywood. Trim-head screws, designed specifically to attach plywood and MDF without splitting or pre-drilling, can be used.
Use a drill bit to pre-drill and countersink the heads of standard drywall screws if you plan to use them.
3) Build Drawers
Cut two pieces of plywood with a circular saw and a straightedge. With overlapping butt-jointed corners, cut four sides. Using glue and screws, affix the bottoms of the three sides to one another. Cut a large notch to use as a handle out of the fourth side.
4) Install The Sides As Per Directed
Follow the package instructions for attaching the sides. In most cases, you’ll want to slide the slides apart and position the front ends of each half of each slide just back of the front edge of the drawer or carcass.
There will be different alignment guidelines for each kind of slide. Cut a piece of plywood to serve as a spacer block while screwing in the slides to ensure that they are square and straight.
5) Glue The Top
Once the drawers are installed, you can glue and screw the top on. Make sure to mark the center point on the top of the piece. So, it touches the middle rib. To land perfectly, it could take some convincing.
Put your casters on with through bolts. It may be challenging to get to the ones at the back. Drawers should be inserted, the cabinet should be raised, and the flat file should be lifted. For the flat file’s top, which could serve as a work surface, use 3/4″ plywood. To help hold the top in place, use Gorilla Glue to secure the surface.
The entire unit is easily mobile and may be used as a secondary desk or as a work surface for mounting and cutting activities without leaving your comfort zone.
Conclusion
Above all, it is always easier and cheaper to build a flat-file cabinet yourself than buy it from a store. However, you can also buy the sides and drawers from IKEA hacks if you want to complete this project in less time and effort. But it would be completely okay to build sides, drawers and even the top of the cabinet yourself by following discussed steps in this post.
Excitingly! you can also use this flat file cabinet as a supporting table or board to work on it while standing. The building process of a flat-file cabinet is fairly easy and considerable, especially for DIYers!