It’s easy. It’s attractive. It’s affordable. It’s laminate flooring. Even DIY beginners can learn to install laminate flooring with the right guidance and direction. Unlike other flooring types, like ceramic tiles, laminates eliminate the steps to use adhesive or the need for a subfloor. It is now a popular choice among homeowners for its durability and also because it is easy to maintain.
While planning to install laminate flooring there are some considerations that must be taken into account, like the reason, budget, and the amount of laminating required. Since multiple products are available in the market you need to think about how to lay laminate flooring with the right tools. This guide will help you learn about how to install it and the cost required to complete the process.
Table of Contents
How Much Does it Cost to Install Laminate Flooring?
Laminate flooring installation typically costs $2,100 per room. While some homeowners may wish to spend $3,900 installing laminate flooring in 350-square-foot rooms, others may only need to spend $300 installing it in 100-square-foot rooms.
Although laminate flooring is an inexpensive, long-lasting, and low-maintenance alternative for homes, it can be difficult to estimate the exact cost of installing laminate flooring. This cost guide will assist in decomposing possible contributing variables to your overall expenses.
However, the cost may further vary according to the type of laminate flooring:
- Laminate wood flooring is the most affordable type of laminate flooring, typically costing between $1 and $3.50 per square foot.
- The materials for laminate tile flooring range in price from $1 to $4 per square foot. Because these tiles are less widespread and consequently could be difficult to obtain depending on the size and style you want, they cost slightly more on average than wood flooring. An average between $1 and $3.50 per square foot.
- The cost of the material alone for laminate flooring with a stone look can range from $1 to $4 per square foot. This material is the most expensive option, particularly if you go for high-end flooring that mimics marble or another luxurious stone.
Easy Steps to Lay Laminate Flooring
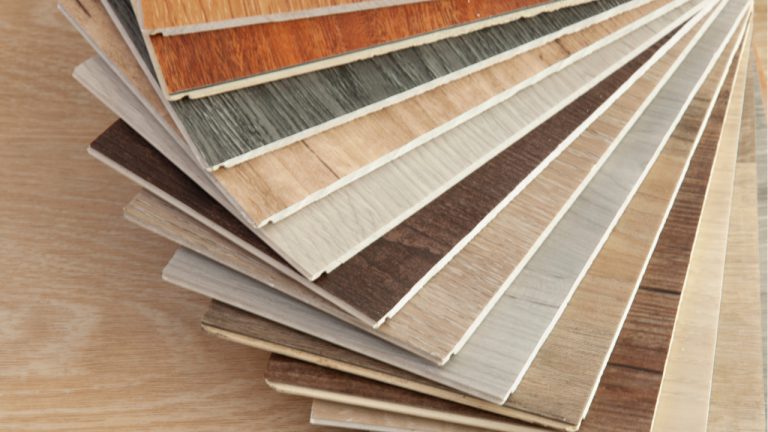
Choose Laminate Flooring
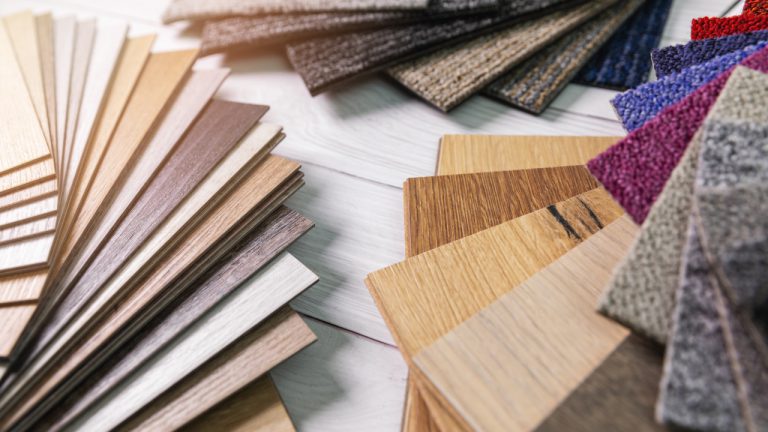
Choosing the right style for your laminate flooring is the first installation step. Consider the usability as well as the aesthetics. Laminate is infamous for being slick. Not the best option if you frequently ascend or descend stairs or if you live with young children.
It would be best to go for a rougher and more textured laminate to reduce the chance of slipping. Additionally, you need to buy nose stripping in the color of your preference.
Allow Laminate to Adapt to Room Temperature

Acclimating your flooring is the next step after choosing the perfect look and feel. To do this, unwrap the laminate boxes and arrange the pieces in a lattice pattern. This enables air to pass through, allowing the laminate to adapt to the humidity and temperature of your home.
Before laying it, you should let the flooring in this condition for at least three days. Your laminate won’t warp, expand, or shrink in the future if you give it time to acclimate.
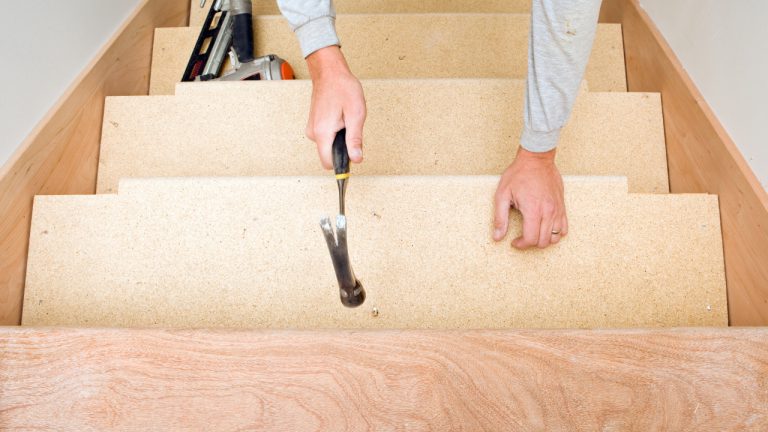
Remove Old Adhesive
Remove any flooring and underlay from the stairs if there is any. If there isn’t any flooring, but there is paint or old glue from the prior flooring, remove it to provide a smooth surface for installing laminate. You can pull this up with a set of pliers and some carpet.
Before installing your flooring, ensure your subfloor is as flat as possible. To make the ideal level surface for the laminate, chip away any extra dirt and sand down wood staircases.
Cut Laminate According to Your Stair Measurement
The tread, risers, and stair nosing are the three laminate pieces that must be cut, and it is ideal to have them ready before you begin the installation. Accurate dimensions are essential if you want the tread pieces to fit as tightly as possible from left to right.
A majority of laminate boards won’t completely cover the step. As a result, you might need to cut from a different board. Glue the tongue and groove together to keep them in place for fitting. However, it doesn’t need to extend to the step’s front edge.
Install Tread Pieces
Installing the tread component is the first step in assembling the stairs. Apply three beads of premium wood glue to the underside of the tread boards you previously adhered to. The tongue edge of the laminate should be facing outwards when you snugly install it to the back step.
It would help if you descended the stairs starting at the top. To give the laminate’s adhesive time to dry, it is best to avoid stepping on freshly installed laminate.
Cap Stair’s Treads
Medium-density fiberboard, or MDF as it is frequently known, is used to make prefabricated stair treads. Wood that has been shredded into fiber is used to create MDF, an engineered wood product. To stop moisture damage, wax is added in.
After being mixed with glue and resin, the ingredients are compressed into boards by running through a hot press machine, which melts the resin.
Place Risers
The vertical portion of the step should be covered with wood glue and applied similarly to how you did with the laminate tread sections. Hold the riser firmly in place for a few minutes to ensure the glue has time to set.
You might also nail the plank’s top to the wall as an additional security means. As the nail will be hidden by the nose peeling, there is no need to worry about this being unpleasant.
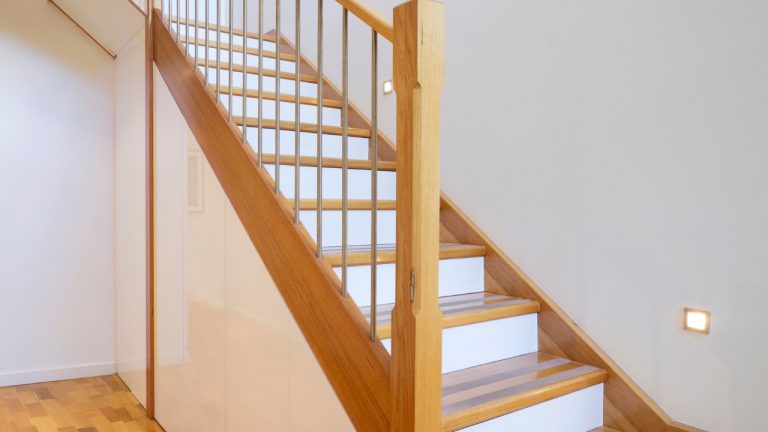
Install Nosing
With the tapered end overhanging at the top of the tread, firmly press it into place. Install the top nosing after that by screwing it.
The laminate flooring will be shielded if the nosing is first covered with clear plastic tape. The center of the nosing has spaces marked along it. Insert wood screws after drilling a countersink hole. At this time, leave the plastic tape on the nosing.
How Much to Install Laminate Flooring
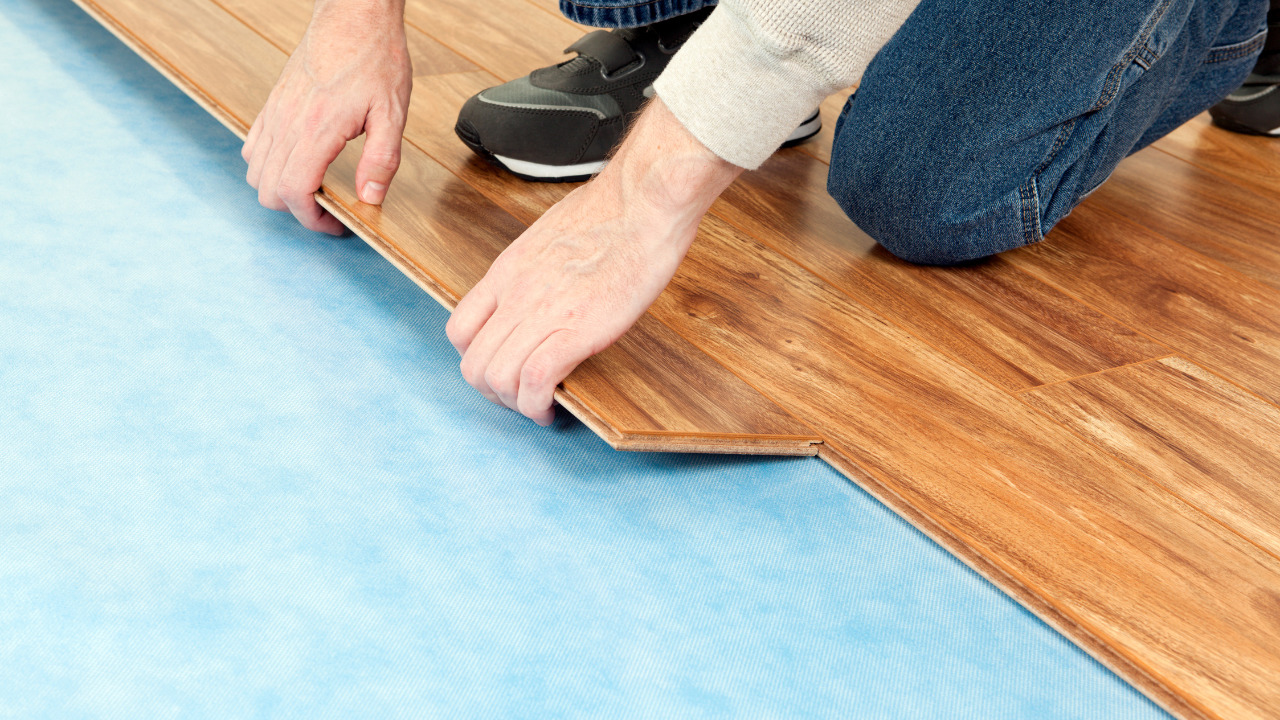
Determine the square footage of your room in meters (length x width = m2) and compare it to the pack’s coverage to determine how many packs you’ll need. Allow an additional 10% to 15% for waste and trimming.
Prior to installation, laminate flooring must adjust to the space in which it will be placed. After opening, let the packets lie flat for a minimum of 48 hours. Try not to stack the packs more than three high, and place something between each pack if at all possible to allow air to flow around them completely. The packs can bend if they are stored by resting them up against the wall. Place each pack on the floor individually when installing laminate flooring over underfloor heating; do not stack them.
Take Care of Flooring
For good reason, laminate floors are very popular, but you should be sure they’re the right choice for you and your house. They are quite tempting since they are reasonably priced, especially when compared to hardwood floors, look fantastic, are strong, and are available in an enormous array of colors.
However, because laminate flooring is frequently slick, pet owners may find it difficult to maintain their floors. Although there are textured options, most pet owners choose carpet or vinyl plank flooring over laminate floors because they have greater traction.