Did you just make the purchase and wonder how to install this Nest thermostat?
Don’t let the installation process scare you. The installation nest thermostat is an easy DIY home improvement project just any other thermostat installation. You can do the installation job without acquiring any assistance.
But before getting started with the installation process, let’s talk about the new thermostat.
Table of Contents
What is a Nest Thermostat
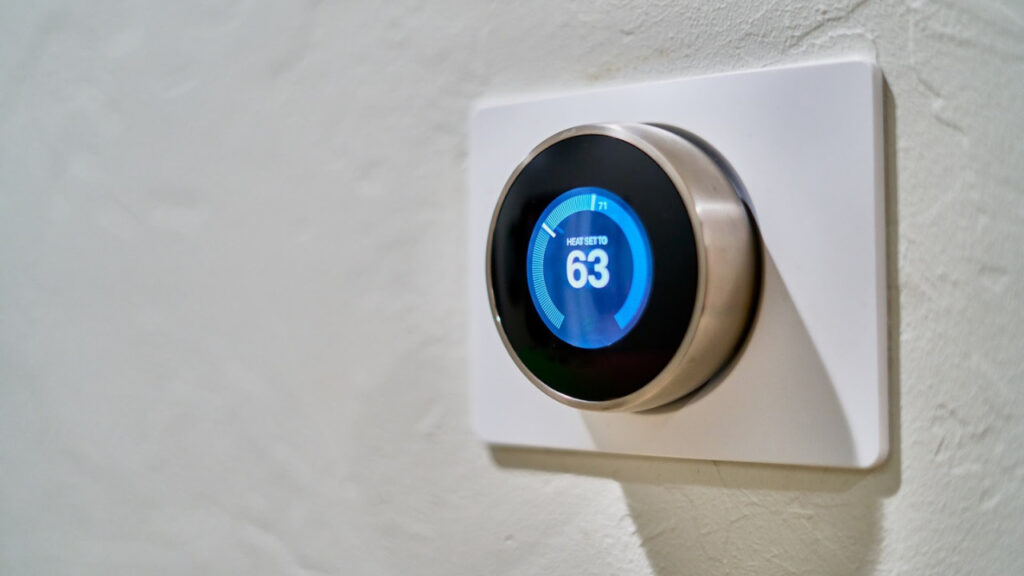
Nest thermostat, also known as learning thermostat, is a type of smart thermostat that was developed by Google Nest and was designed years ago by Tony Fadell, Ben Filson, and Fred Bould. Nest thermostat connects over WiFi just like other smart thermostats and maintains consistent home temperature. Here are some of the benefits of a Nest thermostat over other smart thermostats.
- Nest thermostat is a self-programmable thermostat which means that the user doesn’t have to worry about setting a schedule.
- Nest thermostats can easily adjust their setting according to ongoing events and habits such as your early arrival etc.
- It can help to save you electricity bills spent on heating and cooling of home.
- Nest thermostat provides you with energy reports on a daily basis.
- This smart thermostat is easily accessible on your mobile phone using the application. You can control all the aspects of your thermostat performance through your mobile phone.
Due to its all these properties, it is considered as one of the energy-efficient home improvement projects.
How to Install a Nest Thermostat?
Just like any other smart thermostat installation, installation of a nest thermostat is an easy process that has defined steps. Here is the detail of the nest thermostat installation process:
Step One: Check Compatibility
The first thing you need to do is to check if the new thermostat is compatible with your existing HVAC system. An Online Google compatibility checker is available that can help you determine the compatibility between your HVAC system and thermostat. Follow the instructions on the screen and check if your existing system is compatible with the Nest thermostat.
Step Two: Unpack the Nest Thermostat
The next thing you need to do is open your Nest thermostat package. This pretty much contains everything you might need during the installation process. Some of the items in the next package are:
- Nest thermostat
- Base and face plate
- Trim plate
- Screws and screwdriver
- Installation guide.
Gather all the materials and get ready for the installation job.
Step Three: Remove Old Thermostat
Before you install the new thermostat, make sure to remove the old thermostat in your house. To remove the thermostat, you need to follow the steps below:
- Turn off the power supply to the HVAC system and confirm it with the help of a tester.
- Remove the faceplate of the old thermostat that will expose the wiring of the thermostat.
- Take a picture of the thermostat wiring to see the exact arrangement during the installation process.
- Now label the wires using colored labels that come with your next thermostat. This color labeling will help you to connect the right wires while wiring up your next thermostat unit.
- Disconnect all the wires of your old thermostat unit.
- The final step of thermostat replacement is to take off the back plate.
Step Four: Install Nest Thermostat
The next step is the installation of a nest thermostat. You may or may not need the additional trim plate during the installation process. Here is how you can easily install the Nest thermostat.
- Attach the trim or base plate to the wall using screws.
- Place all the wires in their respective spectacles using the reference picture you captured before.
- Use the screw to finally click the face plate with the base plate and you are done with the installation process.
Step Four: Set Up Nest Thermostat
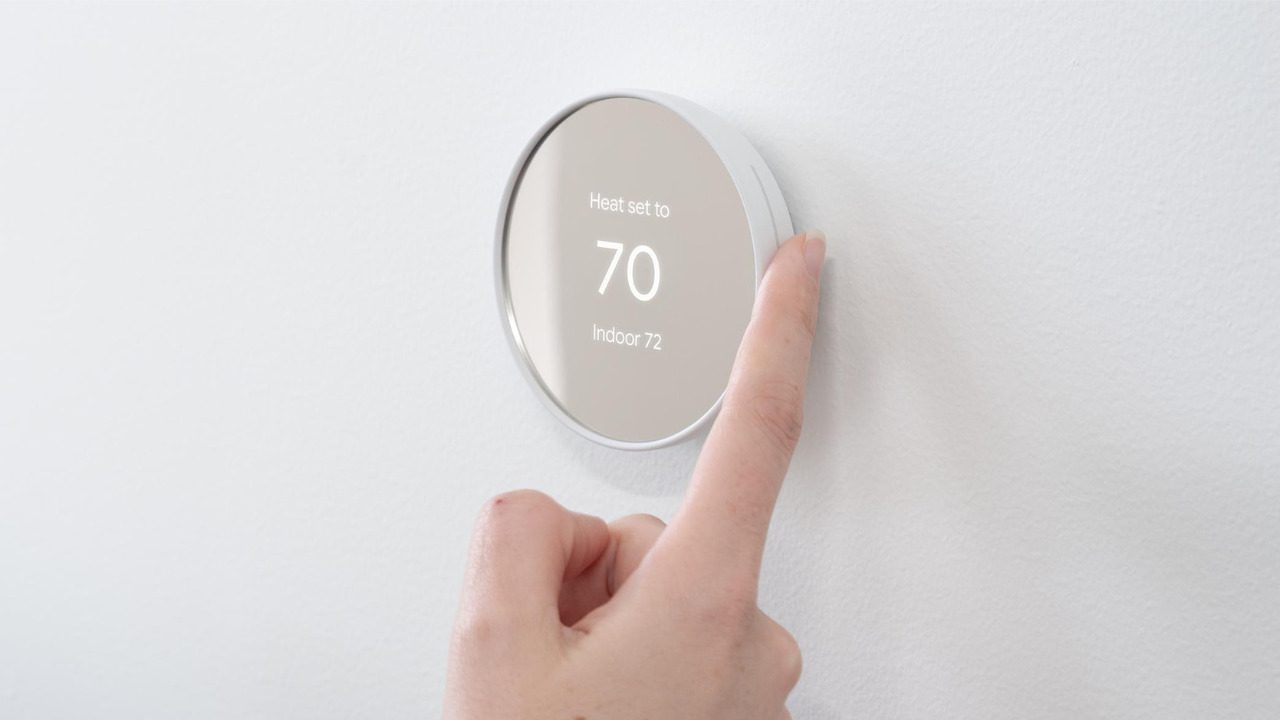
Now turn the power supply to the thermostat. The thermostat will boot automatically and will display the language selection menu. You can choose the settings by rotating the display and then pushing it down for confirmation. Then, there will be initial setup steps on your next thermostat such as the display of HVAC equipment. Set up your system requirements on the Nest system and set your desired temperature on the device.
Step Five: Final Steps
After this, you need to set up your smart thermostat on an Android or iPhone. For this, log in to the nest app on your Android or iOS device. If you have an existing account then simply add the device. Or if you have to set up a new thermostat on an iPhone or Android from the start, then create a new account and set it up. Now add the nest thermostat on your application and set your required temperature on it.
Nest Thermostat for a Smart Home
Nest thermostat is a smart thermostat manufactured by Google. This thermostat stands out from the other smart thermostats because of its high energy efficiency. You can connect this device with your mobile phone devices over WiFi and control the settings. There are several variations of nest thermostats available in the market. You can also install multiple nest thermostats in your home.
When it comes to installing a nest thermostat, be mindful that you can do it quite easily by following a few simple steps. Make sure you follow the steps in particular in order to install it properly and then connect it with your mobile phone device to control the temperature settings. However, if your nest system isn’t working right after installation or you don’t feel like installing it on your own, then consult a professional who can wire up the nest thermostat for you.