When it comes to updating your bathroom, one creative and reasonable way to breathe new life into your bath space is by painting your bathroom vanity. If you want to completely transform the feel and look of your bathroom, all you need is a fresh coat of paint. So, how to paint a bathroom vanity?
New paint can make your bathroom more stylish and inviting. Let’s make this article a complete guide where we walk you through the step-by-step process of how to paint a bathroom vanity.
From preparing the surfaces to choosing the right paint and finishing touches, we have got you covered.
Table of Contents
8 Easy Steps to Paint a Bathroom Vanity
Let’s dive in and learn how to give your bathroom vanity a stunning makeover.
1. Select a Suitable Primer
Before starting your project, you must select a primer that works well with the type of bathroom cabinet surfaces you have, such as wood, metal, or laminate. You can get the primer tinted to the color of the topcoat.
Choosing a suitable primer is important if the cabinet surfaces are dark or stained because the original finish can show through the topcoat.
To select the most suitable primer for your bathroom, you can consult an expert at your paint retailer who can help you.
2. Choose the Best Paint
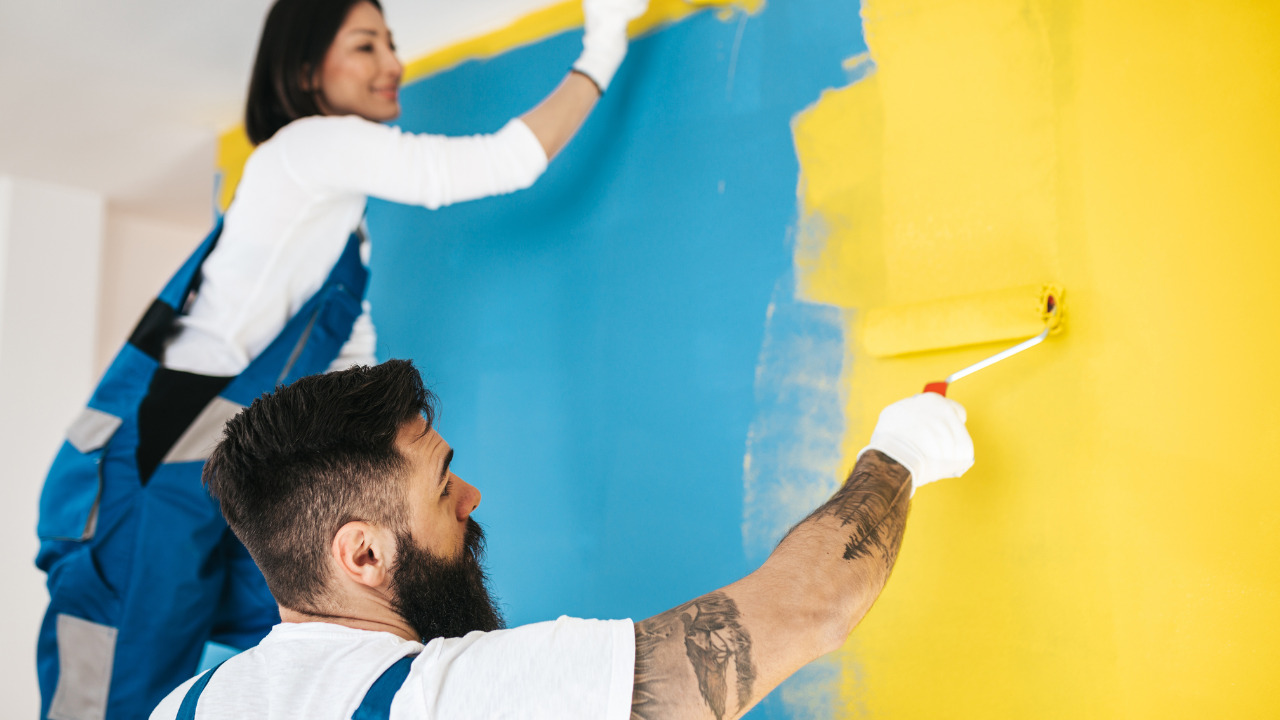
It’s also important that you choose the best paint for bathroom cabinets. Although the bathroom cabinets don’t get as much dust and grease buildup as those in the kitchen, you should select a paint that will keep the cabinets protected from moisture and grime.
The most popular options for bathroom cabinets are acrylic enamel paint and alkyd paint. Acrylic, or water-based, paints are low-fume and you can clean such painted surfaces easily with water.
On the other hand, alkyd paints are oil-based and require good ventilation because the paint contains solvents that can irritate your lungs and you can get sick. You will need to get mineral spirits for the cleanup of the alkyd paints. It’s because they provide a hard, durable paint finish that does a good job in the moist environments of a bathroom.
Generally, high-gloss paints are more resistant to moisture than flat or matte paint finishes.
Whichever type you end up selecting, buy the best quality and affordable paint for a long-lasting bathroom finish.
A paint that levels out the brush marks is often a good choice for painting bathroom cabinets. However, it is set up fairly quickly, which can make blending brushstrokes tricky.
3. The Materials You Will Need
Here is a list of equipment/tools you will need for painting a bathroom vanity:
- Cordless drill/screwdriver
- Bucket
- Rubber gloves
- Sponge
- Protective goggles
- Drop cloth
- Putty knife
- Fiber paintbrushes
- Microfiber paint rollers
Gather these materials for your painting projects:
- Trisodium phosphate
- Wood filler
- Deglosser
- Clean rags
- Painter’s tape
- Primer
- Paint tray
4. Remove the Hardware
After selecting the primer and paint, start your paint project by removing cabinet doors and drawers from the vanity and uninstalling all the hardware.
You should never paint over the hardware, such as hinges and handles. It can affect the overall function of the cabinet. If these hinges and hardware were painted before, you can get them restored from a paint shop.
For your record, you can make a map of how the doors and drawers go together in the vanity. Label each piece with its position carefully. You can use a cordless drill or screwdriver to remove the hardware.
If the bathroom cabinets have adjustable shelves, ensure to remove those as well.
5. Clean and Sand the Cabinets
Before starting the painting, do a thorough cleaning. Clean the cabinet boxes and drawers and both sides of doors and shelves. Use a cleaning product that removes dirt and grease, such as trisodium phosphate.
Take the manufacturer’s instructions on the label and mix water and TSP in a bucket according to the directions given. Wear gloves and goggles for protection. Use a clean sponge to apply the mixture.
Once the cabinets are clean and dry, use a putty knife to fill any dents in the doors and surfaces.
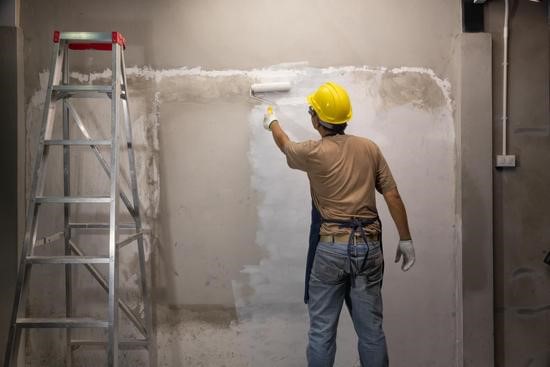
6. Test the Paint and Primer
Now test the new color by priming and painting. Choose the back of a cabinet door without coating the whole thing. This will let you have an idea if you like the color and that the paint finish will adhere to the cabinetry.
If you are not satisfied with the finish, you can consult the local paint shop for advice on painting bathroom cabinets.
Use painter’s tape to protect the wall or mirror from paint drips from painting the vanity. Cover the floor with a drop cloth. Prime the faces of cabinet boxes and drawers using a roller or paintbrush.
If the bathroom cabinets have a lot of detailing, use a tapered brush. A roller works well on large flat surfaces and flat doors.
Paint the bathroom cabinets with one light coat of primer. Let the cabinets dry.
7. Apply the Paint on Cabinets
It’s recommended to use the paint within 24 hours of mixing it to ensure even coverage. Regardless, make sure to stir the paint well. Pour it into the paint tray. Load a paintbrush or roller with the paint.
Start painting with the cabinet doors. This process takes time because you will have to wait for each paint coat to dry.
If the shelves are adjustable and the cabinet insides need a fresh paint coat, now is the time to renew these surfaces as well.
Paint the cabinets using light coats. With thin paint coats, you can ensure fewer drips, if you want to have a high-quality paint job. You can also apply two coats per side when painting bathroom cabinets.
Paint the front of each drawer. However, don’t paint on the drawer sides or glide hardware. A painter’s tape can help protect the rest of the drawer from drips and errant brushstrokes.
Set the cabinet drawers on their ends to make them balance easily in this position. Paint cabinets with light coats with a brush and let the paint dry completely between each coat. If your bathroom cabinets are waterproof, that makes the painting process easier.
8. Paint the Cabinet Frame and Reassemble
It’s time to paint the cabinet frame and sides of the cabinetry. You can use a roller or paintbrush. However, be careful of painting inside the cabinet until the shelves are fixed.
Once the bathroom vanity paint has dried completely, you can reattach drawer pulls, screw the hinges onto the doors, and hang the doors onto the cabinets. You can use the map you built at the start to take notes.
If you feel the need, you can spray-paint the hardware and let it dry completely before reattaching. Slide each drawer back into the place, and pat yourself on the back for a perfect paint job.
Give Your Bathroom Vanity a Super-Smooth Finish
You can also sand your cabinet doors and drawers for a super-smooth finish. This process will give your bathroom cabinets a good-as-new look. You can find a professional for recommendations as well. However, painting the bathroom vanity is typically a do-it-yourself project and you can easily plan it yourself.