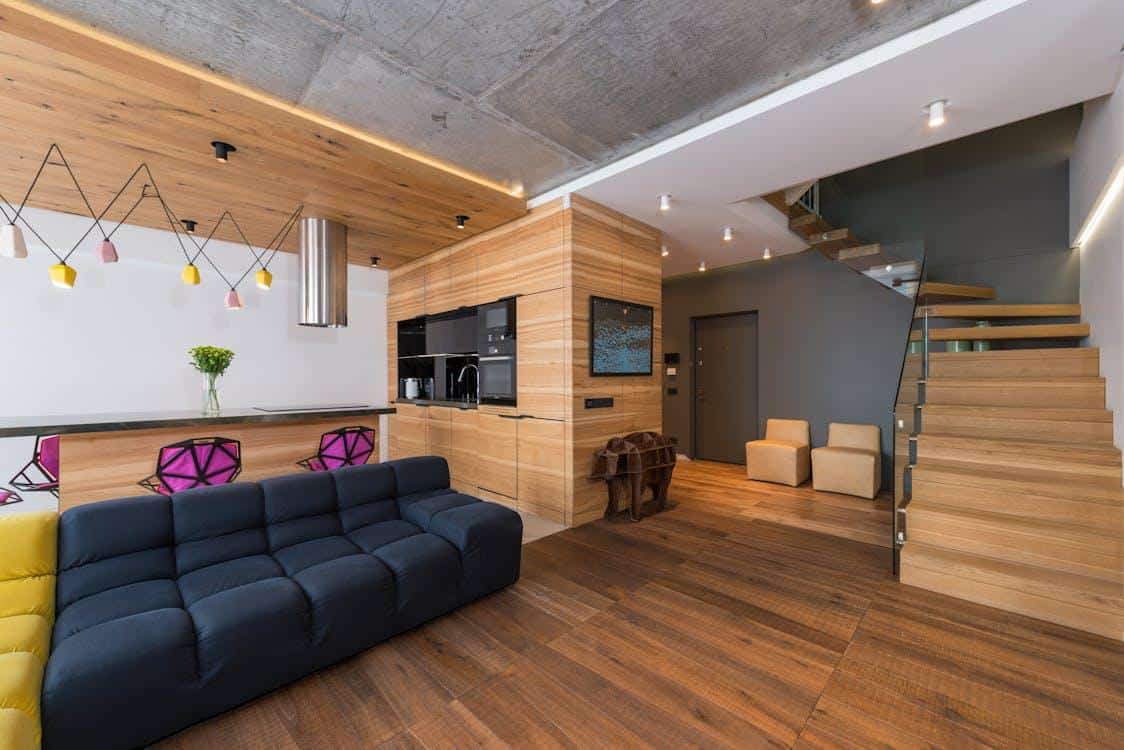
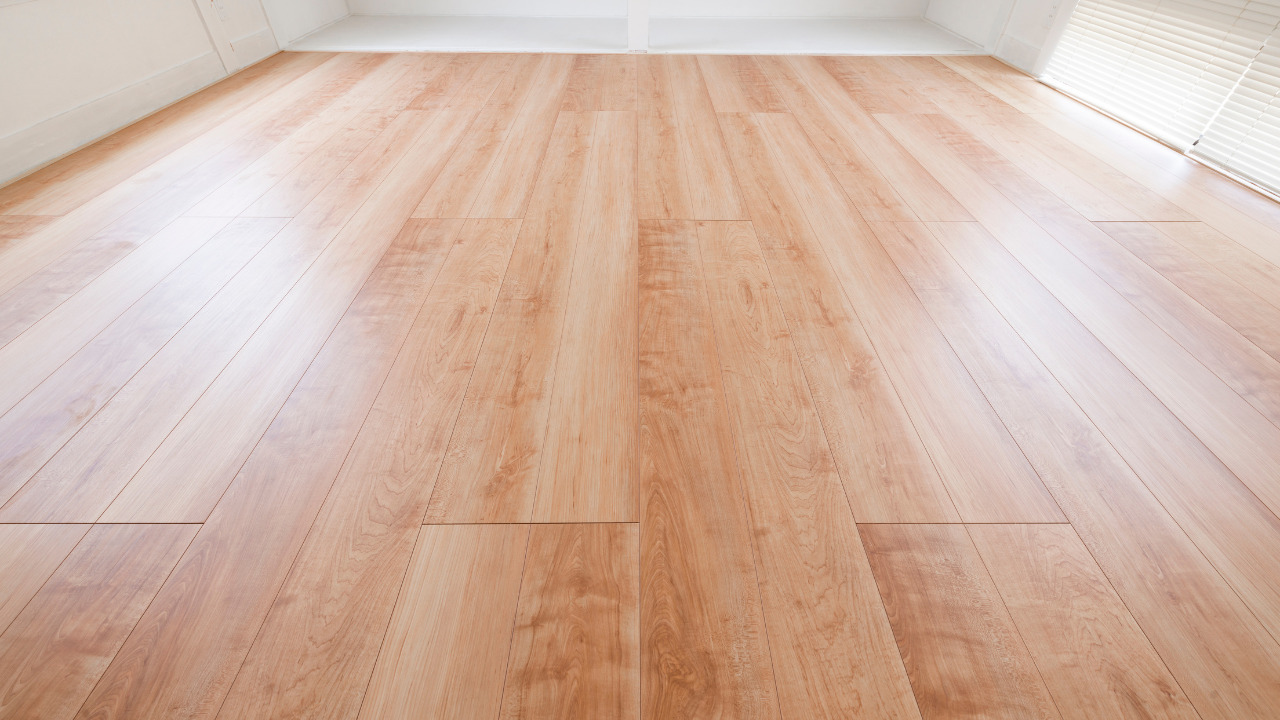
Engineered hardwood flooring installation is usually a terrific choice if you’re searching for something that will add value to your property. It’s also the type of flooring that doesn’t absorb water rapidly, but it doesn’t mean it’s water-resistant.
The beauty of engineered hardwood floors can be lost, just like concrete floors, because of a tiny spill or over-cleaning, resulting in unnecessary water damage restoration charges. As a result, experts strongly advise you to consider including a seal.
Even though engineered hardwood is frequently pre-finished, sealing it is still a smart idea. Even though engineered hardwood is frequently pre-finished, sealing it is still a smart idea. Sealing your flooring gives an added layer of protection and might help it last longer.
To begin, determine whether you want to use an oil-based or a water-based product. If you want to know more about engineered hardwood floor sealing, continue reading:
Table of Contents
Steps To Seal The Engineered Hardwood Floor
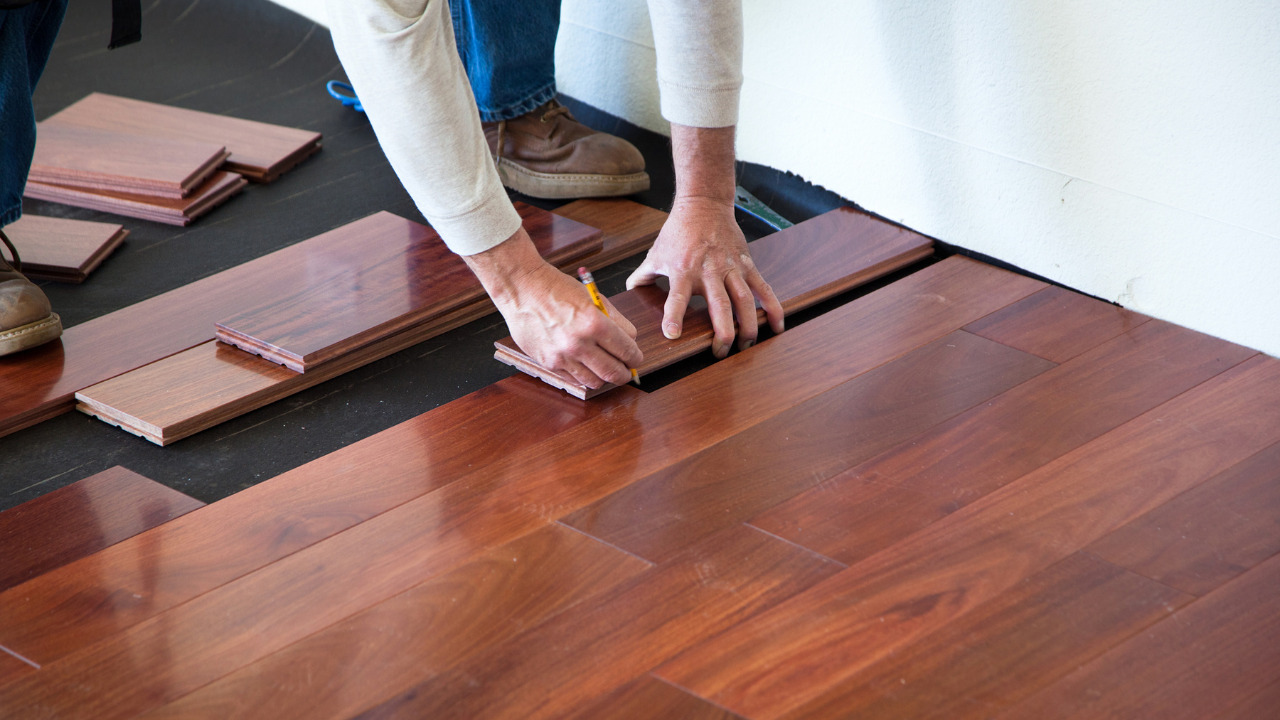
Engineered wood is a restructured wood composite strengthened for increased stability. It’s made of compressed hardwood that can be sanded and restored like open wood can. This wood flooring requires sufficient insulation to seal and protect its condition because it is regularly walked on the surface.
Required Materials
- Vacuum
- Drop cloth
- Grit sanding paper
- Wood stain
- Sealer
- Wood varnish
- Soft-bristle brushes
- Painter’s rag
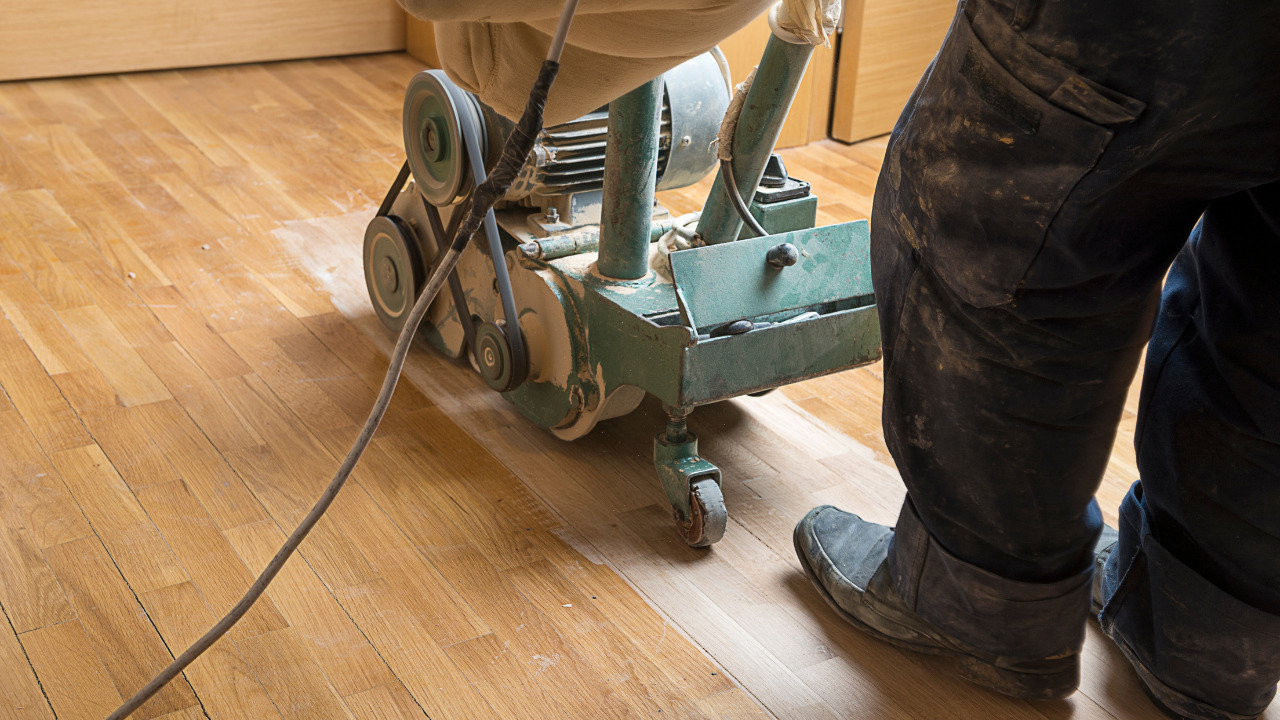
1) Floor Sanding
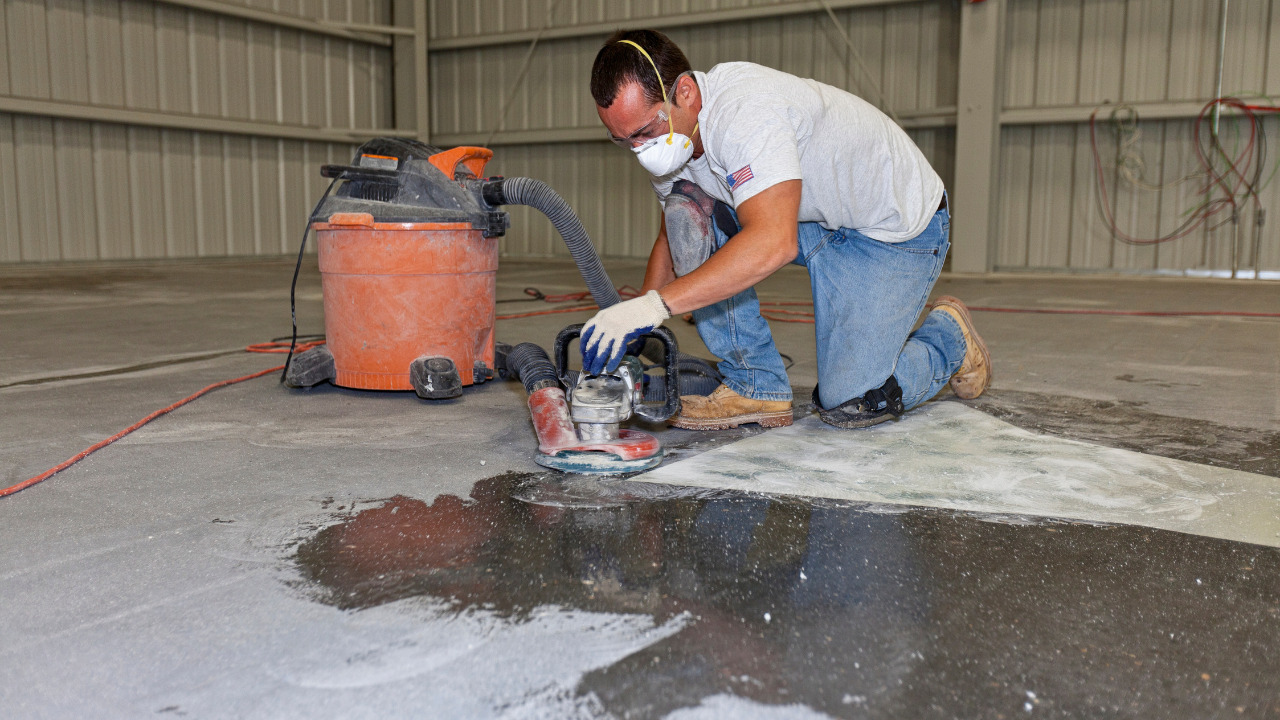
Using a grit sanding sponge, sand the floors until they are consistently dull. This method cleans and prepares the surface for staining by removing dirt, blemishes, and other flaws.
2) Remove Dust And Debris

After sanding, vacuum the dust and grit that remain. To remove dust, wipe the floorboards with cleaning or drop cloth.
For the greatest results, clean using a dry to damp mop or towel. Pull drapes or blinds to shelter your engineered floors from direct sunlight during peak sunlight hours to protect them from UV damage. Place all houseplants and furniture on soft coasters or felt pads to avoid nicks and scratches.
3) Apply Wood Stain
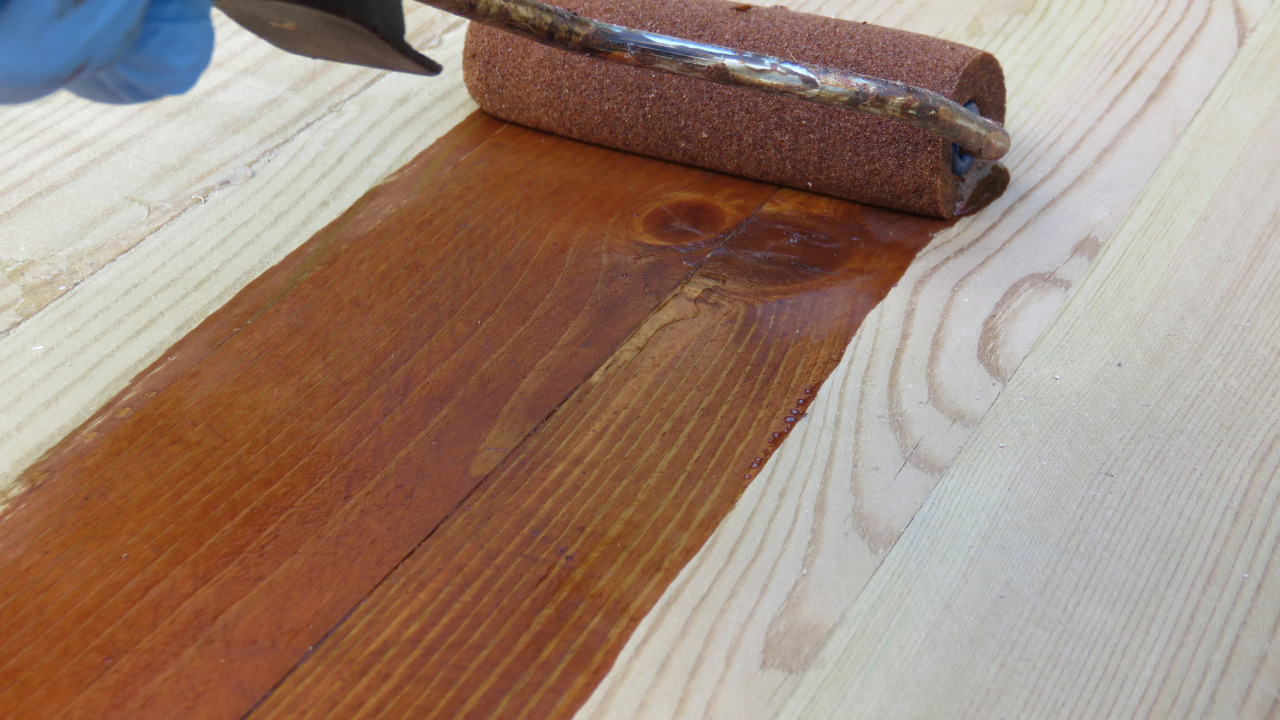
With a natural bristle brush, stir a can of wood stain until all of the contents at the bottom are fully combined. To enhance and level out the color of the wood, saturate it in the direction of the grain, then wipe away the excess substance with a rag before it dries.
Allow the stain to cure overnight before applying a single coat of sanding sealer. Follow the grain of the wood with lengthy strokes. Once the coat is dry, use a grit sanding sponge to smooth it out completely.
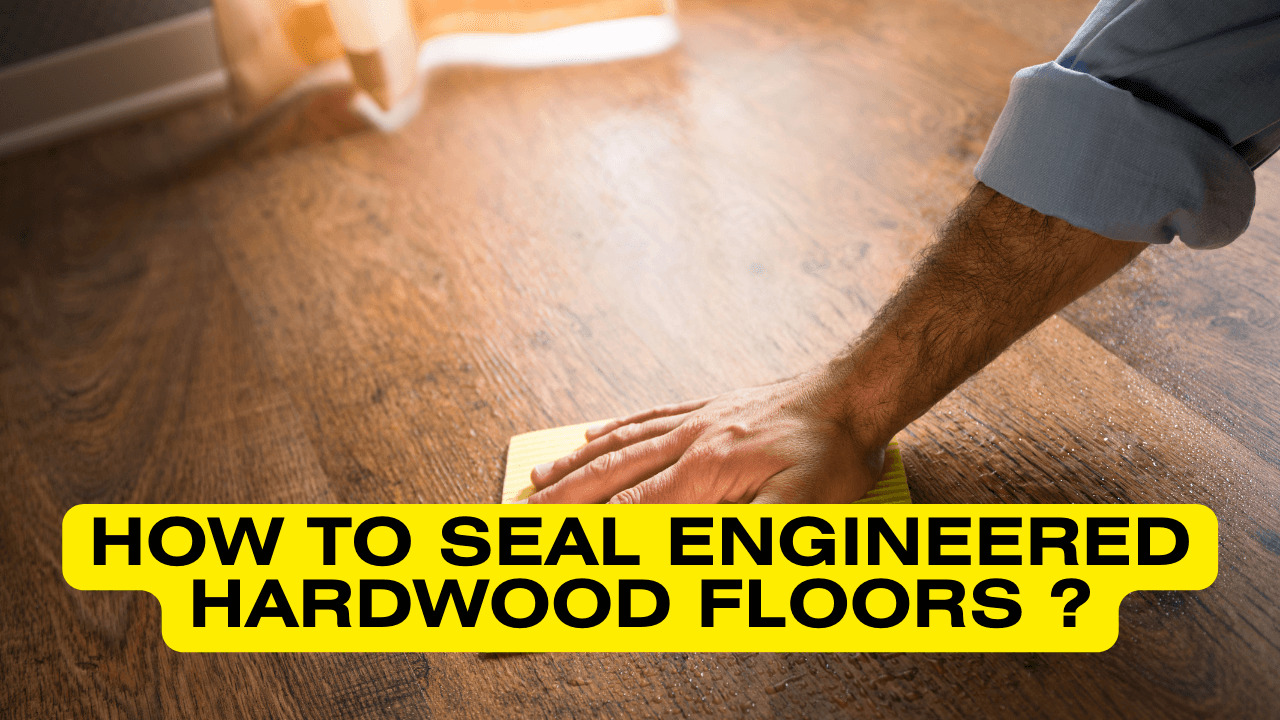
4)Add Sealant
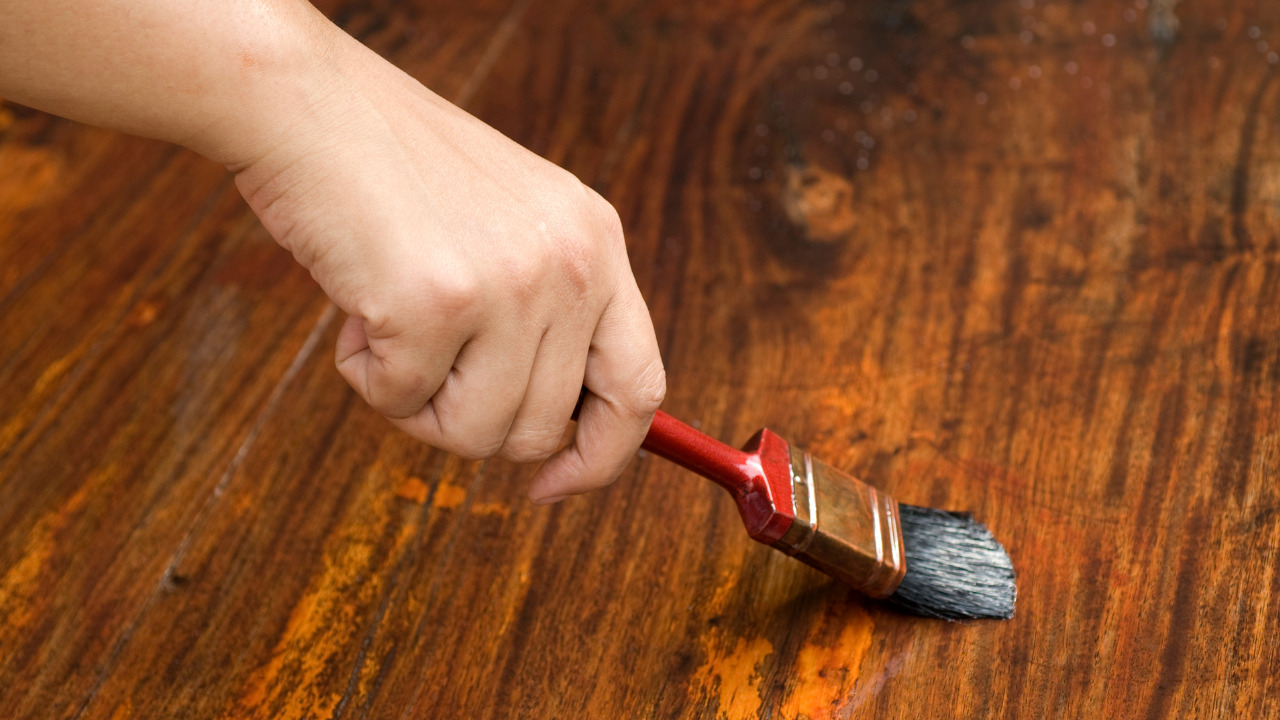
A polyurethane wood varnish is used to seal and protect the floor’s recovered finish. Use a painter’s rag or a foam applicator brush to apply the substance. Allow it to cure overnight before using a high-grit sponge to sand the coat.
To seal the moisture in the wood effectively, repeat the method for at least one to two more coats of varnish. The topcoat should not be sanded.
5) Sand The Floor Again
For the second coat of sealant to adhere correctly, the first coat must be lightly sanded using a fine grade of sandpaper. You must hoover the debris one more after you’ve completely sanded the floor. Because polyurethane dust may be dangerous to human health, wear breathing protection while doing this technique. Any leftover dust can be eliminated using a tack cloth.
Just like the first coat, the second coat of sealant is applied. Apply it with a roller while following the direction of the wood’s grain. Be as impartial as you can with your application. The second layer must dry for at least eight hours after it has been completely applied.
To avoid accidentally harming the sealant, it is normally advised to let it dry overnight. If not, you might want to spend a day away from home so the floor can properly dry. You can keep your home for a lot less money if you know how to seal hardwood floors than you would pay a contractor.
A worn-out hardwood floor will profit from this procedure, even though there is no defined schedule for how frequently this task needs to be carried out.
Benefits Of Sealing For Engineered Hardwood Floors
Our flooring may require multiple repairs to restore its original appearance, but this is never guaranteed. You may have to pay more than the original cost of installing engineered hardwood floors. Sealing your hardwood floors protects them from water leaks and spills, resulting in costly water damage restoration.
Increase The Floor’s Beauty
The beauty of engineered hardwood flooring is one of the reasons you should consider installing them. But what good is a lovely appearance if it might be damaged over time? Your hardwood floors will have a water-resistant covering once you seal them.
The sealant layer prevents water from penetrating your hardwood floors and causing damage. But that’s not all. A perfect seal will also lend a gleaming appearance to your home, making it more appealing.
Highly-Affordable
One of the best things about getting your hardwood floors sealed is that it doesn’t take much. Sealing your floor is significantly less expensive than replacing it or repairing water damage. So, why would you want to spend more money when there is a better alternative?

None. Sealing your hardwood floor does more than make it look nice. It also aids in the preservation of the initial appearance for a longer period at a low cost.
Sealing Cost Is Less Than Replacement Cost
The cost of water damage repair and replacement can be rather high. It will seep into your floors, causing stains and splits that will detract from the attractive appearance of your hardwood floors. The last thing you want to do is have to replace your floors shortly after they’ve been installed.
Sealing your floors helps ensure that your engineered flooring installation lasts longer. It offers a protective coating on your flooring that stops them from absorbing water leaks and spills that could damage them.
How To Keep Sealed Floor Well-Maintained For A Long Span?
The most important thing to remember is never to use water to clean the floor and avoid using detergent because this will leave the surface dull. Water that seeps through the gaps between the blocks or planks may cause the wood to swell, which could cause the planks to cup or warp and cause the blocks to fall out of place.
- The floor should be cleaned with a soft broom under typical circumstances by simply sweeping it.
- Utilizing a moist towel, you can remove any grimy or sticky stains.
- To avoid causing the floor to scratch, placing felt or something comparable under chair and table legs is usually a good idea.
- You may repair scratches using steel wool bathed in furniture wax to sand over them softly.
Conclusion
Installing engineered hardwood floors is one option to improve the appearance of your home. Water, unfortunately, ruins practically everything, even your hardwood flooring. Hardwood floors that have not been properly sealed may continue to absorb water leaks or spills, causing stains that detract from their beauty.
Adding a water-resistance sealant to your engineered hardwood floor installation is the best method to avoid water damage repair expenses and replacements. Sealing your hardwood floors will lengthen their life, lower the expense of water damage restoration, and boost the value of your home.
Above all, it all depends on the service provider. However, you can seal the floor by following the discussed steps in this post.