Are you looking for an easiest and economical way to transform your living space? Well, textured ceilings can be your best pick. Ceiling texture is a type of finish that modifies a drywall to a textured surface by using different materials. They not only exclude monotony, but also conceal imperfections such as cracks or holes. So, these ceilings are a great way to make your space visually interesting and sound-proof.
There are different styles and patterns that can be etched on your ceilings depending upon the interior you desire. So, now you can transform the boring space without spending a hefty amount just by choosing the right ceiling texture.
Let’s find out more details on different techniques to texture a ceiling.
Table of Contents
How to Texture a Ceiling
Textured ceilings are back in fashion after staying out of trend for years. There are different types of textured ceilings ranging from popcorn ceiling texture to orange peel texture ceilings.
But how do you texture a ceiling?
Well, there are different ways that help you to transform drywall ceilings by creating a texture of your choice.

How to Prepare Space for Texturing
However, before getting any texture on ceilings, make sure you prepare the room first. Here is how you can do this. In any technique you use for texturing is to cover the furniture and other items inside your room with plastic sheets or drop clothes to avoid any paint or mixture to mess with them.
- Remove all the room items first.
- Use a plastic sheet to cover the other items that are too large to move.
- Also, use painter’s tape along the edges.
- Wear protective clothing if you are going to do it on your own.
Tools and Materials to Texture a Ceiling
Now you can start gathering the tools and materials according to your desired textured style. Some of the commonly used techniques are:
- Texturing using skip trowel
- Knock-down technique
- Texturing using roller
- Stomp Brush Texturing
4 Best Techniques to Texture a Ceiling
Following four techniques can be used to achieve textured ceilings.
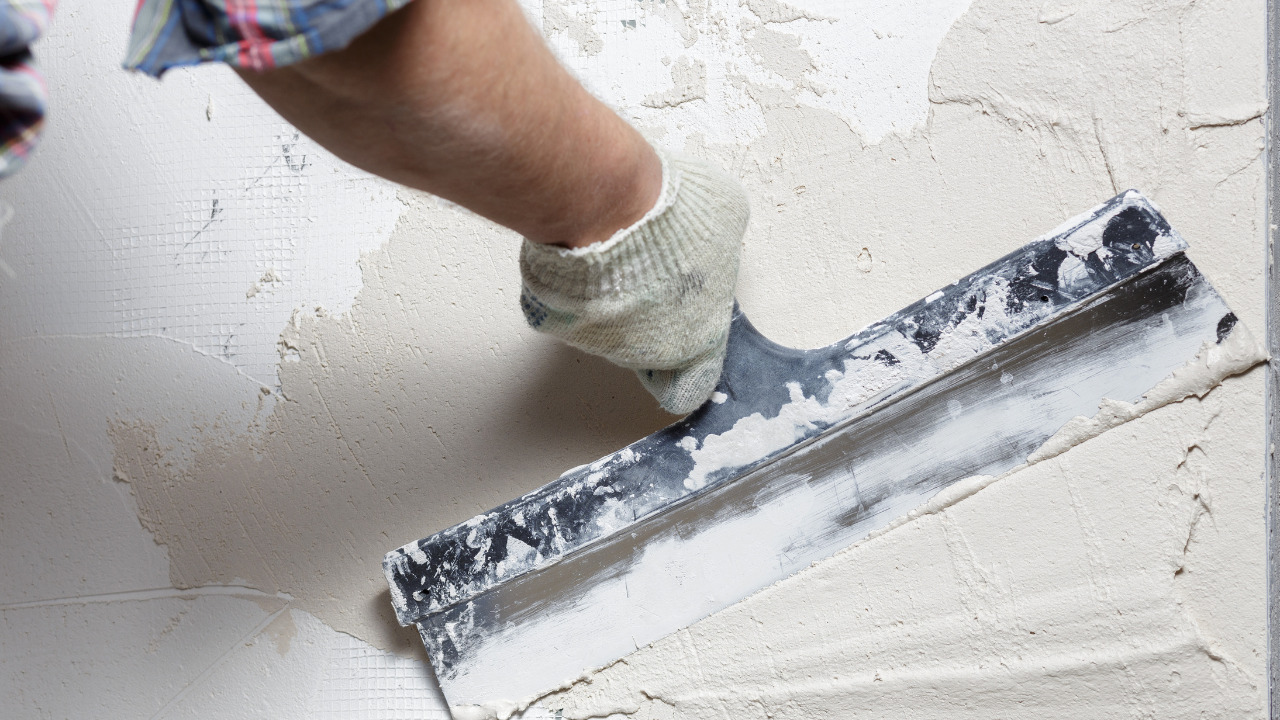
1. Texturing by Skip Trowel
This is a popular type of textured ceiling and is commonly seen. Skip trowel texture can be of different style and looks like medium stucco finish. It resembles a lot with knock-down texture but is a little more spread and spaced than it. For skip trowel, 18 or 22 inch wie knives are required to develop ceiling texture. This finishing technique is quite common in high end residential buildings in the US.
What You Will Need
- Joint Compound and Water
- Trowel
- Putty Knife
- Surface Sander
- Primer
- Paint and Paint Brush
The following steps can be followed in the prescribed order to get the desired texture.
- Mix joint compound with water to prepare the drywall mixture. Make sure you add an ample quantity of water so that there remain no lumps in the mix and it is flowable enough to be applied and stiff enough to stay on the ceiling. In other words, the consistency of the mix is important to achieve.
- Using a skip trowel, spread a thin layer of the joint compound mix over an edge of the ceiling surface. While you apply the mix, you will notice that spreading it over the ceiling is making the surface uneven but that is how it works.
- Cover the entire ceiling with the mix and spread it using the skip trowel. You will eventually get a surface that has a texture on it and is not flat or smooth.
- Let the ceiling dry and when it does, you can apply a paint coat of any desired hue you want.
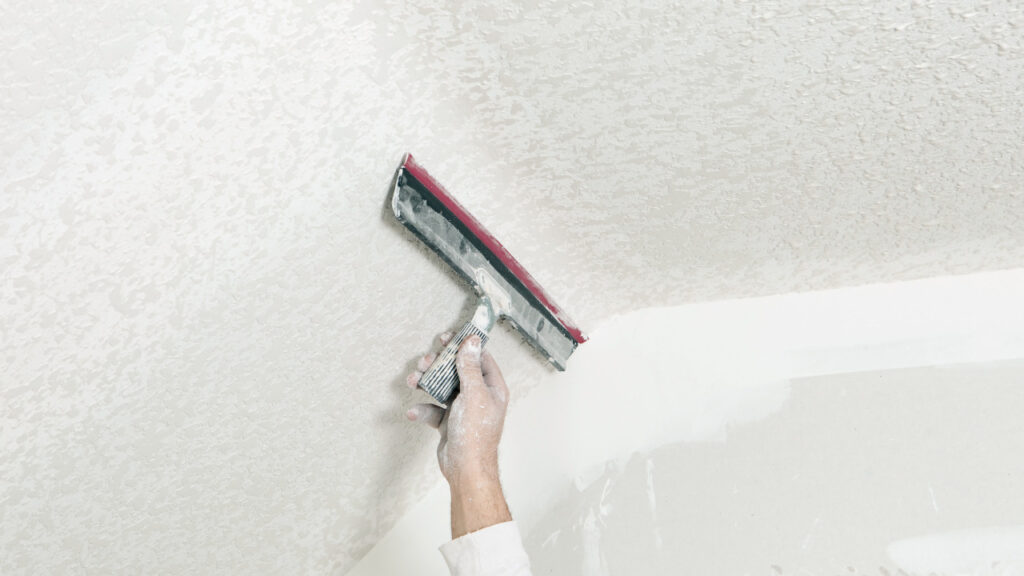
2. Texturing by Knock down Technique
This is another drywall texture technique that uses different tools. There are different types of knock-down textures, having their unique characteristic appearance and tool requirements. Types of known-down texture include:
- Splatter – the most popular type of knock-down textured ceiling and usually requires the use of a hopper gun and 18-inch wide knock-down knife.
- Mud Trowel – This is also known as skip trowel technique for texturing drywall ceiling. This usually requires an 18-inch or wide curved blade drywall trowel.
What You Will Need
- Joint Compound and Water
- Hopper Gun
- Sponge
- Knockdown Brush
- Trowel
- Surface Sander
- Primer
- Paint and Paint Brush
With the above materials and tools in hand, you can follow these easy steps to create the magic.
- Prepare the joint compound mix by adding an adequate quantity of water into the dry mix.
- Using a hopper gun, apply the mix onto the ceiling surface starting from corners, moving towards edges and center.
- Once you cover the ceiling with the mix, use any patterning technique (a brush, a roller, a sponge) and dab it over the surface creating undulations and soft peaks everywhere.
- When the joint compound gets partially dry, use a knockdown brush to flatten and stiffen the texture by applying pressure on the texture.
- Let the ceiling dry and if you see any rough patches, you can sand them lightly.
- Apply a coat of primer if you plan to go for painting the texture. Use a paint brush and slap it over the ceiling surface to get the desired hue.
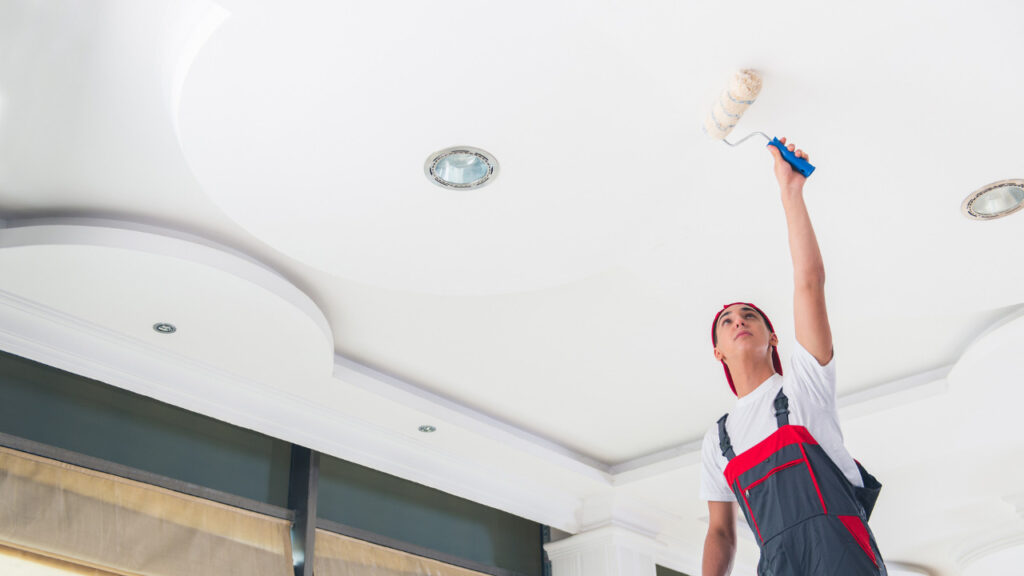
3. Texturing Using a Roller
One of the easiest ways to texture a ceiling is by using a roller method. This is a popular method that only requires a joint compound or a roller to create your desired texture. By using a simple roller, you can create a variety of textured styles without requiring any special tools. You can create dotted, linear, or random patterns that are unique in nature.
What You Will Need
- Joint Compound and Water
- Paint Roller
- Textured Roller
- Primer
- Paint and Paint Brush
Roller technique is simple and easy to go with. You can follow these steps as a guide to get started.
- Prepare the joint compound mixture by adding water and thoroughly whisking it to prevent any lumps.
- Using a normal paint roller, apply a thin layer of joint compound onto the ceiling surface.
- Use a patterned roller of any pattern (leaves, stripes, dotted, etc.) and go ahead with moving it over the ceiling. Make sure you use the patterned roller before the joint compound dries out and becomes stiff.
- While you move the textured roller over the ceiling, make sure you don’t press it too hard or too light. Pressing too hard will damage the joint compound and pressing too lightly will not imprint texture on the surface. In addition, for the pattern to show coherence, you must work in a methodical way instead of randomly moving the roller over the ceiling surface.
- Let the texture dry on its own and apply a paint coat if you want to give your ceiling a colored look.

4. Texturing Using a Stomp Brush
Another way to texture drywall is to use a stomping tool or brush. The stomp brush texture is also known as slap brush texture, stipple texture or crows foot. This requires the use of a stomp brush (has a fan-like appearance) to provide texture. But before this a thin layer of joint compound is applied to the ceiling surface.
What You Will Need
- Joint Compound and Water
- Stomp Brush
- Roller
- Primer
- Paint and Paint Brush
The steps you will need to follow using a stomp brush are detailed below;
- Make a mixture using dry joint compound and water and achieve the right consistency.
- Apply the mixture on the surface using a paint roller and spread out the layer evenly.
- Once your drywall compound coat begins to harden but is still moldable, take a stomp brush and pat all over the ceiling surface. Doing so will create a texture on your ceiling.
- Let the texture dry and then apply a coat of primer.
- Finally, you can paint your ceiling with any desired color using a paint roller or brush.
Escape the Ordinary with Textured Ceilings
If you are bored of the plain overhead surfaces, then it’s high time to give your interior a fresh makeover using textured ceilings. Textured ceilings offer many benefits for the homeowners. From giving a subtle look to your space to making it sound-proof, textured ceiling can be your best choice.
Textured ceilings can be of different types; ranging from popcorn ceilings to sponge ceilings. The best part about these textured ceilings is that you can do it on your own. However, whenever doing it, make sure to follow the protocols and wear personal protection gear or you can leave it to experts.