Kitchen sinks made of porcelain can serve and last a lifetime. Despite this, scratches, stains, and chipping can cause them to degrade over time—the topic of whether or not such porcelain sinks can be resurfaced or refinished arises.
Over time, even ordinary home cleaners like baking soda or ammonia can ruin a porcelain sink’s gloss. However, not all is lost when you apply a refinishing product to bring your porcelain kitchen sink back to life.
Refurbishing is a good concept if the homeowner makes a smart choice when redoing your kitchen. As a result, refinishing such a sink is a more cost-effective option than replacing it entirely. You can also use this opportunity to change the color of the sink to fit the rest of the room’s design.
Table of Contents
Factors to Consider Before Refinishing a Kitchen Sink
When you wish to refresh the look of your porcelain kitchen sink or improve the surface, you can refinish or resurface it. You can also re-glaze the surface to give it a fresh look. Many products for refinishing sinks and countertops are available to accomplish this.
The majority of refinishing supplies are suitable for DIY home remodeling projects. Also, you need to consider the cost to redo kitchen.
Kaolin is most commonly used to construct sinks and is heated to a high temperature to form a hard-like surface that resists water. Sinks constructed of acrylic can be coated with porcelain. Scratching on the surface and impacts from heavy cookware are two things that can harm porcelain.
Material Durability
Stainless steel is pretty much a no-brainer when picking a kitchen sink. This material is incredibly strong and can endure falls from heavy pots and pans and scratches from utensils and sharp knives.
Stainless steel is extremely hygienic due to its antibacterial qualities and rust-resistant surface, making it simpler to avoid contamination when preparing meals or washing dishes. Also, you will eliminate the need for a dripping kitchen faucet, as they will not require replacement anytime soon. Therefore its a durable material in kitchens.

Stainless steel sinks are also quite simple to maintain clean because they are heat and stain-resistant.
Focus On Sink’s Gauge Or Thickness
Remember the gauge of the steel you’re acquiring when selecting your stainless steel. Your steel will be thicker the lower the gauge.
Check For Sink’s Durability
The series number, which provides information about the steel’s manufacturing process and whether it is magnetic, is another crucial element in determining stainless steel’s longevity.
Because it is non-magnetic and has chromium and nickel added for corrosion and heat resistance, Series 3k steel is typically the best option.
Benefits Of Refinishing Kitchen Sink
Although white is the most popular color for kitchen sinks, it is not the only one available. You can use various colors to complement your kitchen’s decor and give it a unique appeal. This is a significant advantage over other materials, such as stainless steel sinks, which have a limited aesthetic appeal.
Better Maintenance
You can keep the sink in good shape by cleaning it regularly to remove any food or other debris that could harm or discolor the surface. Other abrasive cleaners can still scrape the sink surface, but you should avoid them. Also, you can plumb a kitchen sink with a garbage disposal and dishwasher for better functionality.
Cleaning a surface like this is usually simple and inexpensive. Avoiding chipping and scratches is the key to preserving a porcelain sink. To safeguard such sinks, some homeowners use silicone cushions.
Easy To DIY
Refinishing or painting your kitchen sink is a straightforward procedure. To avoid the costs of hiring a professional, some homeowners prefer to complete such jobs themselves. Some people hire specialists to help them avoid dangers that other professionals might encounter.To achieve the simple goal of dyeing or resurfacing an old kitchen sink. However, you must follow general instructions even if it is to replace kitchen sink drain before refinishing.
Steps To Refinish A Kitchen Sink
1) Use A Clean Pad To Clean Sink Thoroughly
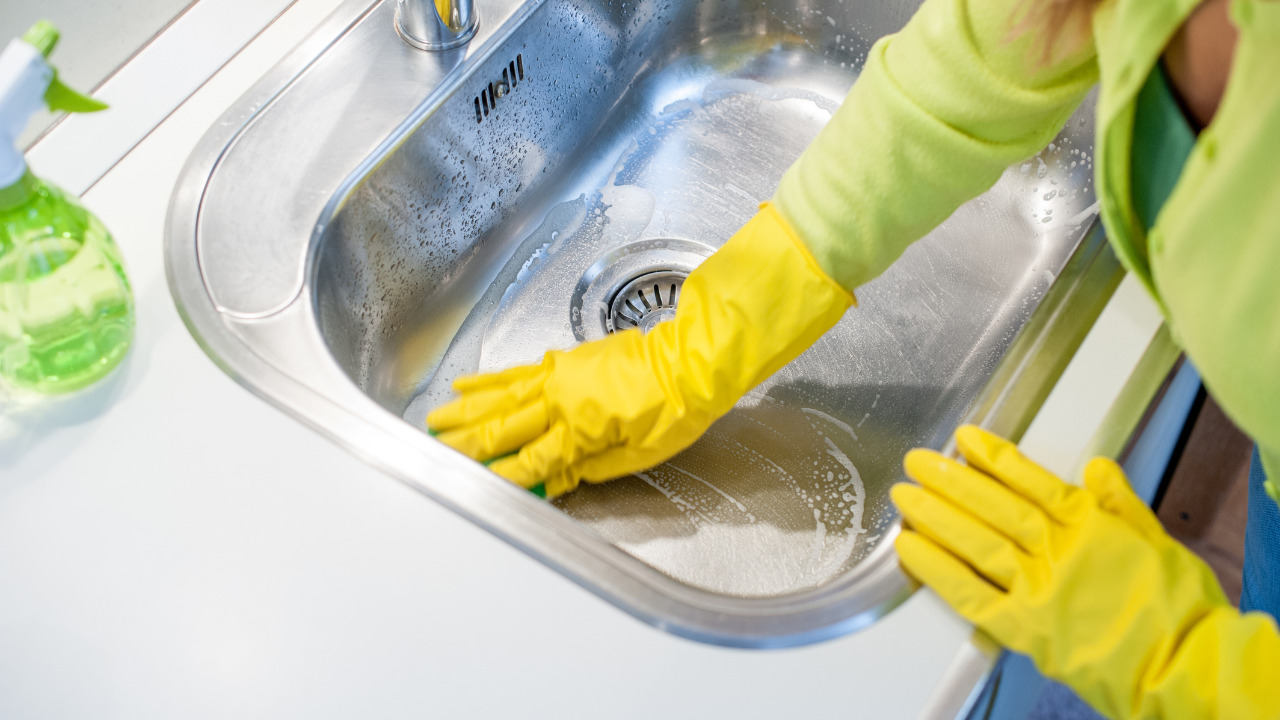
Using an abrasive cleanser and a pad, scrub the sink thoroughly. Rinse and dry with a towel. This cleans the dirt and filth from the surface. Painter’s tape and plastic sheeting were used to mask the surrounding area.
2) Detach Drain Pipes
Take out the sink’s metal drain. Unscrew the big nut on the pipe directly beneath the drain to disconnect the pipe drain. To remove the pipe from the sink, gently pull it down. Remove the huge nut that holds the metal flange and drain in place, located directly below the sink. To remove it, turn it anticlockwise.

Remove the huge nut from the equation and set it aside. Afterward, you can install the kitchen sink drain with our previous guide.
3) Pry All Around The Sink With A Screwdriver
To release the drain flange from the plumber’s putty that forms a seal between the drain flange and the sink, pry around the rim using a flat-head screwdriver from below. Remove the metal sink drain.

While cleaning and restoring the sink, place a large bucket beneath the drain to catch any drips or spills. Remove all caulk and plumber’s putty from the sink using the putty knife. Place the putty knife against the material you want to get rid of. To lift it, scrape it. Throw it away but do not forget to clauk the sink.
4) Remove Hard Water Deposit
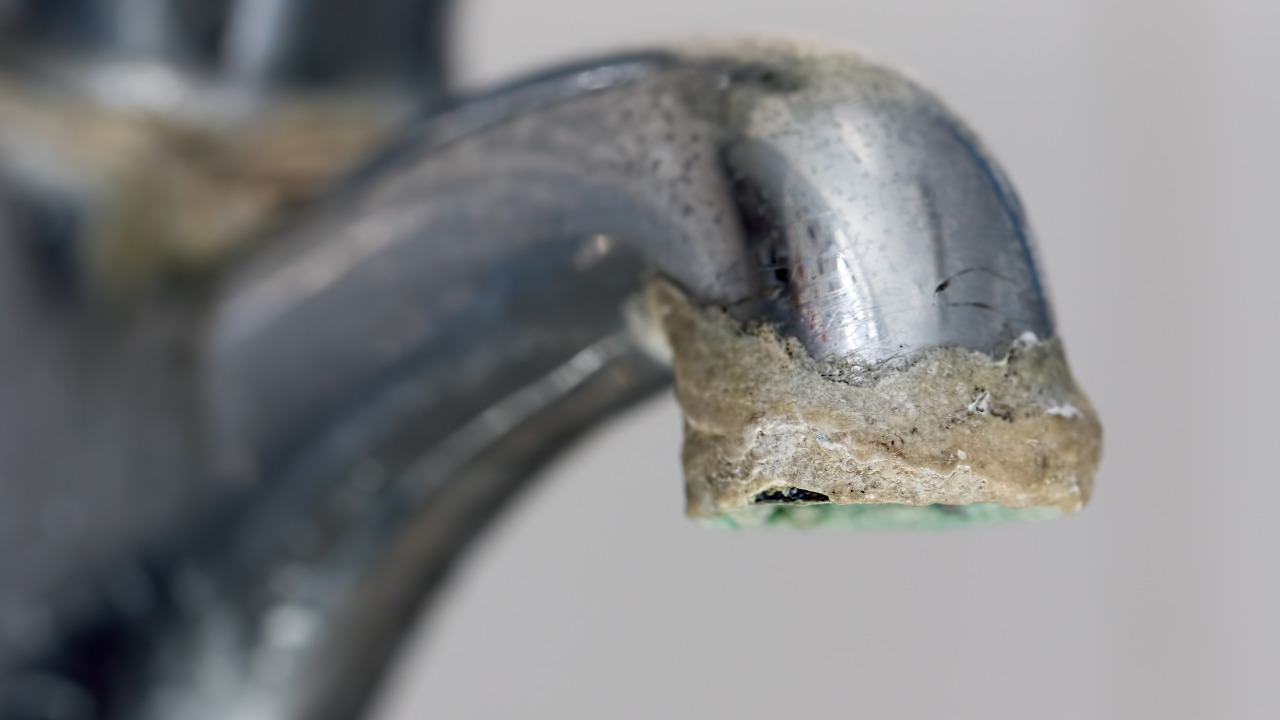
Scrub the sink with an abrasive pad after applying a hard-water deposit remover. Rinse and repeat until there are no more hard-water deposits. To protect yourself, put on rubber gloves and eyewear.
5) Use A Grit-Sandpaper To Sand The Surface
With wet-dry grit sandpaper, sand the surface of the sink—Buff the entire surface in gentle circular motions. After scratching the surface with sandpaper, the epoxy finish paint adheres to the sink.

To get rid of any residue, thoroughly rinse the sink. Before applying the epoxy finish, wipe the sink off with the tack cloth to remove any excess sandpaper or sandpaper residues. You can also clean sink with baking soda and vinegar – both are natural cleaning agents.
6) Create A Mixture Of Refinish Epoxy

Following the package guidelines, combine the two portions of the refinish epoxy. Fill the paint tray halfway with the mix. Before doing this, wait until you’re ready to apply the epoxy paint to the sink. To protect yourself from potentially harmful vapors, wear a face mask.
7) Use A Brush To Apply Epoxy Refinish
Use a fine-bristle varnish brush, a short nap roller, or, if you have one, an airless sprayer to apply the epoxy finish to the sink. With too much epoxy, avoid overlapping surfaces. Before applying a second coat, wait at least an hour.
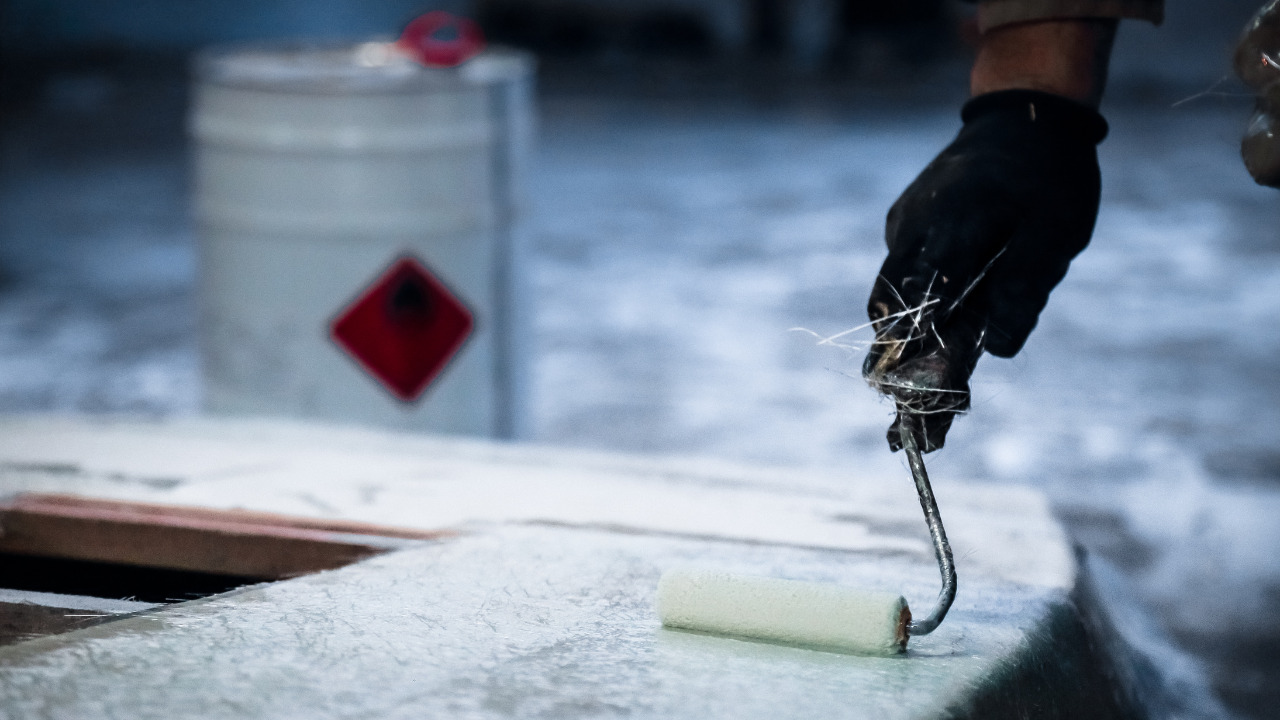
Before reassembling and using the sink, allow it to dry for up to three days. Rubbing alcohol or mineral spirits can be used to clean up any spills.
Bottom Line
Resurfacing your kitchen porcelain sink is a cost-effective way to save money. The entire procedure can be completed in a few simple steps by any knowledgeable person. You can also paint your kitchen sink if you believe it is preferable.
Above all, the ability to refinish or resurface a porcelain kitchen sink has all the advantages of purchasing a new one. While it is a matter of personal preference, it is recommended as a cost-effective alternative.


