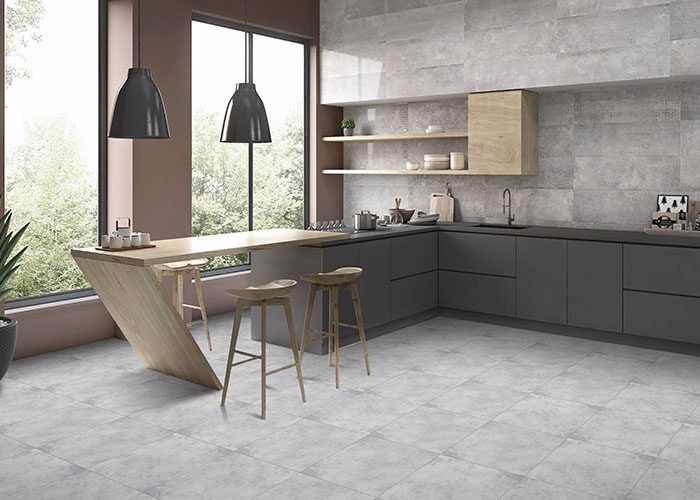
The kitchen island is an interesting part of the kitchen. It might just become the center of attention for all the extra work you do. From cutting to cooking or washing dishes, a kitchen island is multi functional. If one plans to anchor kitchen island to the floor, you are making the right decision.
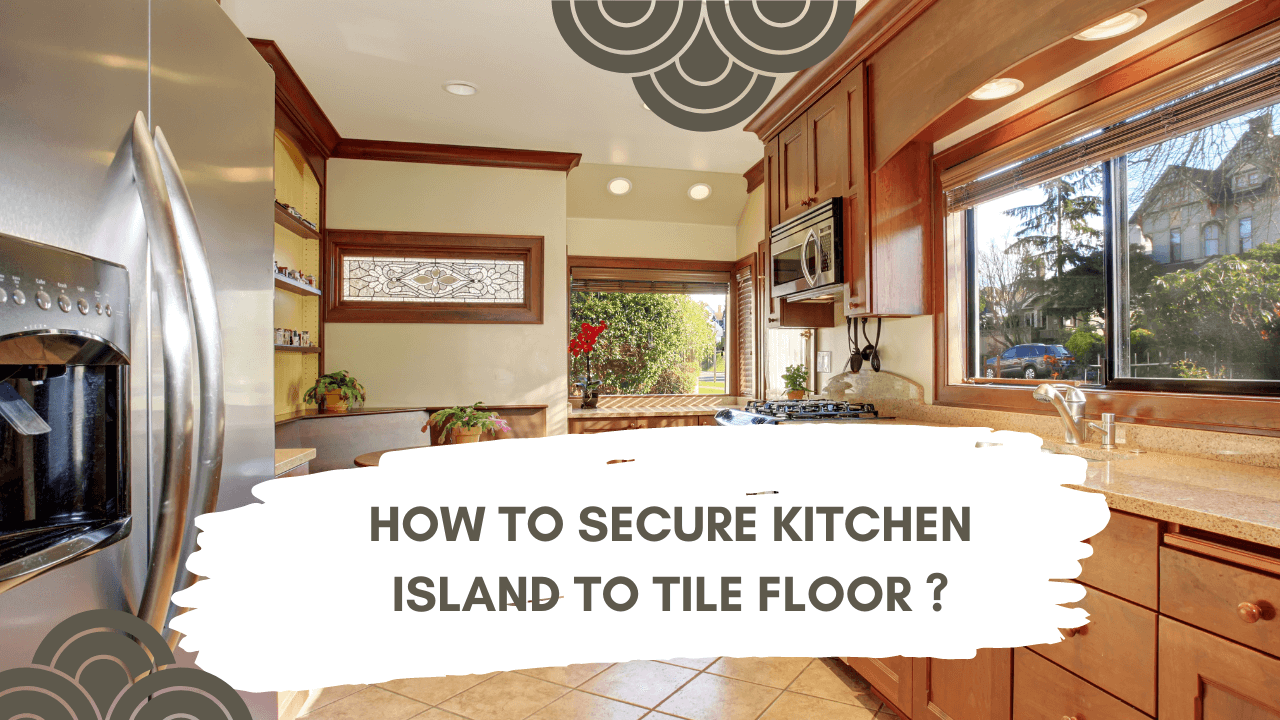
But to secure it to a tile floor, cleats must be securely fastened to the tile to prevent damage to the floor and island movement. Also, they are a little more difficult to install. You don’t have the security of wall studs for mounting the sides. Adding wood cleats to the floor and screwing your cabinets to them is one approach to accomplish that sturdy installation.
Wood blocks that fit inside the base are usually fastened to the floor in most installations. The blocks prevent the island from sliding since the cabinet installation as the base can slide down over them.
A special diamond drill bit is required because screwing through the tile without breaking it is impossible. Consider a different, movable island form if you don’t want to drill through the tile.
Table of Contents
4 Important Factors to Consider for Kitchen Island Installation
Before you begin securing the kitchen island to the floor you need to ensure the long-term stability of the installation just like when planning the kitchen cabinet layout. The reason is according to the cabinet layout and design you will secure the kitchen island. Therefore the size and design of the kitchen island can vary too.
Some of the factors you should consider include the following.
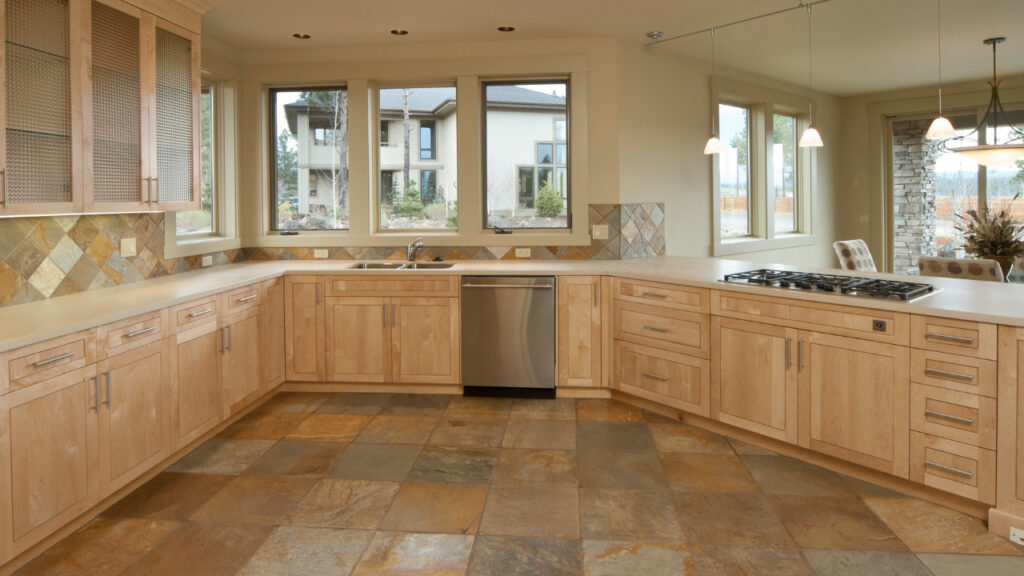
1. Type of Floor
What is the best floor color for white cabinets? A common question that springs in homeowners’ minds more often.
Reason? Most kitchens have white cabinets.
You want the kitchen island to compliment not only the floor but also the cabinets. Every type of floor requires some specific supplies like drills and screws or anchors. In case you have a concrete floor, drill pilot holes into the countertop material before attaching wood cleats. You’ll have to use a masonry or hammer drill to complete the task.
2. Toe Kicks and End Panels
For a more seamless look that compliments the existing kitchen cabinets, you will need to install toe kicks around the base of the island for better support. You can hide any unusual gaps that are hard to cover between the island and the floor.
The end panels will give a more finished and polished look to the cabinet sides.
3. Laminated and Engineered Hardwoods
Homeowners love to install laminate flooring on floating stairs and floors. In case you have floating floors, you need to be utterly careful while attaching an island on top of them. Otherwise, it can cause buckling over time. The best way is to cut out the right amount of flooring where you plan to secure the kitchen island to the tile floor. After that, you can begin installing the wooden cleats on the sub floor underneath.
4. Electrical Outlets
Despite the type of kitchen island you decide to install, you will need to take care of the electrical outlets at a convenient location for plugging the appliances. You need to mark and measure where the island will be placed and see whether an attached kitchen island is a good option for kitchen layout or not.
6 Steps To Secure Kitchen Island To Tile Floor
It’s possible that certain islands won’t need to be linked to the floor. Smaller kitchen islands should be fastened to the floor to prevent sliding or tilting when people lean or push on them. Usually, kitchen islands are fastened to the floor during kitchen renovation or remodeling while the existing kitchen island is removed first.
To secure kitchen island to the tile floor, you will need to hire a professional expert to do the job. But if you are interested in a DIY project, you can follow these steps.
1. Needed Tools And Supplies
With the type of kitchen island you want to install, you will decide the use of tools required to secure kitchen island to tile floor. You will need the following a:
- A tape measure
- A power drill
- Painter’s tape
- Construction adhesive
- Wood screws
- Wood blocks
- Grout
- Plastic lags
Once you have collected these supplies, arrange them chronologically to use them.
2. Determine The Size
Measure the inside of the island cabinet’s or island base’s perimeter. Make a mark on the tile floor using your dimensions. Install the island cabinets on the floor. With painter’s tape, trace the perimeter or contour of the island’s foundation on the tile floor. Therefore before building a kitchen island you need to determine its size and construction.
3. Drill Holes In The Cleats

Place wooden strips, also known as cleats, on the inside of your measurements on the floor—Pre-drill holes for the screws through the cleats with a wood drill bit.
Place the wooden cleats on the tile and draw a line where the holes meet. Pre-drill holes in the tile using a masonry bit where indicated. Fill the holes in the tile with a plastic bag. Using wood or drywall screws, fix the cleats over the holes.
4. Use Construction Adhesive
Once you have set the cabinet or island base over the wooden cleats apply a strip of construction glue to the outside edge of the cleats. Draw a chalk line on the floor of the island placement before you secure it to the floor to get a sense of spacing and see if you need to move or change the edges and angles.
If you don’t have enough space for an island, consider a portable utility cart for cabinet installation with a butcher block or ready-made counter top.
You wouldn’t have to secure the portable cart to the floor, and you’d be able to move it around easily if you wanted to. The cart could be placed on a rug with nonslip grippers on the backside to prevent slippage and damage to the floor. If your island is small, secure it to the floor to prevent it from slipping or tipping over.
5. Place The Wood Blocks On The Floor
Return the woodblocks to their original positions on the floor, inside the right outlines. Connect the power drill to a diamond drill bit. The diamond bit should be smaller or slightly larger than the first drill bit. Insert the diamond bit’s tip into one of the holes in the woodblock.
Drill a hole in the tile beneath the block. Repeat this process for each hole in each block of wood. It isn’t required to drill down. The diamond bit must be cut through to avoid breaking the tile. Connect the power drill to a Phillips head screwdriver bit.
Tighten The Wood Screws

Connect the power drill to a Phillips head screwdriver bit. A 3 1/2-inch wood screw should be inserted into a hole in a woodblock. Using a power drill, tighten the screw to the floor. Each woodblock should have one screw in each hole. Wipe the washable marker lines off the floor using a wet rag.
At least one assistant is required to lift the cabinets. Lower the cabinets over the woodblocks, then complete the rest of the island’s steps.
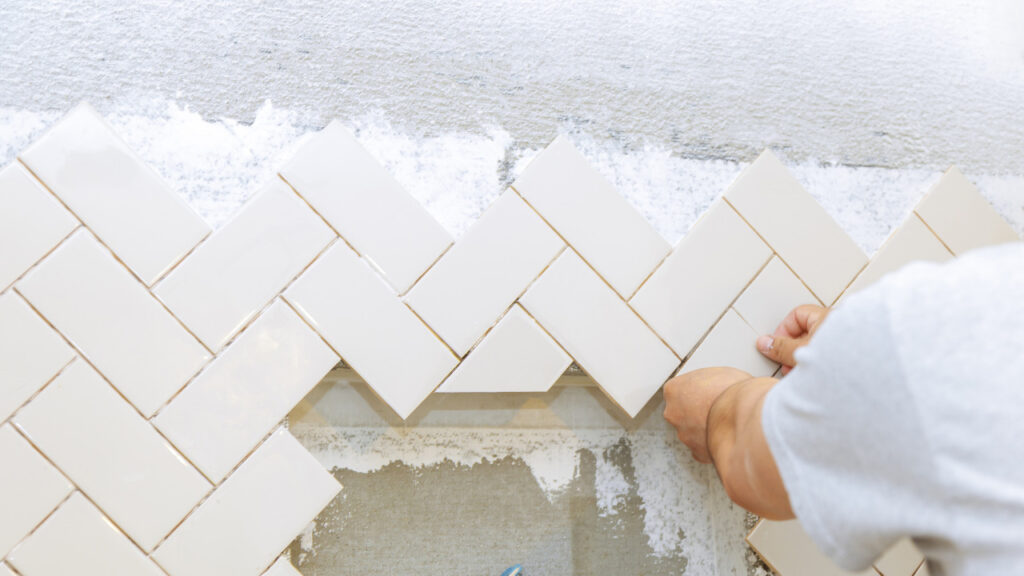
Do You Need To Install Tiles Before the Kitchen Cabinets
As no finish cuts are required for perimeter joints at the toe kicks or finished sides of the cabinets, installing the tile assembly before cabinetry and permanently mounted equipment simplifies the installer’s job.
The mounting of the cabinets, if they need to be secured to the floor, as is the case with an island, will need to be taken into account if waterproofing is a requirement of the installation.

The waterproofing must also completely enclose the floor space to be effective. The installer will need to cover more square footage if the tile is installed before the cabinetry, but less detail and trim work will be required. The newly placed tile floor will likely serve as the workbench for the other professions participating in the project and will be vulnerable to abuse and damage if installed before the cabinetry.
To ensure that the system is put into compression before the tile is installed, it is advantageous to install the tile assembly after the cabinets and other dead loads are fitted. If the tile assembly is installed after the cabinetry, there must be perimeter seams where the tile meets the cabinetry.
A flexible sealant and rounded backup must fill the extremely precisely cut openings in the cabinets’ toe kicks and sides.
Fasten Kitchen Island with Professionals
The essential principles for constructing an island are the same as for most other cabinets, but tiled floors add a layer of complexity. Wood blocks that fit into the base are usually screwed into the floor in most installations.
However, you can also choose other methods, such as decoupage, decorative crafts, and shelf liners, which are the best ways to secure the kitchen island to the tile floor. You can always hire professional help to complete the project in a fast turnaround.