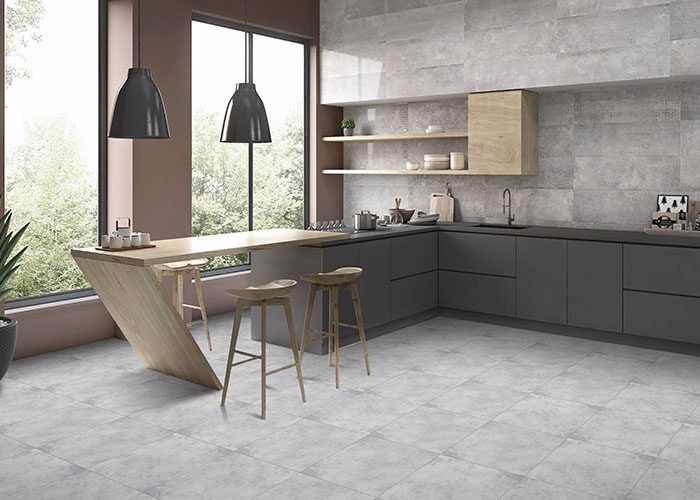
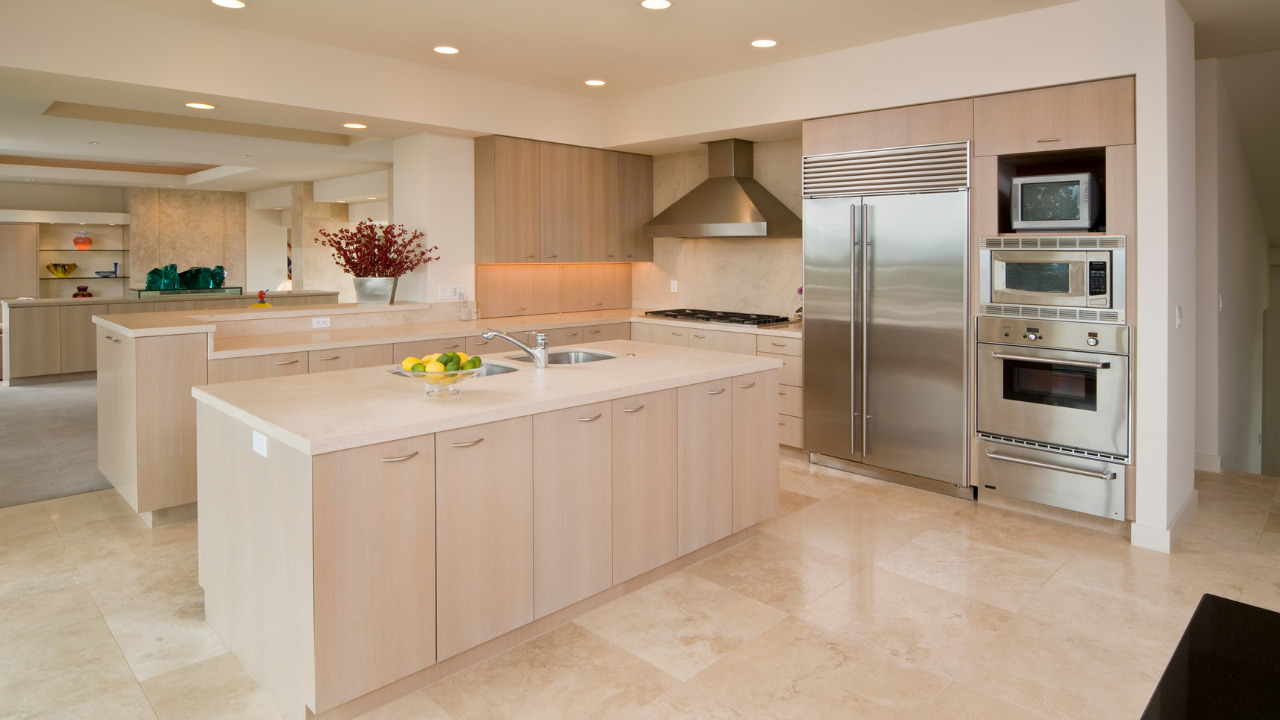
Kitchen islands have different types, sizes, structures and overall textures. It all depends on the selected island category and the kitchen layout. You can build a kitchen island that is multi-functional especially in the modern kitchen layout. Most homeowners prefer to anchor kitchen island island to make their space a little bit more space-friendly.
On the other hand, kitchen islands have also become a trend for modern kitchens and cooking areas. Commercial kitchen layouts are also incomplete without a kitchen island. If you also want to know how to build a kitchen island yourself, I am going to discuss it in this post step-by-step.
Table of Contents
4 Common Kitchen Island Uses
If you love to cook in a comfortable space, a kitchen island is all you need to install in your kitchen, but with a proper kitchen layout design. No wonder, there are endless kitchen island uses. You still need to understand that you have to choose a kitchen island design according to your kitchen ergonomics and other specifications.
By building a kitchen island in a right pattern even while remodeling your kitchen, you can get following benefits or uses from it.
1. Better Food Preparation Space
The basic purpose to build a kitchen island is to make your cooking space more comfortable for you to cook there. By installing a kitchen island, you can get better space to prepare your food.
That’s why a kitchen island is a also a part of almost all commercial kitchen layouts. The use of an island goes both ways, for residential and commercial purpose. Having one more station to chop, clean or cook gives you ample space despite the size of the kitchen.
2. Best Place for Kitchen Appliances
An addition of a kitchen island is not only to remodel your kitchen design. An island will be the best place in your kitchen to incorporate your appliances with style! Not only appliances, you can also install kitchen hardware or other fixtures such as faucets to your kitchen island.
Indeed, an island will become a center of attraction in your kitchen, no matter what design it has.
3. Better Storage Space
Even though each kitchen island design or layout comes with different size storage space. But in all cases, you can get appropriate storage space for your kitchen by building an island. You can use island space to store or place all your cookware, appliances and pantry items by installing base cabinets underneath. This way, you can keep your other kitchen countertops or shelves free from mess.
4. A Functional Space
You can also use your kitchen island space as a functional space to perform your routine tasks while cooking. You can also relax while sitting around your kitchen island to have a little conversation with your family. Using it as a quick dinning space for breakfast and cozy meals is one of the best things. You can make it more functional by replacing a kitchen sink on the island instead of the traditional placement on counter top by the window.
10 Steps to Build a Kitchen Island Fully Functional
For a DIYer, you can build kitchen island that is multi-functional serving as storage space, kitchen dining space and as a cutting station. To make the most use of the kitchen island, follow these steps.
1) Measure Your Kitchen Space
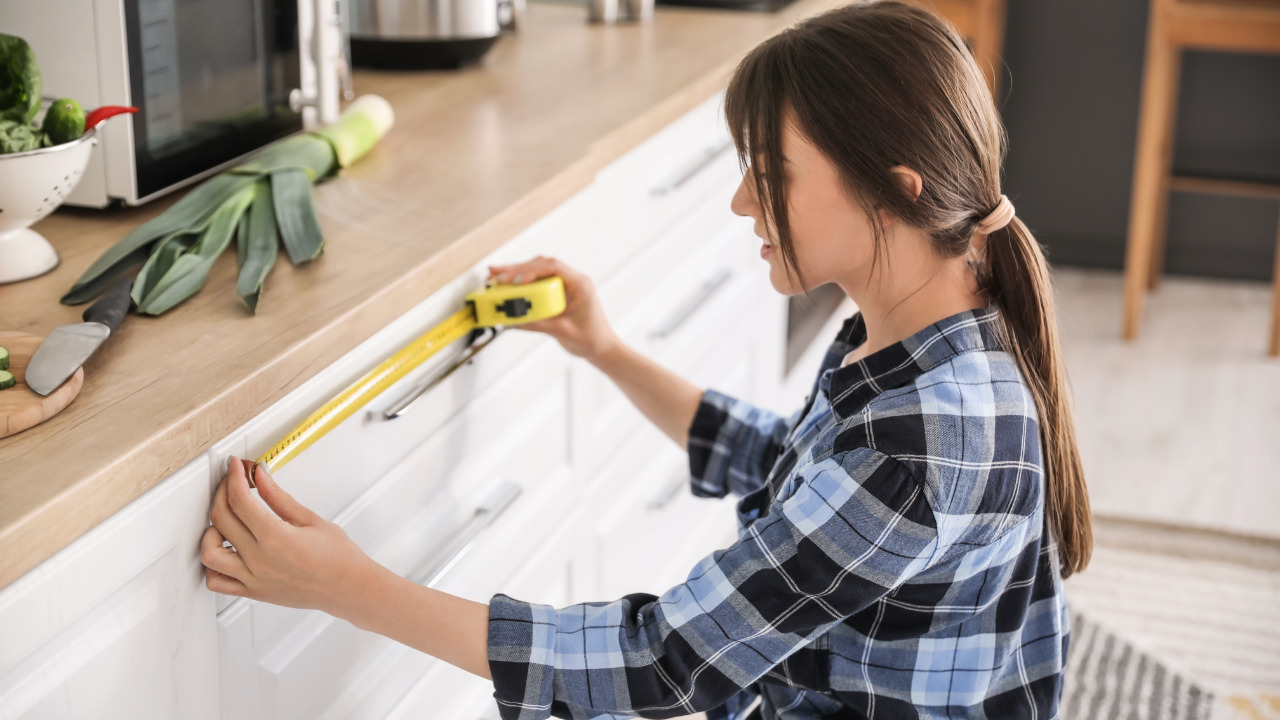
Whether you are going to build a custom kitchen island or a predefined island, you still need to measure your kitchen space. It is essential to measure your kitchen space to choose an island according to your kitchen layout.
You may also need to consider the measurement of your cabinet’s layout and overall space. Choose a kitchen island design after measuring the kitchen cooking and countertops space. Additionally, measure the distance between the countertops and the selected space before building the island.
2) Create a Plan for Kitchen Island

If you cannot remember figures and terms for a long time, creating a plan or prototype of your desired kitchen island on paper would be best. This way, it would be easier for you to complete the building process step-by-step.
You can also use the painter’s tape to mark the chosen points to build an island. Ensure to tape the countertops as well for better projection. For better understanding, you can also use cardboard boxes to create a temporary or kitchen island module in your kitchen space.
3) Finish Island’s Cabinets
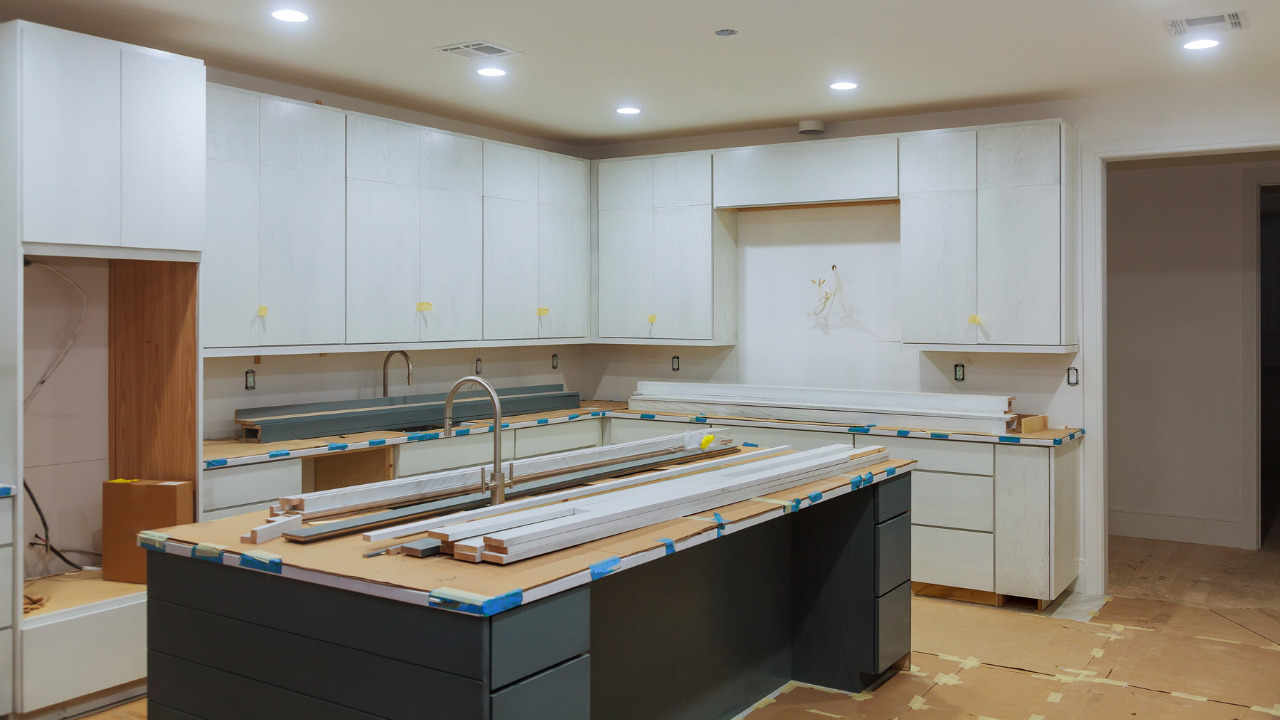
No matter which type of cabinets you have selected for your kitchen island, you still need to finish the cabinets for a smooth or clean overall look. If you don’t want to finish or stain cabinets, you can also paint them for a better look.
If you have bought custom cabinets for your kitchen island, it would be best to paint them in an open area before installing cabinets in the island space.
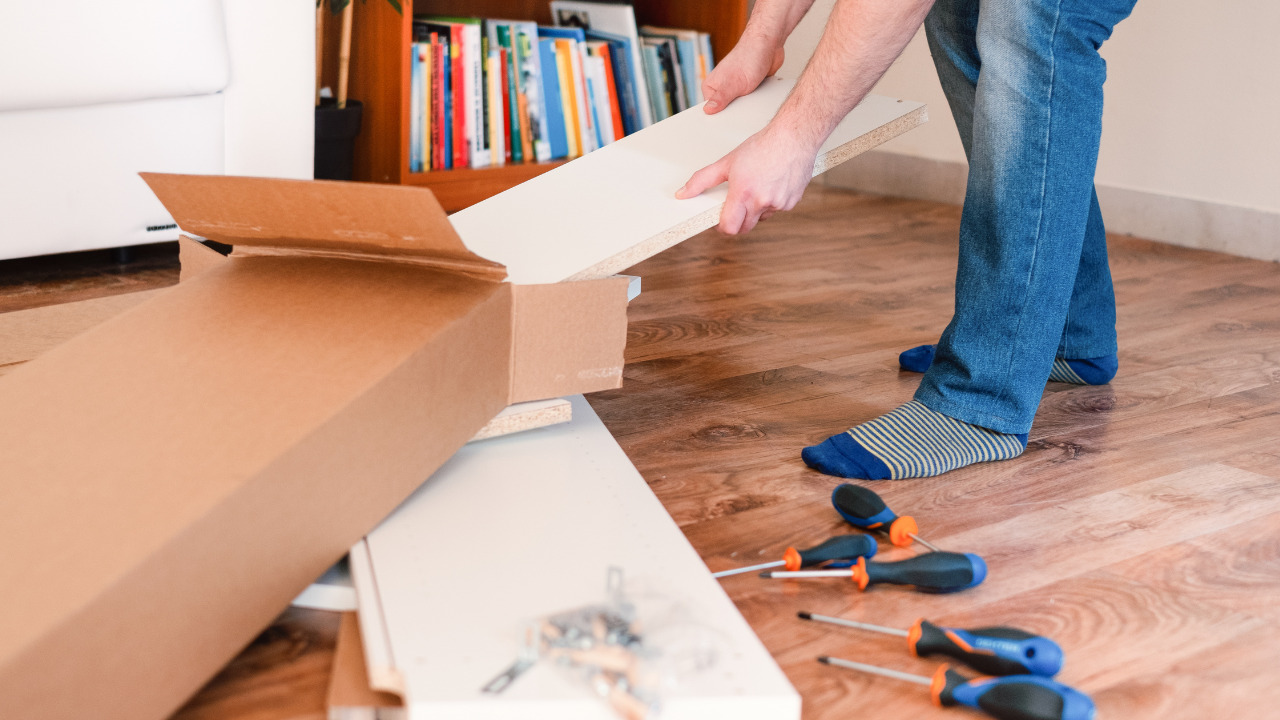
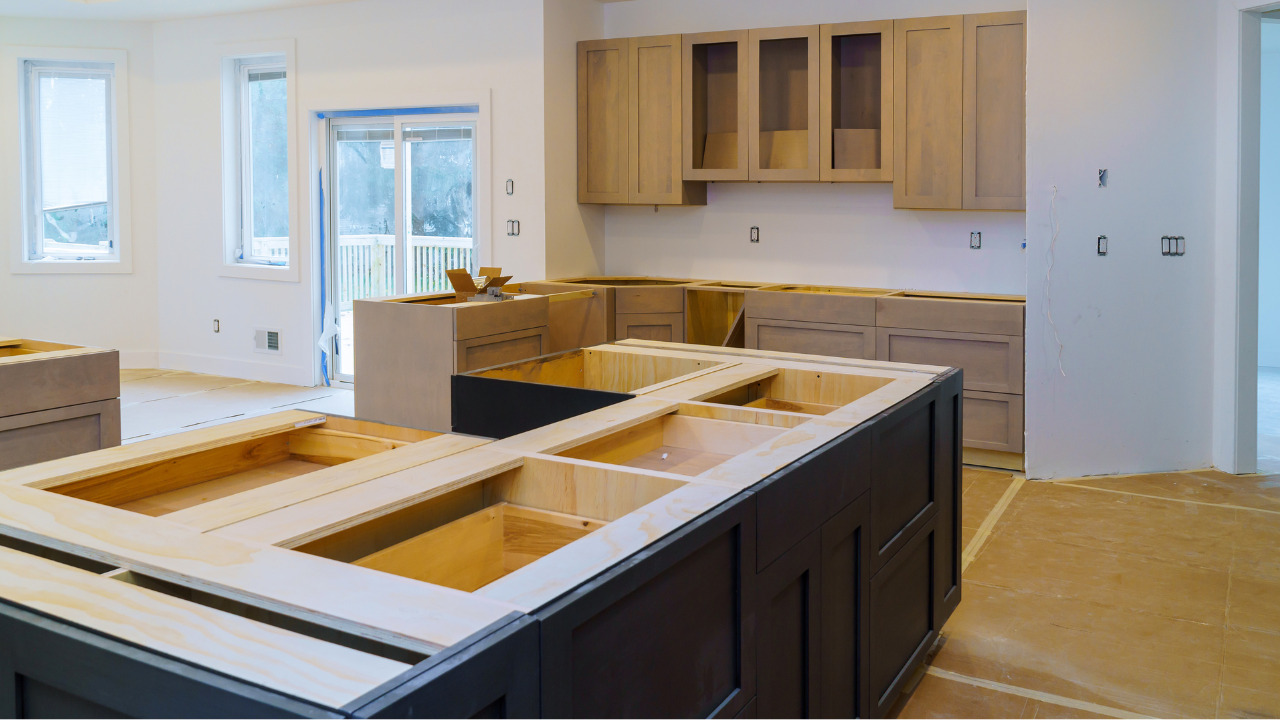
4) Arrange and Fit the Cabinets
If you install RTA cabinets on your kitchen island, you don’t need to fix or attach them. All you need to do is dry fit them at the place of your island. It would be best to remove the cabinet doors before installing the cabinets in the island space for pre-assembled cabinets.

No matter if you have a small kitchen island or a large kitchen island, you can still fit or install the cabinets there in desired patterns. You can also create a footprint for cabinets on the island for better arrangement or fitting.
5) Screw the Cleats to the Floor
After dry fitting or properly arranging cabinets on the island, you must firmly attach the cabinets to the floor. You can use cleats flats for base cabinets to attach to the floor. You can cut the cleats according to your cabinets or kitchen island design requirements.
After cutting the cleats, use screws to attach the cabinets to the floors by using the cleats flats. According to the placed painter’s tape, you must place the cleat at least half an inch inward.
6) Attach Cabinets Sides
You can reset the cabinets on the floor to level or attach the cabinet sites. Use C-clamps to attach the sides of the cabinet. Ensure to fix the level of your cabinets for a straight and smooth look. You can also use shims or planks under the cabinets if your kitchen floor is uneven.
Once the cabinets have leveled, you are all set to install base cabinets side-by-side. Ensure to fix or strengthen all cabinets by screwing them to the cleats.
7) Cut the Trims
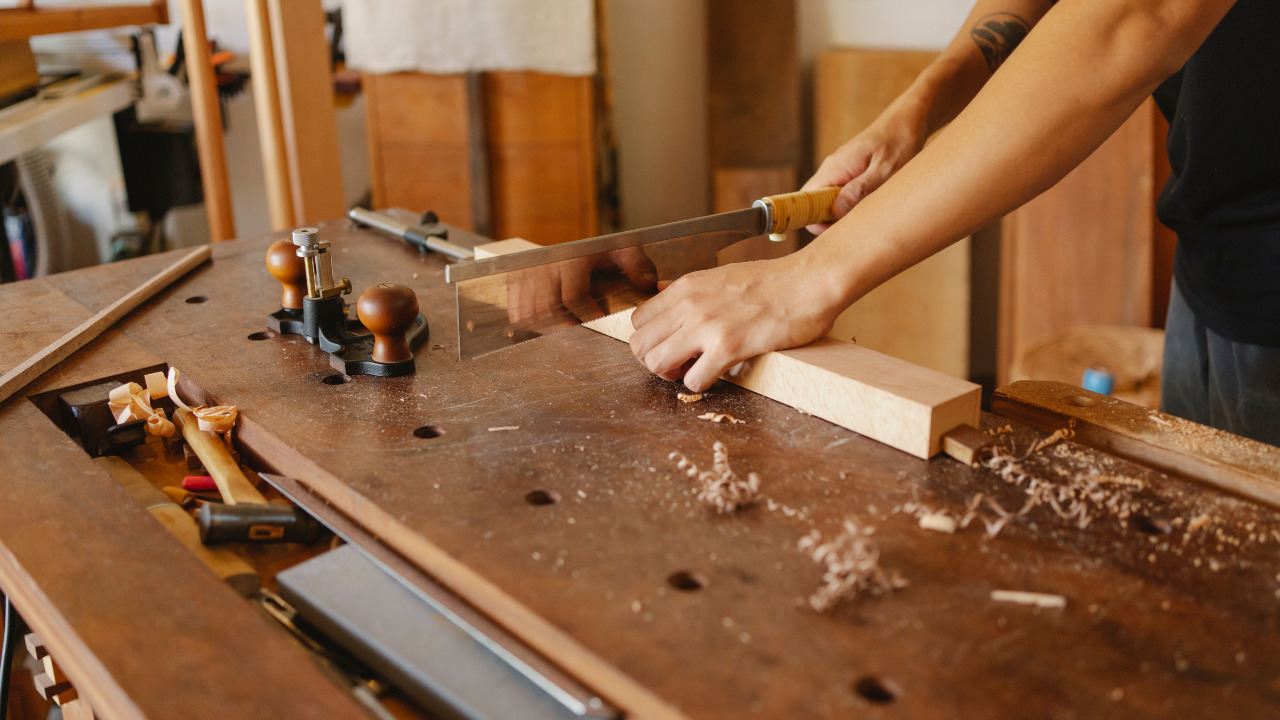
You can use wood of any kind to cut the shims or trims to finish cabinet ends. Indeed, installing trims or shims to the cabinets is essential to finish the cabinets smoothly. Without cabinet end finishing, you cannot get a professional-looking kitchen island.
If you want to attach the end panels or decorative trims to your kitchen island’s cabinets, ensure to buy the same panels to match your overall island’s cabinets layout. Use a brad nailer with nails to attach the ends panels or decorative trims to your kitchen island cabinets.
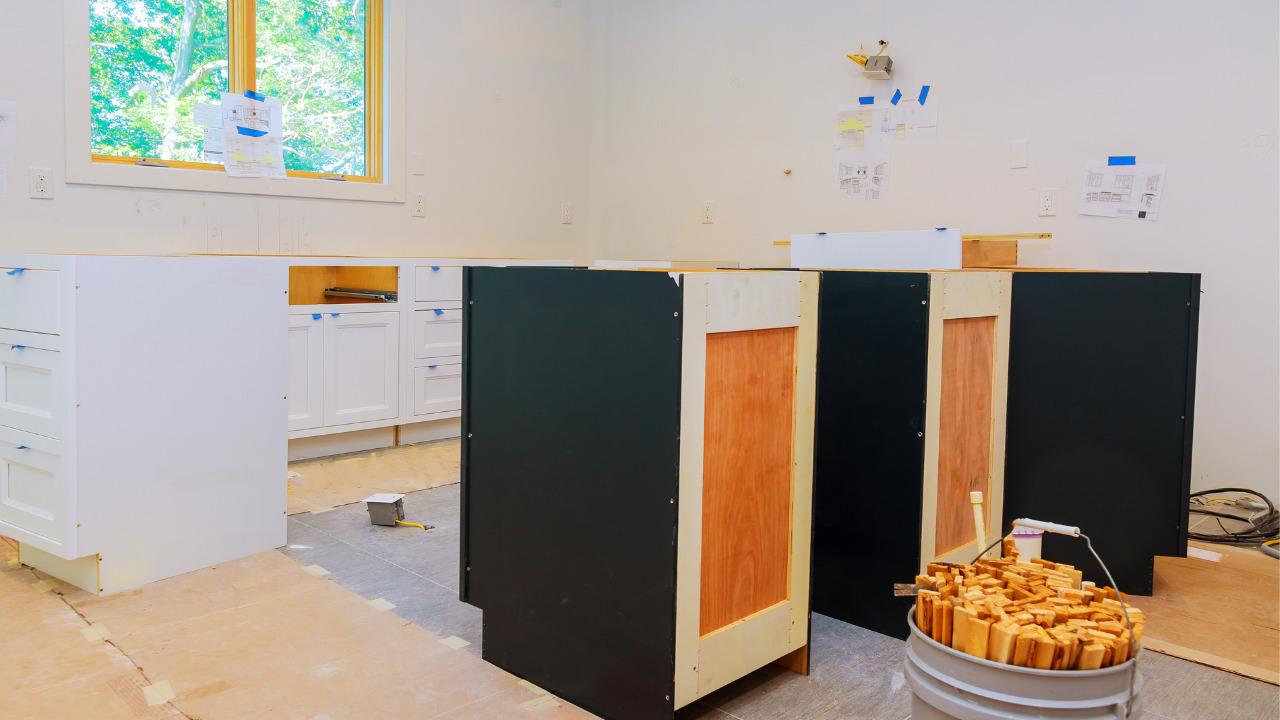
8) Install Island Backing
You can use a shiplap to prepare the back of the kitchen island. While installing the shiplap to the back of the island, ensure not to insert the backing into the cabinet wall to avoid damaging the cabinet’s interior. You can use an electric nailer with brad nails to install the island backing.
Start installing the shiplap to the back of your kitchen island from down to the top of the cabinets.
9) Attach Base and Corner Molding
Firstly, attach the base molding to the front of your kitchen island by marking the points on each end of the molding. To cut the molding according to the size of your kitchen island, you can use an electric saw or any other saw you have in your workshop.
Once you have cut the base molding, attach it to the front of the island by using brad nails. Repeat the same process until you have covered the complete front of the kitchen island. Attach the measure or cut molding wood to the back corners of the island for corner molding.
Moreover, you can use an electric nailer with brad nails to secure the corner molding to the back corners of the island.
10) Install Island’s Cabinets Doors
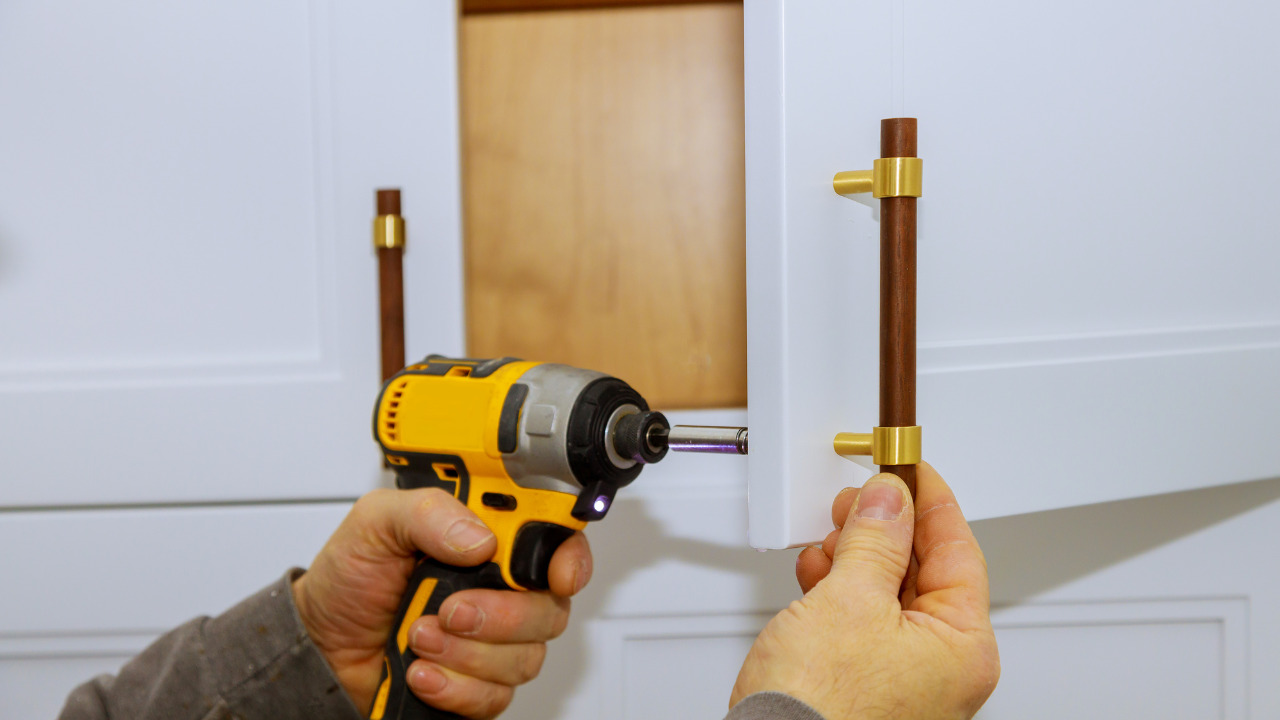
After completing the molding placement or attachment, you are all set to finish the building of your kitchen island by installing the cabinets doors and other hardware. Ensure to install the cabinet doors and pulls at the same level for side-by-side cabinets.
After installing cabinets, doors, pulls and knobs, it’s time to place the cabinets shelves. Place the shelves in the cabinets and firm them by using peg provided with the cabinets.
Kitchen Islands are Worth It
Kitchen is the hub of activities in one’s home. Adding a kitchen island to the mix only offers more space for cooking, enjoying favorite meals and utilizing the most of the kitchen space. Building a kitchen island is fitting for all types of kitchen be it a galley kitchen or a commercial one. Following the steps you can build the multifunctional island space to elevate the kitchen.