Did you know that popcorn ceilings were banned in the late 90s?
The reason was the presence of asbestos aka sleeping monsters in popcorn ceilings. With this, these textured ceilings quickly lost their popularity. This news also sparked a wave of tension among homeowners who got their house built during the mid 90’s to late 90’s. So, they quickly started searching for how to remove popcorn ceilings.
When it came to getting rid of popcorn ceilings, there were two major options to consider. The first one was the complete removal of popcorn ceiling. And the second option was to cover popcorn ceilings. Both of these options have their own pros and cons.
However, many people preferred complete removal as a better choice. This is because removal ensures the complete elimination of asbestos. Let’s dive deeper into the process of popcorn ceiling removal.
Table of Contents
How Hard is it to Remove Painted Popcorn Ceiling
Confirm Asbestos Presence
The process of popcorn ceiling removal is labor-intensive and requires time. In case you want to do it yourself, you need proper equipment and personal protection gauge because it may contain asbestos. On the safe side, it is recommended to go for an asbestos assessment if you are suspicious about the presence of asbestos in the popcorn ceilings.
Painted vs Without Paint Ceiling Removal
Once you decide to do it, be mindful that the removal can require even more effort if the ceiling surface has paint on it. The presence of paint layers can make it difficult for the removing solution or water to reach the ceiling surface. In contrast a ceiling surface with no paint can be easily treated as the texture comes off easily.
Scrape Before You Remove
Before you actually work on removing the ceiling, make sure to go for a scrap test beforehand. In a scrape test, apply the technique on a smaller part of the ceiling to see if it works. The ceiling comes off easily if you wet the surface. However, if you are working on a painted ceiling surface then wetting might not help. A scrape test usually predicts the success of the removal process before you do it.
Scraping Painted Popcorn Ceiling in 5 Steps
When you are looking for ways to remove popcorn ceilings, scraping is one of the best ways to do it. Here is what a popcorn ceiling removal process looks like.
1. Cover the Furniture and Walls
The first step before you begin removing the popcorn texture is to either move your furniture out of the room or cover it in plastic sheets. This will prevent them from catching the dusty texture as it falls off during scraping.
Similarly, use a plastic tape to cover the edges of the walls and if you have a carpeted floor, make sure you roll plastic sheets over it too, so it doesn’t become a hub of dirt once your removal work is done. Also cover all the electrical boxes and light to prevent them wetting while you apply water on the ceiling.

2. Prepare the Removal Mixture
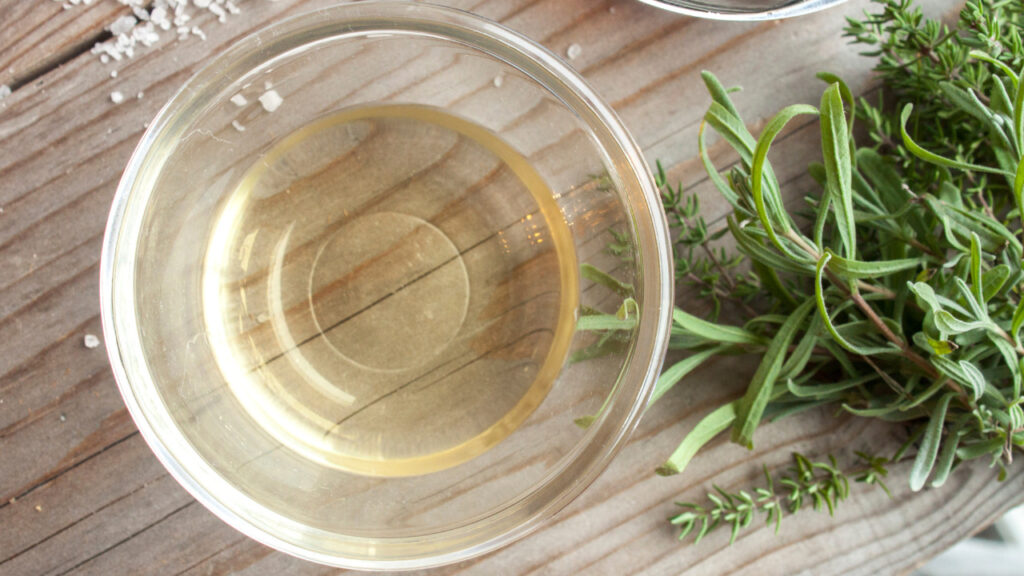
In case of a ceiling surface with no pain, water can serve the right purpose. However, in case of painted ceiling, the paint layer acts as a barrier making removal process tough. Take a spray bottle and add one part vinegar to ten parts water in it. The vinegar will help break the paint coat and let water soak the nodules to make them soft and loose.
Test a patch of ceiling surface by spraying the diluted vinegar over it and let the ceiling absorb it. If the ceiling doesn’t immediately turn grey, it will confirm the presence of a paint coat over the popcorn texture.
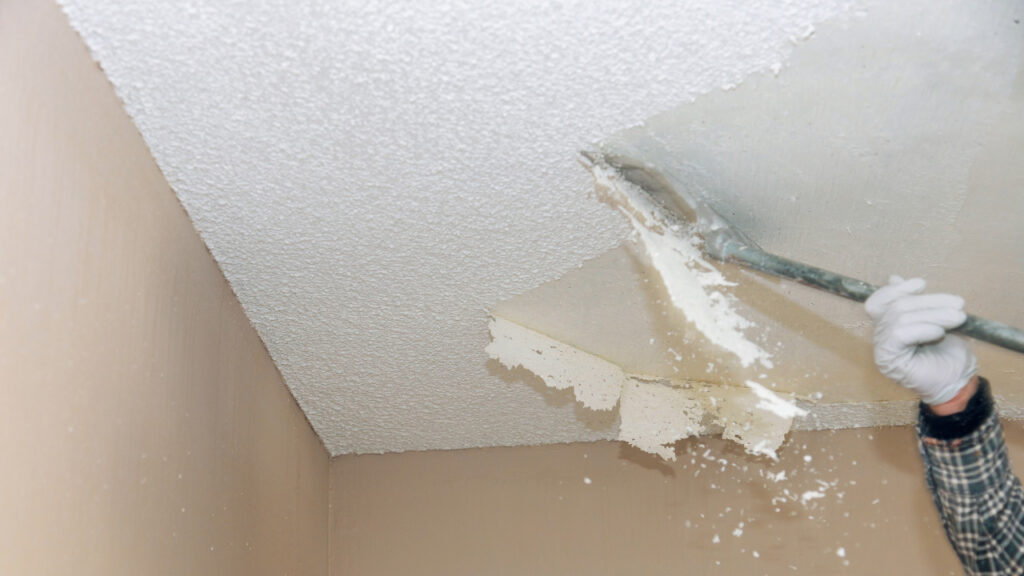
3. Scrape the Texture Using Putty Knife
Use a putty knife with ample coverage to scrape the popcorn texture. You will need to apply slightly more pressure to detach it. Repeat the same for the entire ceiling surface and keep scraping and spraying unless the surface underlying the popcorn ceiling gets exposed. Let the ceiling dry out if it seems damp. Scrapping can be quite messy so make sure you are collecting the residual pieces rather than letting those fall on the ground.
4. Remove Surface Imperfections
It is a possibility that during scraping, some part of the ceiling gets damaged or dented. To avoid the damage, use a joint compound or dry wall compound in areas where you see such imperfections. Level the surface imperfections by sanding the exposed area.
5. Apply a Fresh Paint Coat
When your room interior gets fully dried with the surface irregularities leveled up, apply a fresh coat of paint to give your ceiling a new life. You can go for any hue to compliment your room interior or you can keep it as simple and elegant as a white coat of paint.

Say Goodbye to Painted Popcorn Ceilings Now
After ruling the ceiling industry for years, the downfall of popcorn ceilings began after the asbestos ban in 1980’s. Once people were aware, popcorn ceiling covering or removal became common.
However, the process of popcorn ceiling removal can be tiresome. It becomes even more difficult if the surface is painted before. Also, if the ceiling contains asbestos it can increase your chances of toxin inhalation and poses harmful side effects to your health. So, if you want a safe and mess-free ceiling removal of popcorn ceiling, we recommend you to leave it to professionals.