This is one of the most common questions coming from house owners. This is because the popcorn ceiling contains small ridges and grooves that are dust magnets. These nooks keep trapping smoke, dirt and dust particles for months. Furthermore, these places are further inaccessible during the dust off process. So, popcorn ceilings start looking unattractive over time which makes cleaning necessary.
But before you actually start cleaning one, be mindful that the popcorn ceiling might contain asbestos, a potential carcinogen. Especially if your house was constructed before 1990s, there is a high chance that your ceiling contains asbestos. So, make sure you go for an asbestos assessment before you actually begin with the cleaning process. If your ceiling contains asbestos, make sure to go for removal of painted popcorn ceiling.
Cleaning a popcorn ceiling depends on the use of the right tools and techniques. The wrong cleaning technique can actually harm the texture of the ceiling. But worry not as cleaning a popcorn ceiling can be a DIY task and we will guide you about how to make it mess-free.
Let’s find more about the popcorn ceiling cleaning process in detail.
Table of Contents
How to Prepare for Cleaning Popcorn Ceiling
Cleaning the popcorn ceiling, a type of textured ceiling, will definitely lead to texture particles and dirt falling off from above. Therefore, if you do not protect your furniture, carpet and other things in the room, these will catch dirt and dust.
The first step is to move the furniture and all essential items out of your room. Following this, place plastic sheets on the floor if it is carpeted so that any residue can be caught on the sheets. Turn off all the fans in the room to prevent the spread of residual dust. Also, go for an asbestos assessment before you start the cleaning process to prevent any side effects.
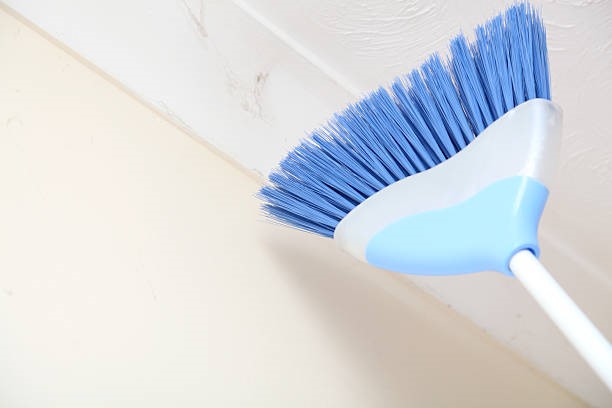
Take a broom with soft bristles and gently move it over the ceiling surface to remove any loose texture and cobwebs. Don’t be too harsh while you brush off the ceiling. Also don’t forget to follow the technique and work in a methodical way. Starting off at one corner, then moving to the edges, center and finally covering all corners of your room.
4 Best Tips to Clean Popcorn Ceilings for Homeowners
After the initial cleanup, now it’s time for a deep cleaning. Following are the best tips to clean popcorn ceilings.
1. Clean Popcorn Ceiling with a Vacuum Cleaner
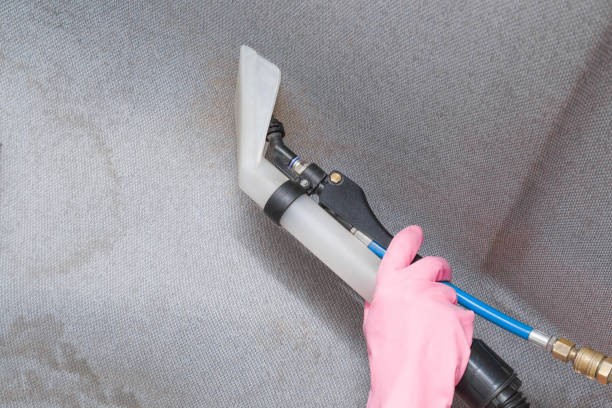
Vacuum cleaner can be one of the best methods to clean a popcorn ceiling. It is a relatively less messy and effortless clean-up technique. However, it should have the right attachment to clean. A vacuum cleaner with a soft-brush attachment is recommended for the cleaning process. While vacuuming, do not push too hard as it may damage the ceiling texture, which is inherently soft and light-weight.
After preliminary clean-up with a soft brush, you can use a vacuum cleaner to thoroughly remove all the dust and entrapped dirt within your ceiling. To do so, attach a soft brush with your vacuum cleaner and go over the ceiling surface.
2. Clean Popcorn Ceiling with a Sponge
A vacuum cleaner will help you get rid of entrapped dirt within your popcorn ceiling but it will not help remove stains or spots on it. For this, you will need a soft sponge (or cloth), warm water, and a mild dish-washing liquid.
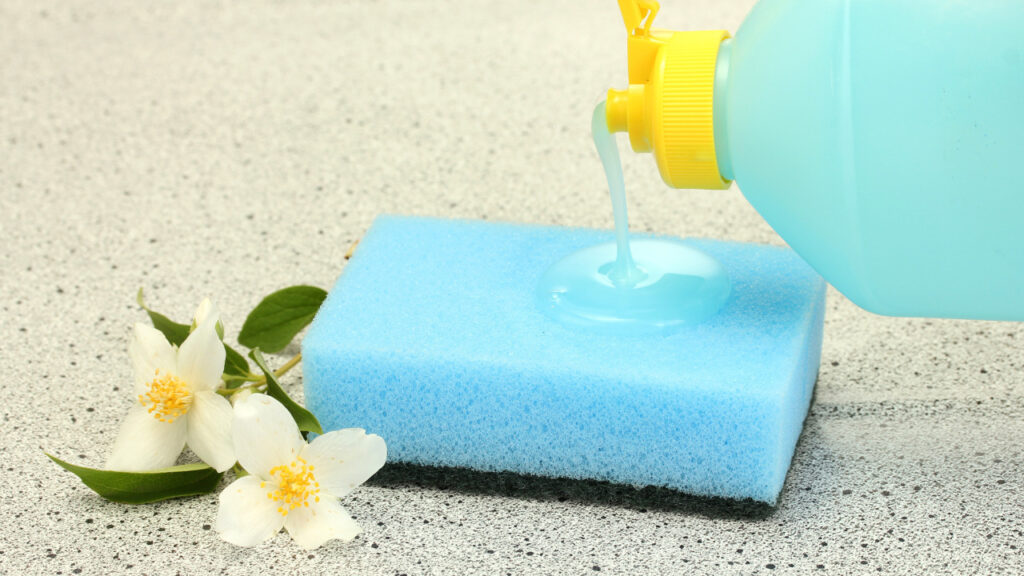
Take a small quantity of dish-washing liquid on a sponge or cloth and dampen it with warm water. Gently rub the sponge over the stained area by dabbing over it. As soon as the texture becomes a little soft, stains will be removed. Let the surface dry on its own.
3. Clean Popcorn Ceiling with Bleach
If the popcorn ceiling has slight stains, it is preferred to use a sponge and mild dish-washing liquid for cleaning purposes. However, some stains are stubborn and become hard to get rid of. For such stains, you might use a diluted bleach solution but with great care.
Follow these steps when using bleach to clean the popcorn ceiling:
Step 1: Prepare the Solution
Make the diluted bleach solution with one part bleach and four parts water. This helps reduce the strength of bleach and makes it less harsh.
Step 2: Patch Test
Test for the compatibility of the bleach solution by dabbing a small amount on an inconspicuous area and checking if it works by not damaging the texture or staining it otherwise. If diluted bleach solution works on the tested area, you are good to go with it.
Step 3: Cleaning
Pour it in a spray bottle and spray it on the ceiling, taking small sections at a time. Use a sponge or cloth to dab the area once the sprayed bleach sets after like 15 minutes. Diluted bleach solution will also help you get rid of any mold or mildew on the ceiling surface.
Step 4: Remove the Residual Solution
Once the cleaning job is done, it’s time to remove the bleach solution applied on the surface. For this, dampen a clean cloth with warm water and gently dab over the areas you applied the bleach solution. Let the ceiling dry off on its own.
4. Clean Popcorn Ceiling Mold or Mildew
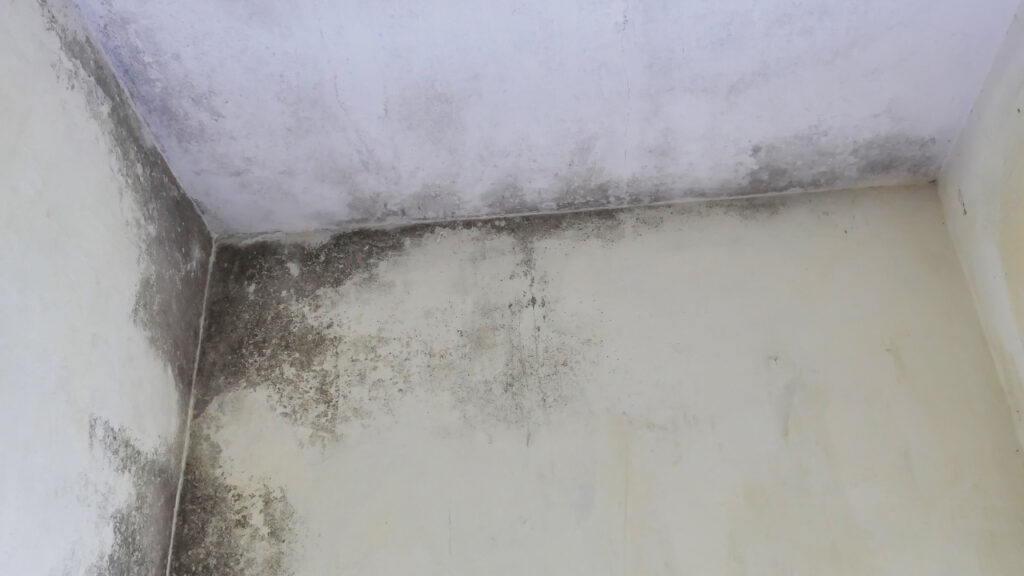
Despite following mold prevention measures during construction,you can still find it in your house. And the ceilings are not an exception to this. A mold or mildew may form on your popcorn ceiling under conditions such as dampness and lack of ventilation.
To get rid of molds, you can use the diluted bleach solution technique effectively by allowing it to sit on the surface for 15 minutes when applied. Once you remove the mold, it is important to address the underlying cause, too. For this, you must maintain proper ventilation within the room and go for regular, mild cleanings.
5 Tips to Make Cleaning Process Better
Other than the cleaning techniques, here are a few additional tips to making the cleaning process safe and efficient.
1. Safety Precautions
Adequate safety precautions are a must. You must wear safety goggles to prevent dirt from entering your eyes. Also, wear a mask for your safety while you brush up the surface.
2. Be Gentle
Do not apply too much pressure while cleaning with a brush or broom as it can lead to the texture getting damaged and detaching from the surface.
3. Use Mild Cleaning Agents
While cleaning popcorn ceilings, make sure to use mild cleaning agents such as detergent and vinegar. Otherwise it could damage the ceiling surface. In fact, over usage of water can harm your ceiling texture.
4. Don’t Forget Routine Cleaning
Don’t wait for your ceiling to show you signs that it has become a house of dirt; rather, go for routine clean-up using a light brush. This can help prevent buildup of dirt and stains on the surface, which if not catered to timely, require a new coat to get concealed.
5. Paint Instead of Cleaning
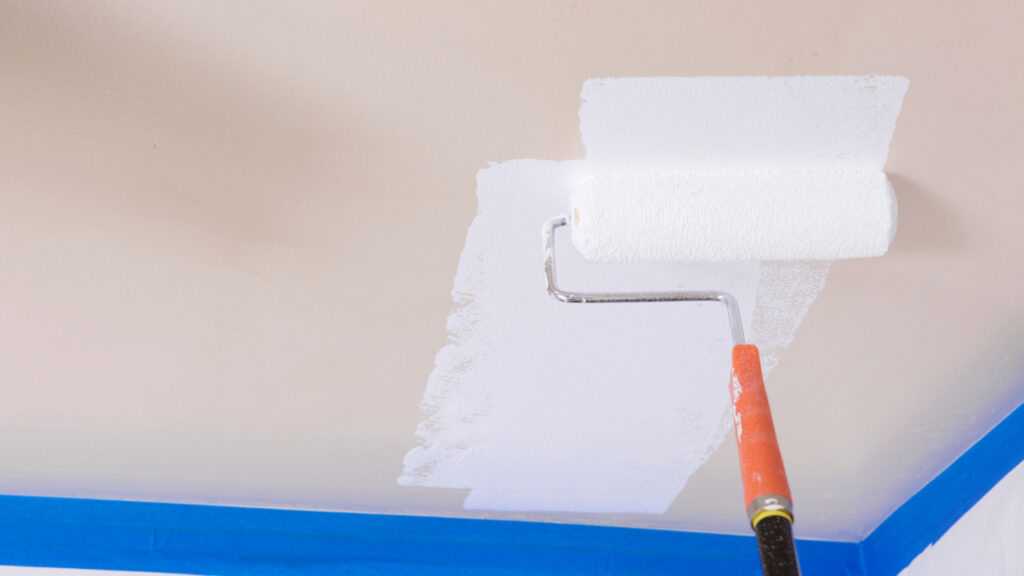
Sometimes after the clean-up, you will still see that your ceiling is no way clean and stainless. If you do not get satisfactory results using the above cleaning techniques, consider painting your ceiling with a fresh coat. This will also make any future cleaning easy and mess-free for you and will help freshen up your interior.
Say Goodbye to Dust and Grime
Popcorn ceilings are a type of textured ceilings that remained popular for decades. One of the drawbacks of popcorn ceilings is they are difficult to maintain. The presence of ridges is what causes them to accumulate more dust and look attractive. So, there is a need for deep cleaning of popcorn ceilings.
The cleaning is a multiple steps process and can require cleaning solution, cloth, spray and other equipment. However, if you want the best cleaning results without damaging the ceiling texture, it is recommended to hire a professional for the job.


